
Winter crafts for adults span from a single afternoon with a glue gun to a full weekend with a needle and thread, and the deciding factor is usually how much silence the project demands. The meditative ones, like wrapping yarn around cleaned branches for an hour until the rhythm takes over, cost almost nothing but patience. A plastic shoebox of six staples, mason jars through Mod Podge, carries half the list through January without a hardware run.
1. DIY Fabric Snow Balls
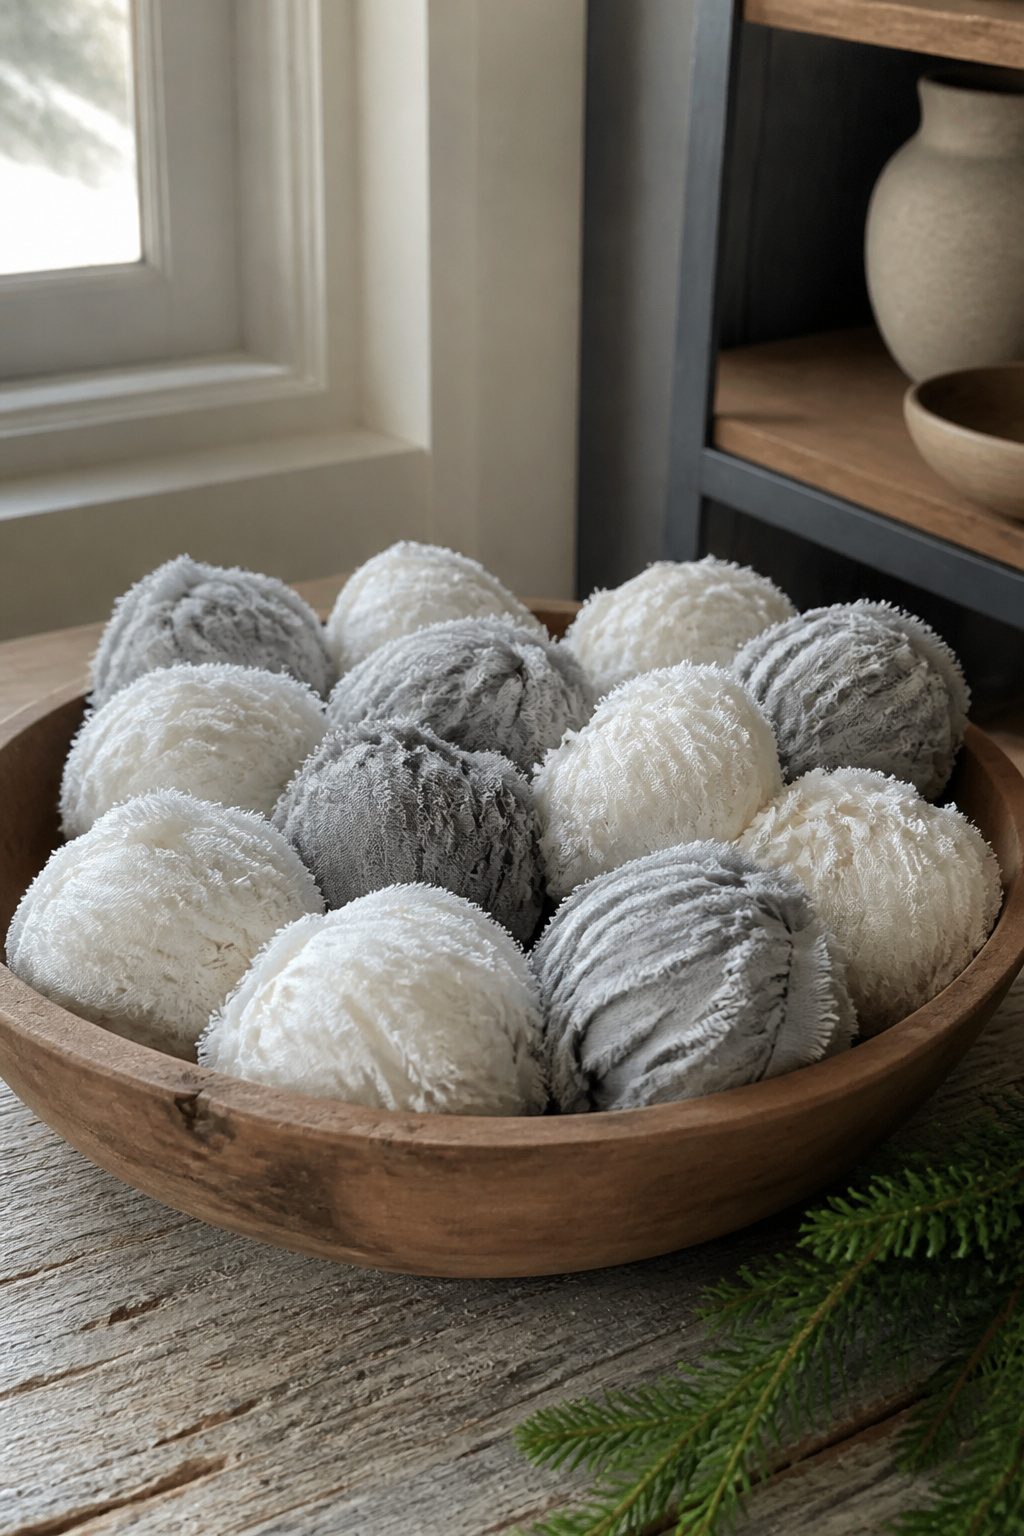
Styrofoam balls and fabric scraps turn into snow balls that read as ceramic at a glance but weigh almost nothing. A three-inch ball needs roughly six-inch squares of fabric; anything smaller fights the curve and wrinkles at the edges. White muslin, pale gray flannel, or old sheet strips all work, though looser weaves fray into a softer halo that some prefer and others hate.
I attach with straight pins first, pushing them deep so only the pearl head shows, then dot glue under the overlaps where the fabric meets itself. Hot glue sets fast but leaves ridges; fabric glue takes overnight and looks smoother. Either way, cluster them in odd numbers, three or five to a bowl, and the gaps between shapes do more for the illusion than packing them tight.
A half dozen runs under $10 if you buy styrofoam at a dollar store and raid the scrap bin. They fill the dead space in a vase between branches, or pile in a wooden bowl on the counter where real snow would melt in an hour.
2. Yarn Wrapped Sticks

Fallen branches become something almost gallery-like with nothing but yarn and patience. The work is slow, which is the point. Each stick needs the bark cleaned off, then sections wrapped tight in whatever wool you have left from last year’s projects. Ecru reads as modern sculpture against a white mantel; deep burgundy or slate gray do the same in a tall ceramic vase.
The meditative pace is what sells this craft to anyone who has tried it. An hour in, the rhythm of wrapping and tucking ends takes over, and the stick starts looking intentional rather than like yard debris. Seal the cut ends with a dot of craft glue so the yarn does not slide, then stand them in a cluster. Three to five sticks at staggered heights fill a corner without cluttering it.
Cost is nearly zero if the yarn is already in your basket. Time is the real investment, and that is why the result feels substantial.
3. DIY Winter Sweater Upcycle
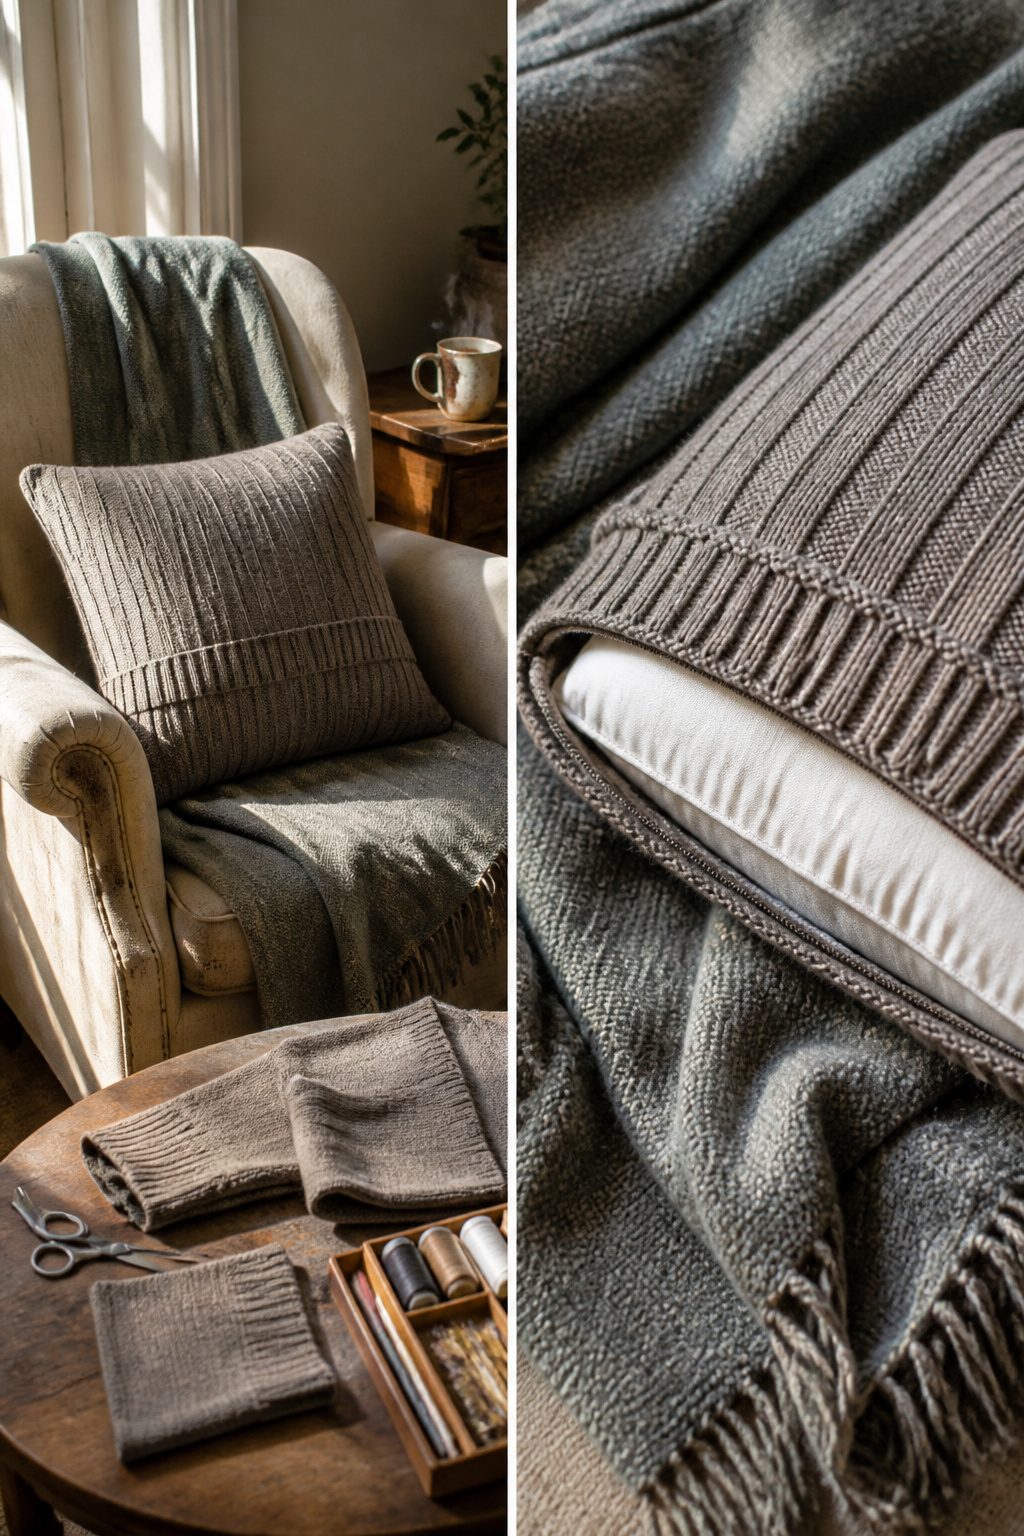
A single thrift-store sweater runs about $4 to $8 and yields more usable fabric than most people realize. The body section, cut away from the side and shoulder seams, becomes a no-sew pillow cover when the ribbed hem and cuffs are slipped over a standard insert like a sleeve. That ribbing is the hidden advantage: it grips and finishes the edge without extra work.
The same ribbing, cut from the waistband and cuffs, forms the cuff of a mitten or the brim of a pet bed when folded double. For mittens, trace your hand on the intact torso with a half-inch margin; the natural stretch of the sweater body curves around the thumb without a gusset if you angle the cut slightly.
Wool that has already felted, whether by accident or intent, behaves differently from synthetic knits. Felted wool will not unravel when cut, so seams can be left raw or blanket-stitched by hand. Synthetic knits need a zigzag finish or they ladder within a wash cycle. If the label is missing, a burn test on a stray thread tells the story: wool smells like burning hair and crumbles, acrylic melts to a hard bead. Felted wool is the forgiving choice for first-timers; synthetics demand a machine finish or they will not last.
A sweater with moth damage or a coffee stain across the chest still gives up its sleeves and ribbing. The pet bed, stuffed with the remaining scraps, costs nothing beyond the initial $4 to $8 and an afternoon.
4. DIY Polar Bear Toy
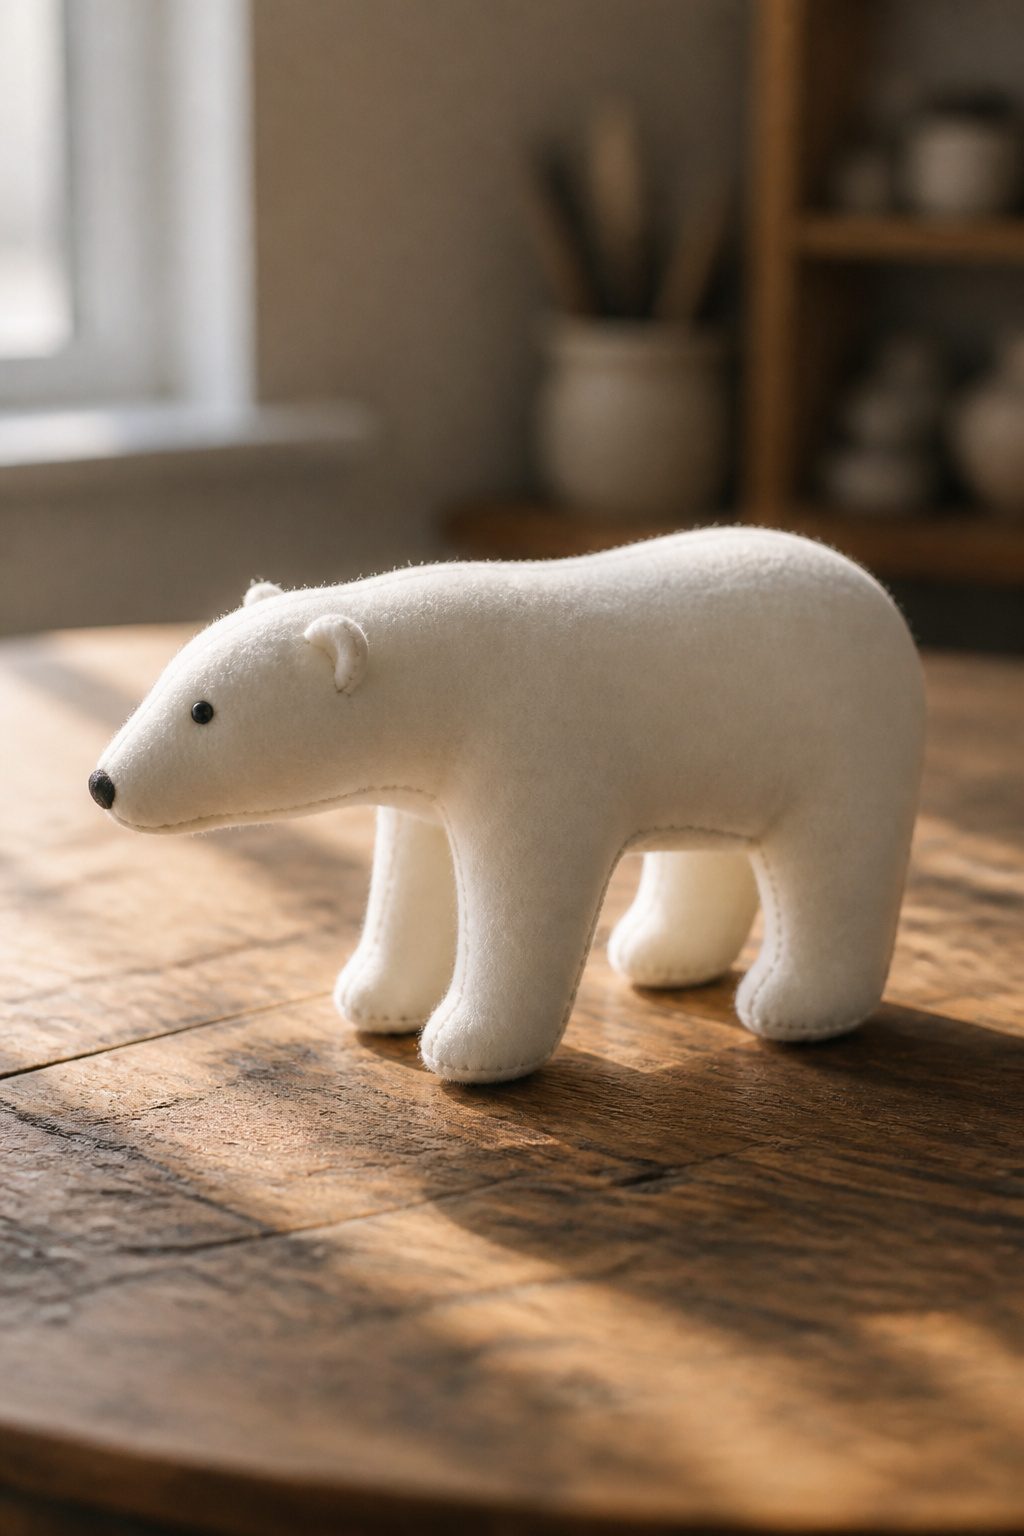
A polar bear toy made from fabric scraps sits well in a weekend project window. The body breaks down into four simple shapes: two matching side profiles for the torso, four identical limb pieces, and a single gusset that runs from nose to tail to give the bear its roundness. Tracing around a hand-drawn card template keeps the cutting consistent, and half-inch seam allowances forgive a wandering needle.
Hand-sewing this project is entirely practical; a running backstitch along the edges holds up fine for a shelf piece. For jointed limbs, a button-and-thread joint costs nothing extra and lets the arms and legs swing. Sew a button flat against the inside of the torso, pass the thread through to the matching button on the outside of the limb, and pull tight. The joint will loosen slightly with handling, which looks more lived-in, not broken.
Stuffing options run from polyfill to wool roving to the shredded edges of your scrap pile. Wool gives the bear a weight that feels more like a found object than a toy-shop item, though it takes longer to dry if the bear ever needs washing. Scrap stuffing works best mixed with something finer, or the limbs turn lumpy.
5. DIY Mason Jar Snowflake Vases
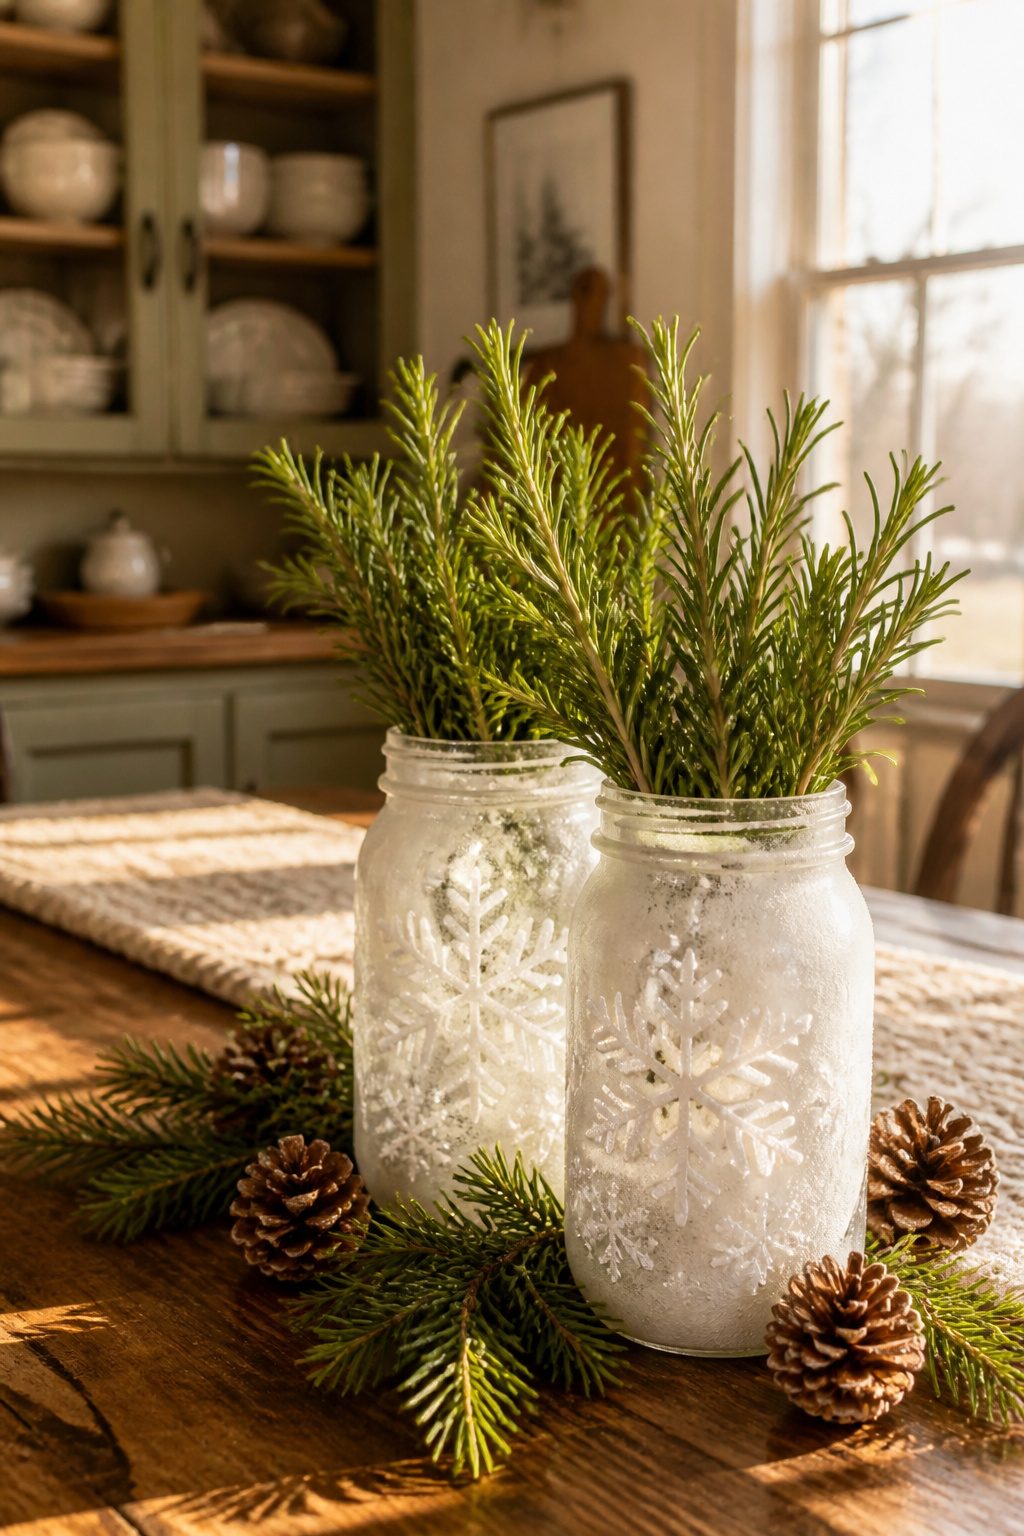
Frost-effect spray paint turns ordinary mason jars into convincing ice-cut glass without the actual etching step. I started with a set of four pint jars, masking tape, and a $4 can of Krylon Looking Glass sprayed from about ten inches back so the droplets landed dry and powdery. The trick is building three thin coats instead of one wet one; otherwise you get drips that read as brush marks, not frost.
For the snowflake pattern, I cut vinyl stencils on a cheap craft-store machine, but freezer paper ironed to the glass works nearly as well and costs pennies. The vinyl lifts cleaner at the edges, which matters if you are painting rather than etching. Real etching cream gives a tactile, permanent finish and runs another $8 for a small bottle, though you need gloves and a well-ventilated sink; the cream bites fast, and a smudge becomes a scar you feel every time you handle the jar.
Keep the flame below the rim if you burn candles inside. The paint is not rated for direct heat, and a tall votive can scorch the coating or worse. I use LED tea lights in mine; the flicker catches the frost texture better anyway, and I do not have to watch the room. A set of four, painted and stenciled, lands around $12–15 if you already own basic masking supplies.
6. Frosted Luminaries
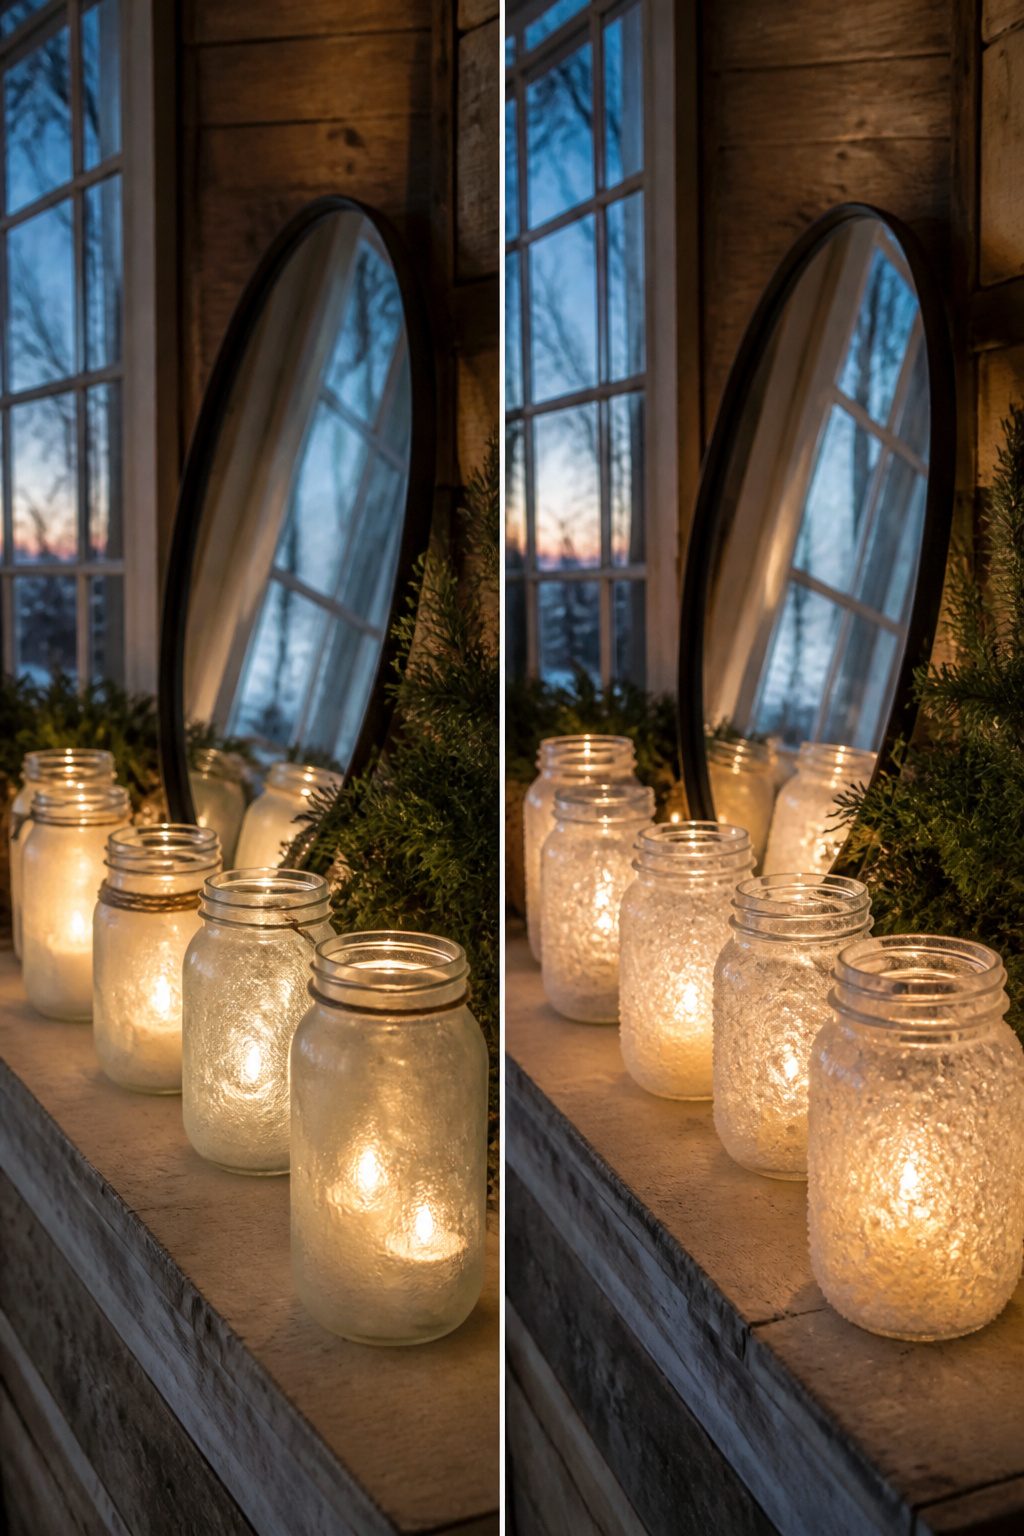
Mason jars take Mod Podge and Epsom salt better than smooth plastic, but either works if the surface has something to grip. I brush the adhesive on in vertical strokes, working in sections so the salt lands while the glue is still tacky. Epsom salt wins over table salt here because the larger, flatter crystals catch light like frost instead of melting into a grainy white smear. Let each coat dry about twenty minutes before deciding if you need another layer; three thin passes usually build enough coverage without drips pooling at the base. For light diffusion, cluster the finished jars where walls or shelving can bounce the glow back inward, a windowsill at dusk or a mantel lined with mirrors behind them. The crystals soften the flame to something closer to moonlight than candlelight, which is the point of the whole exercise.
7. DIY Snowman Decorations
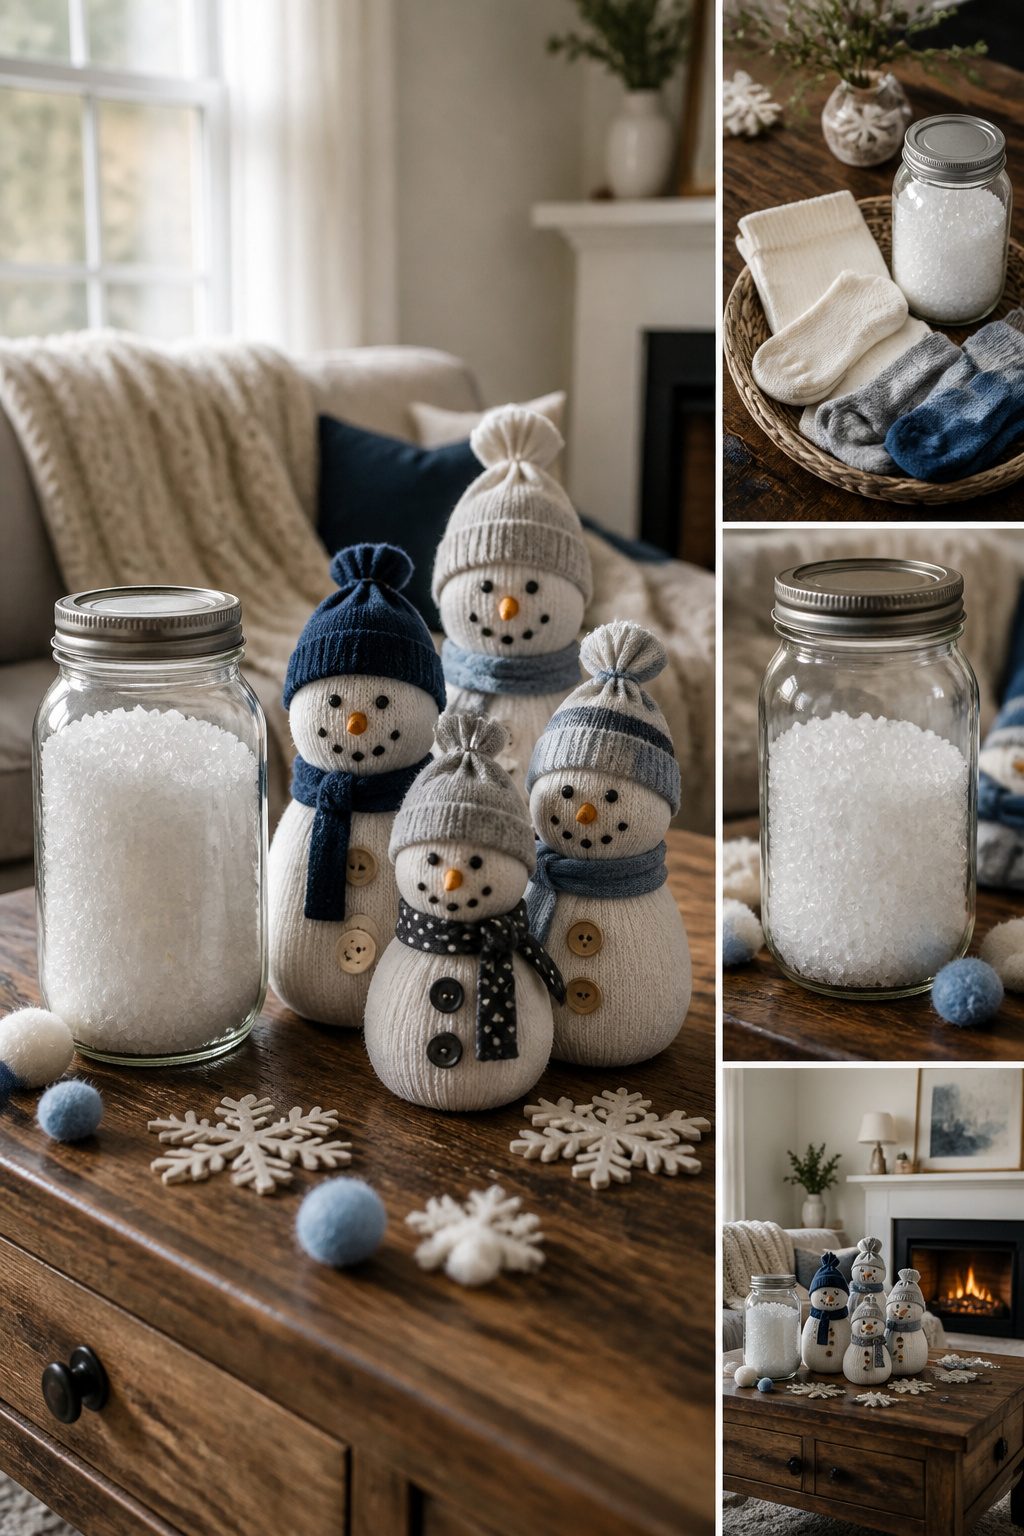
Mason jars filled with Epsom salt make the quickest snowman I have built. A coat of Mod Podge inside the jar, a pour of salt, and the glass reads as packed snow under a windowsill light. I add a felt hat and sharpie face to the outside, but the jar itself stays dry; nothing inside rots, so the whole thing stores flat in a shoebox until next December. That same salt trick works on larger glass, though anything over a quart gets heavy and the Epsom starts to cost more than the craft.
For something that actually weighs a door open, a snowman built from a knee sock and rice sits on the floor without looking like a store-bought stop. I fill the sock three-quarters full, tie it off into two sections with twine, then flip the cuff down as a hat. The rice gives it enough heft to hold a door on a windy day, and a few drops of essential oil in the fill means the thing works as a draft dodger that smells like something. Keep the rice dry or you will find a mold spot by February; a tablespoon of silica gel in the base fixes that.
Out on a porch, stacked wood slices read as a snowman only if the diameters step down cleanly. I use slices from a fallen branch in my own yard, drilled through the center and threaded on a dowel so the stack does not wander. A porch version needs exterior paint or it greys out by March; I have had better luck with acrylic house paint samples than with craft paint on raw wood. Scale matters here: three slices at eight, six, and four inches across fills a stoop without blocking the door swing, and anything taller starts to need a base plate or the first wind tips it.
8. DIY Winter Wreaths
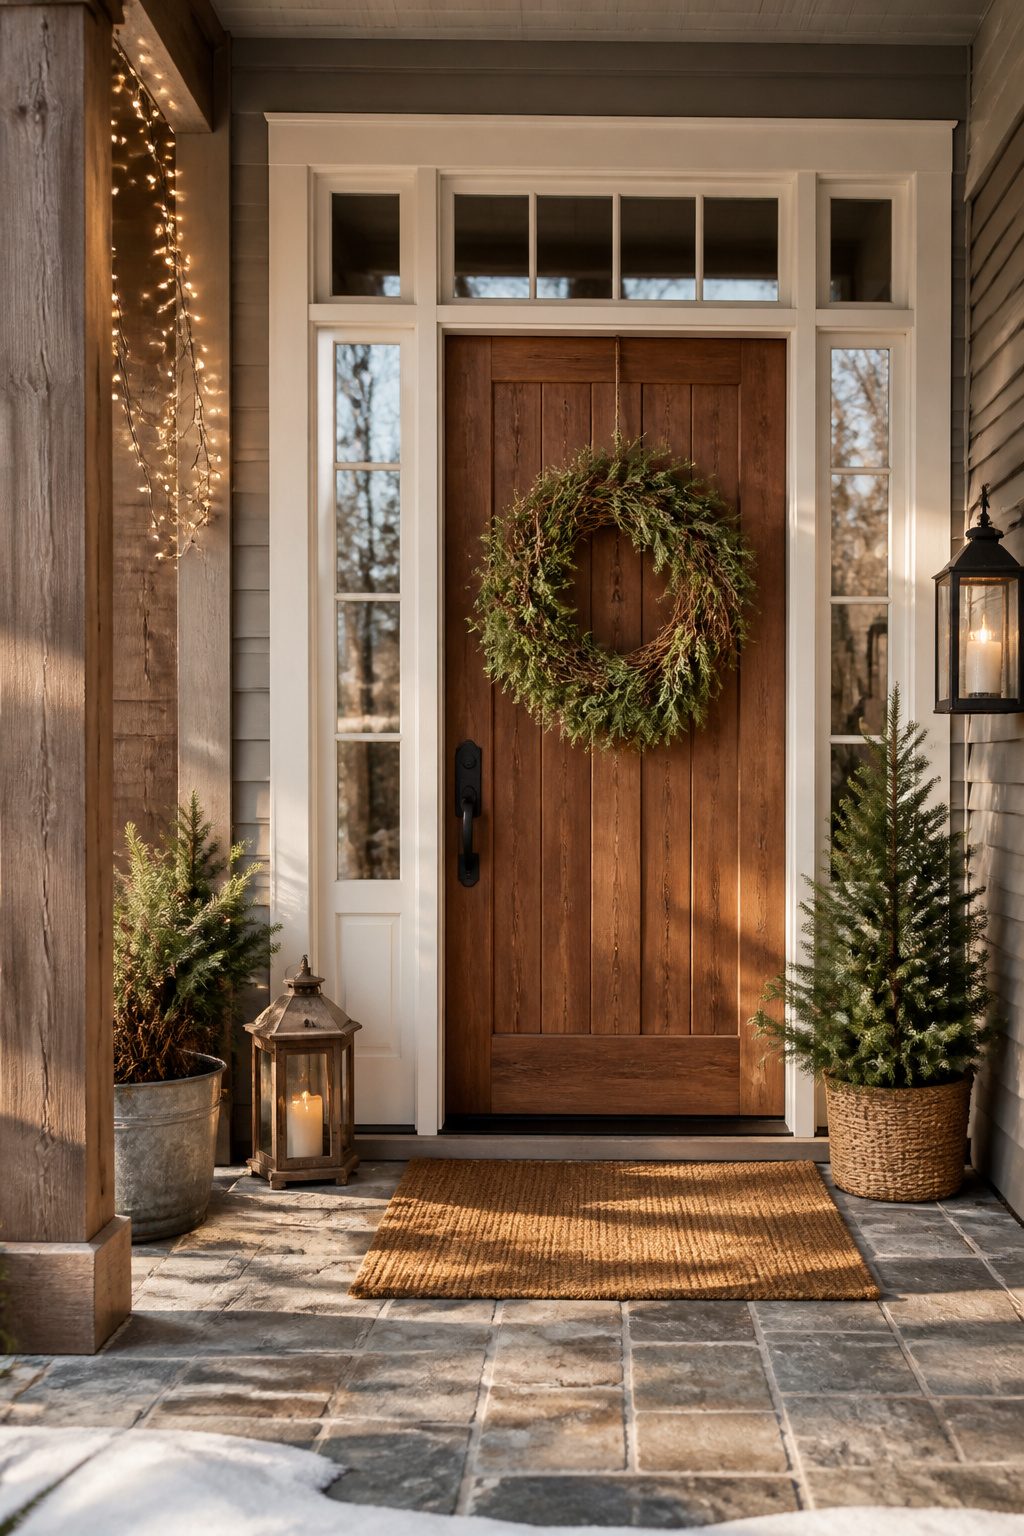
A scarf wreath takes under an hour and needs no tools beyond wire, which is why it stays my first recommendation for anyone who wants their door done before the guests arrive. Old scarves wrap around a straw or grapevine form; the wire pokes through to catch the fabric at the back, and the fringe or tassels do the decorating for you. Grapevine rings work the same way if you buy them readymade, or you can build your own from bundled twigs.
For something that smells like winter, rosemary sprigs and pine boughs attach to any wreath form with twine. Pinecones and berries fill the gaps, and the whole thing stays put without glue if you wire the stems tight. Weatherproofing for outdoor use means choosing a base that drains, grapevine or wire rather than straw, and checking your attachments after the first freeze. The scarf version stays indoors on a covered porch; wet wool gets heavy fast, and the wire rusts where the paint flakes.
9. DIY Candle Holders
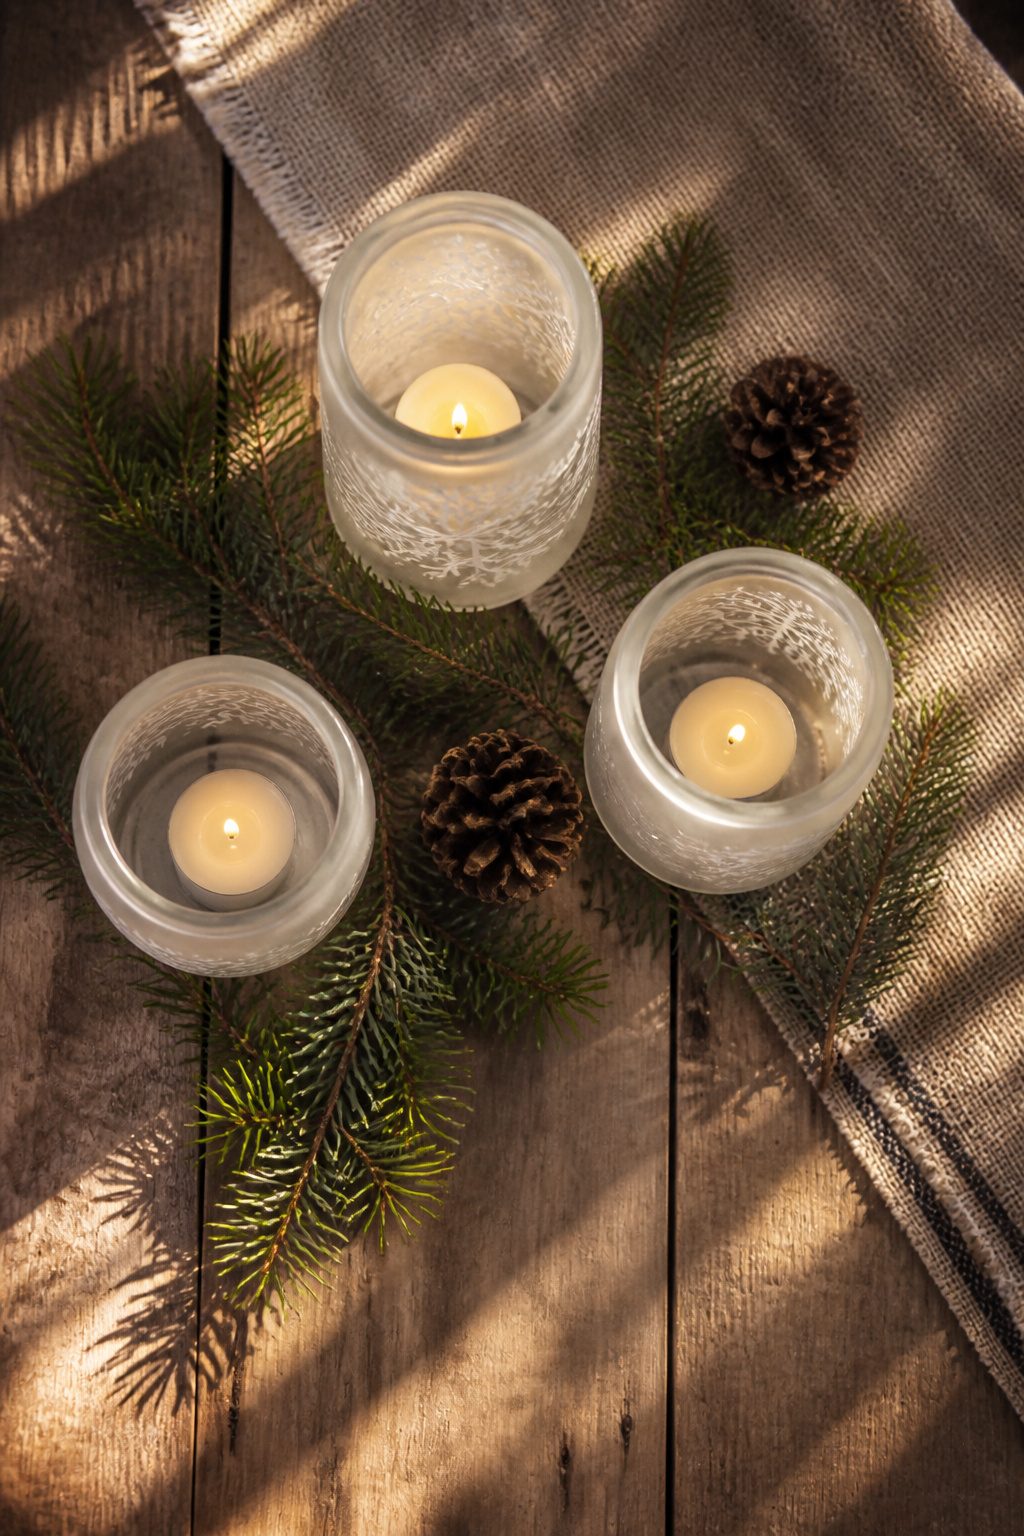
Recycled glass jars make the simplest candle holders, and the price is hard to beat if you have been saving them. A quick scrub with hot water and dish soap removes most labels; any sticky residue comes off with cooking oil and a rag. Leave at least two inches of glass above the flame so the rim stays cool enough to handle, and skip anything with hairline cracks that could split from heat.
Tin cans take a little more effort but give off better light. A hammer and nail punch a pattern through the wall, and the dents actually help once the can is painted. The holes need to be large enough that the candle breathes, small enough that the pattern still reads. A votive inside keeps the wax contained so you are not scraping metal later.
Wood blocks drilled for tea lights feel more finished, though you need a spade bit the right diameter. The trick is depth: the tea light should sit flush or slightly below the surface so the wind does not blow it out, but not so deep that the flame starves. A heat-resistant finish on the wood is non-negotiable; plain polyurethane can bubble or discolor.
Clustering three heights together works better than matching sets. The tallest jar or block goes in back, the shortest up front, with the middle one slightly off-center. The whole arrangement stays under six dollars even if you buy the drill bit new, and nothing here takes longer than a single winter afternoon.
10. DIY Winter Centerpieces
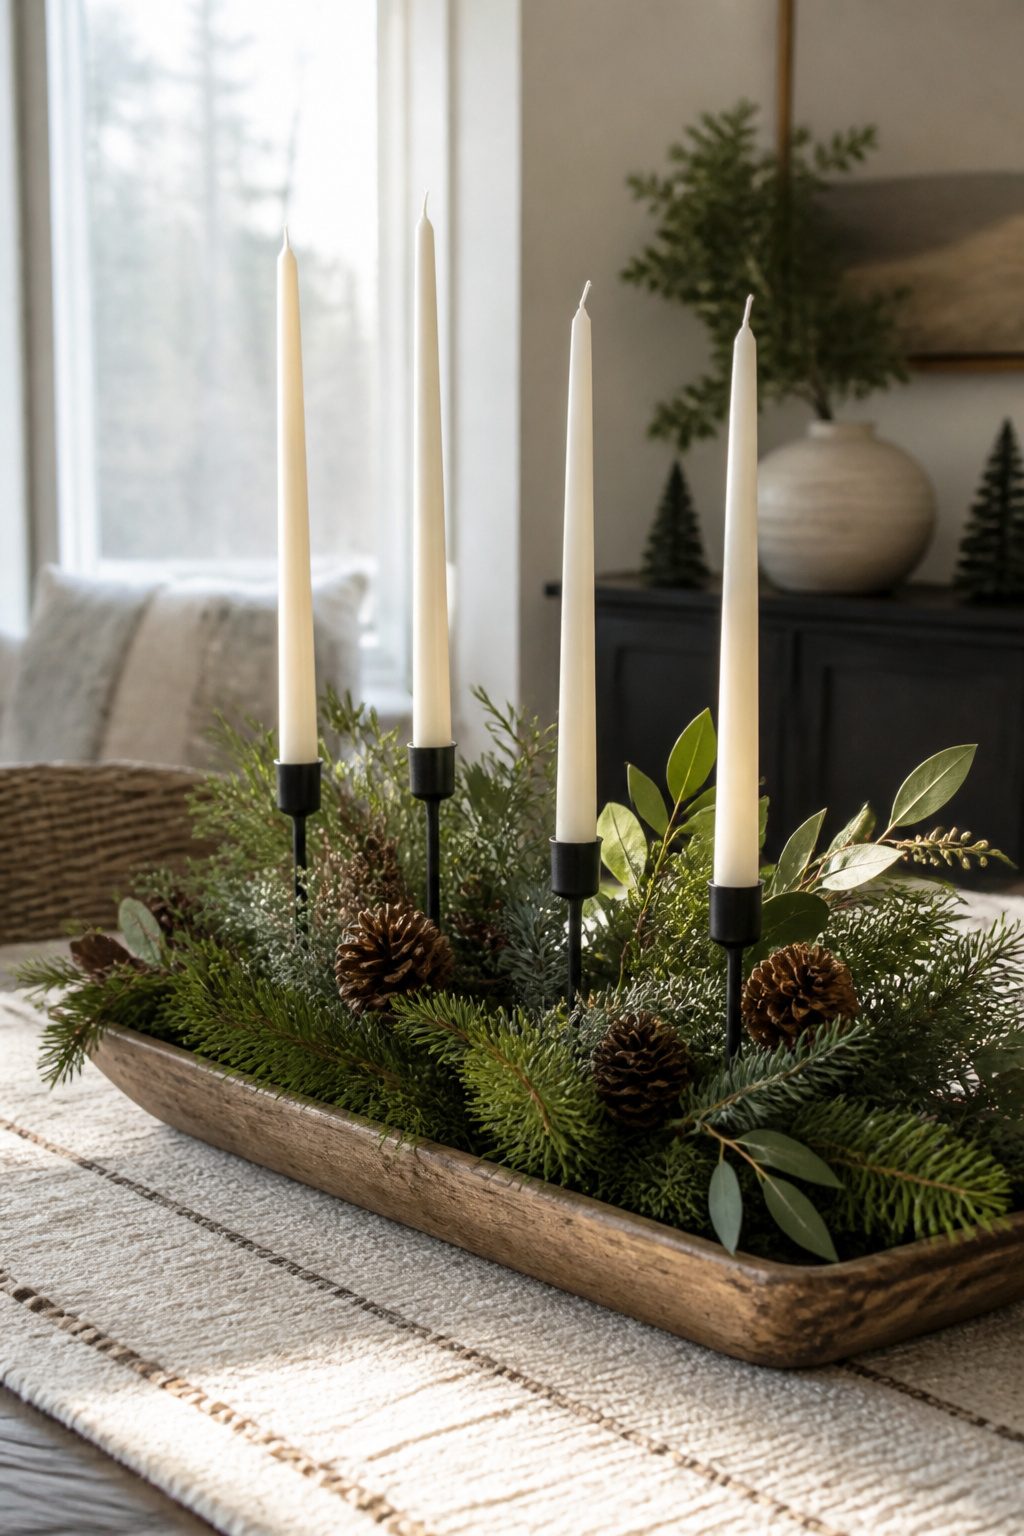
Assembled centerpieces need to stay low enough for people to talk over them, which for most tables means keeping the tallest element under fourteen inches. I learned this the hard way at a dinner where my pine-and-candle creation forced guests to lean sideways to see each other. The three-element formula fixes this: one vertical piece for height, one rounded piece for width, and one textural piece that catches light. Candles handle the vertical role if you choose tapers under twelve inches or cluster pillars at staggered heights. Greenery, whether clipped from backyard shrubs or the trimmings sold cheap after holidays, fills out the rounded middle. Found objects, pinecones, or the fabric snowballs and yarn-wrapped sticks from earlier in this list become the texture that makes the arrangement look collected rather than purchased.
Building everything on a tray turns a scattered centerpiece into something you can lift off for game night or shift to the coffee table when you need the dining space back. A simple wooden tray with a lip keeps candles upright and catches wax drips. I arrange the tallest candle slightly off-center, layer greenery around it working outward, then tuck the smaller elements into gaps where they peek through rather than sit on top. The whole thing takes twenty minutes, costs whatever you already spent on the other crafts, and moves in one hand when the pizza arrives.
Materials and Supplies
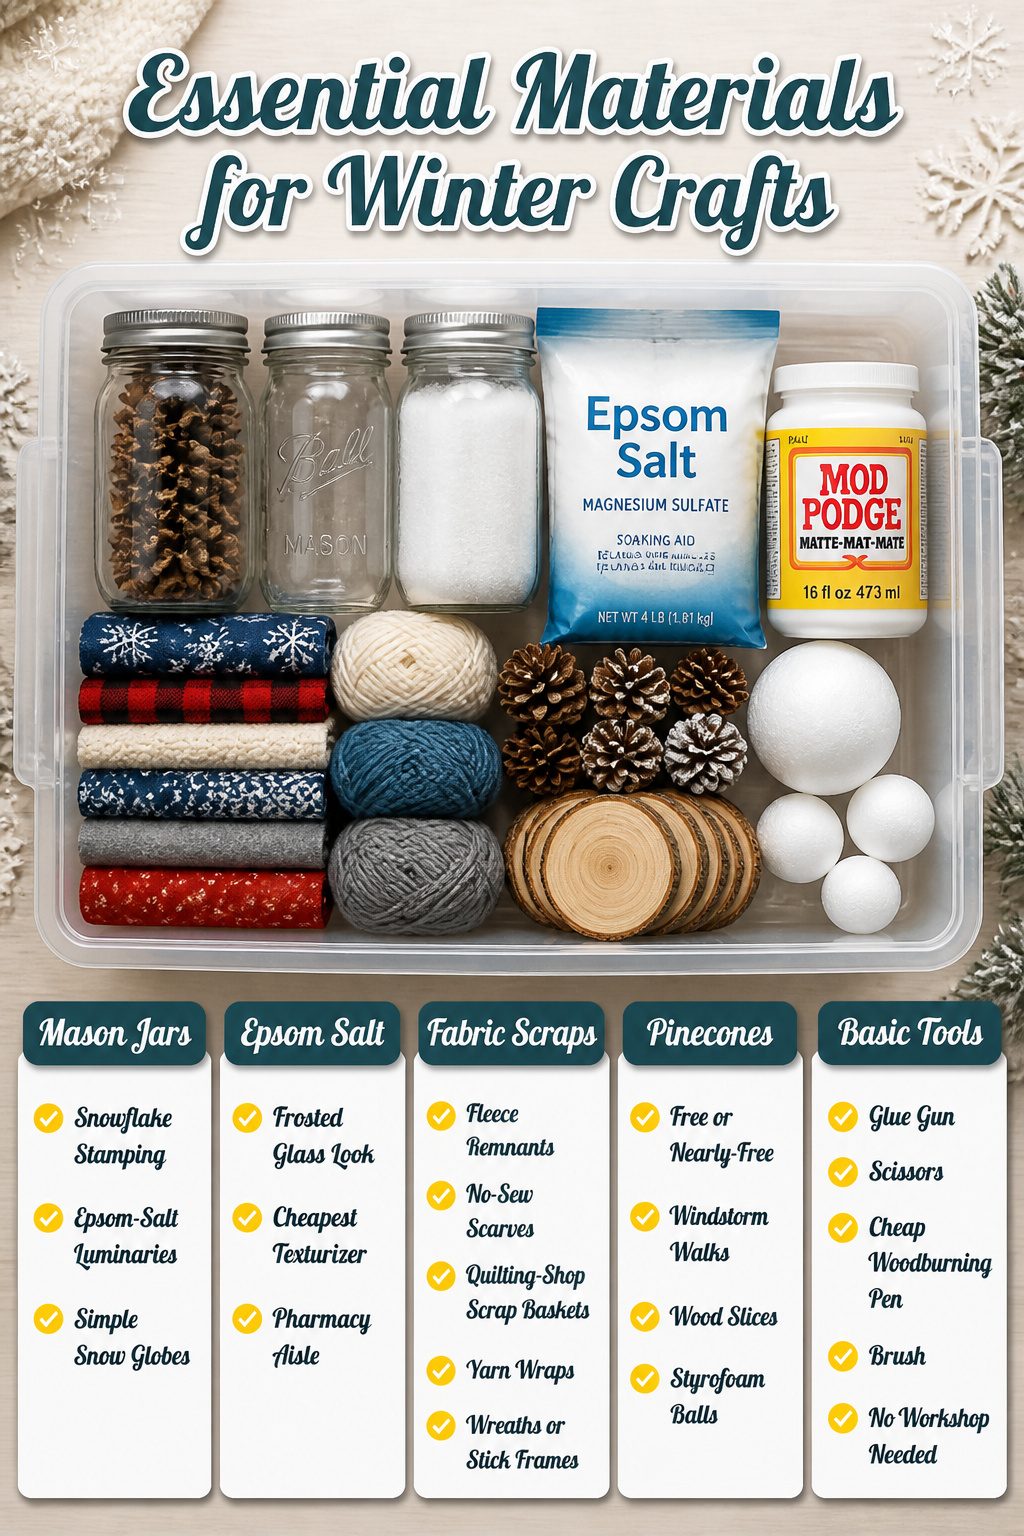
Most winter crafts for adults run on the same six staples. Keep them in a single bin and you skip the Saturday-morning hardware run.
- Mason jars carry half these projects: snowflake stamping, Epsom-salt luminaries, simple snow globes. Thrift stores price them at a dollar or less; ask for canning leftovers if the shelf is bare.
- Mod Podge and Epsom salt pair for that frosted glass look. The salt is the cheapest texturizer in the pharmacy aisle, and a single bottle of matte Mod Podge lasts me three winters.
- Fabric scraps and yarn fill the soft side of the bin. Fleece remnants become no-sew scarves; yarn wraps into wreaths or stick frames. Quilting-shop scrap baskets run a few dollars per bag, which beats buying yardage.
- Pinecones, wood slices, and Styrofoam balls are the free or nearly-free armature. Walk the neighborhood after a windstorm for cones; craft-store foam balls cost more but hold shape for fabric snowballs year after year.
- Basic tools: a glue gun, scissors, a cheap woodburning pen for coasters, and a brush you do not mind throwing out. Nothing here needs a workshop.
The bin itself is the trick. Mine is a plastic shoebox with a lid. In November I lift it down and know I am two-thirds stocked.
Crafting Techniques
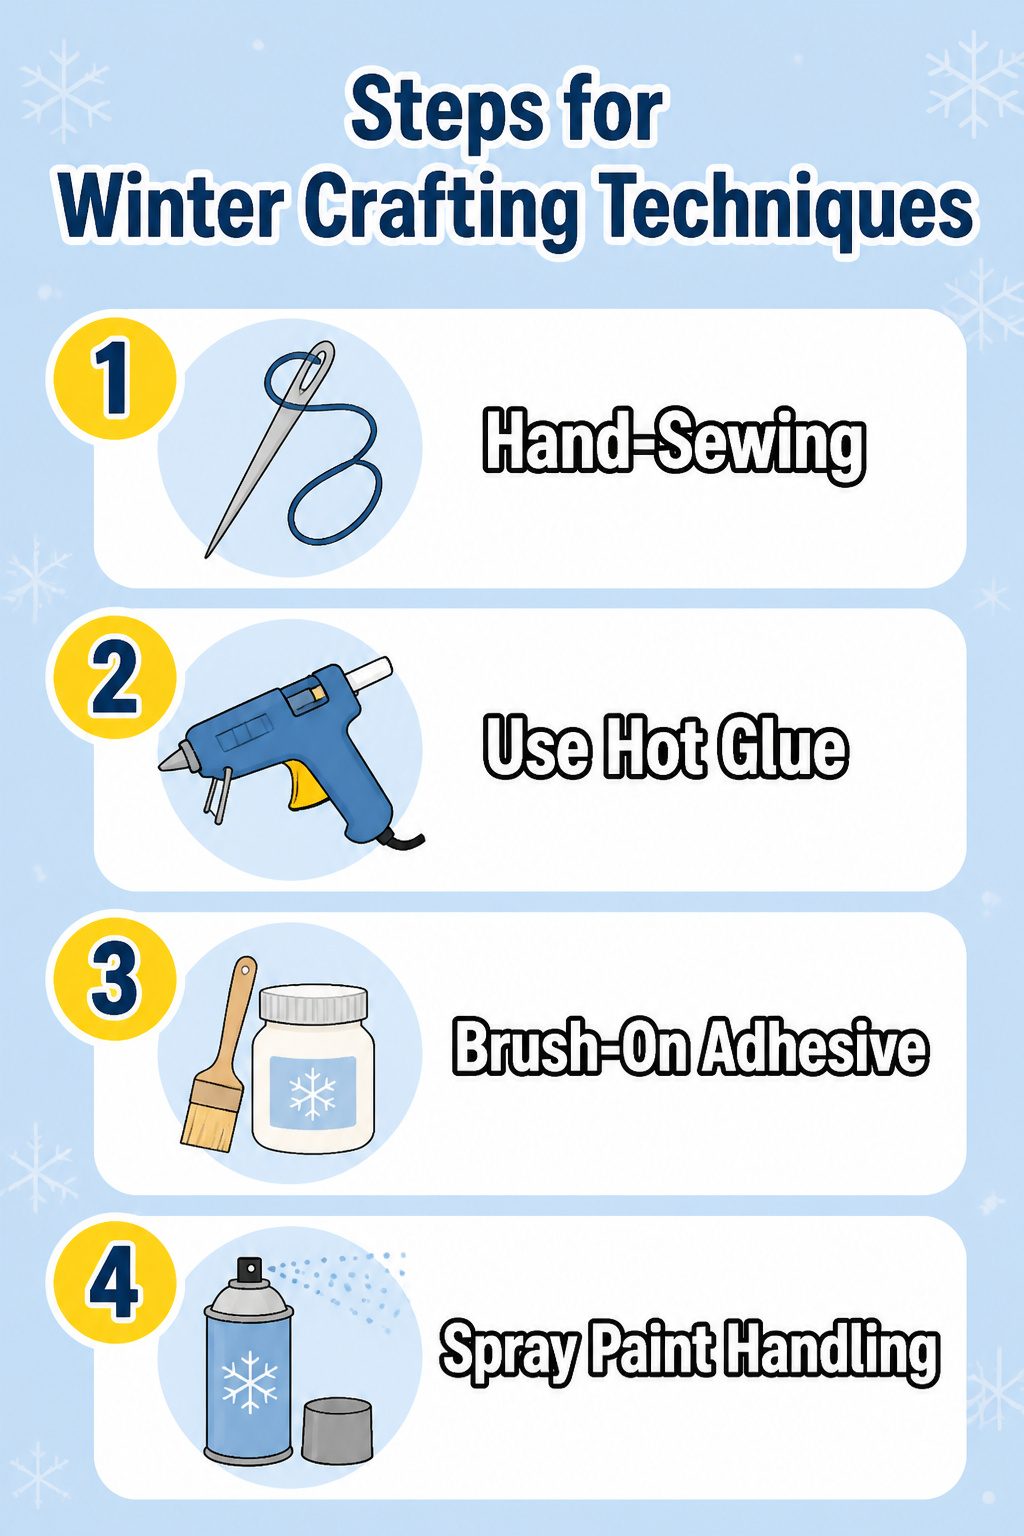
Most winter crafts for adults lean on just a handful of techniques, and the projects worth doing are the ones that teach you one or two new ones without requiring a full workshop. Hand-sewing is the gentlest entry point; the polar bear toy from the free pattern can be sewn entirely by hand, and the stitches stay hidden inside the plush seam. If you have never sewn before, start there. The motion is repetitive enough that twenty minutes of practice on scrap fabric will carry you through the whole project.
Hot glue runs through almost everything else on a winter list. The pinecone kissing ball and the spool art both use it as the primary fastener, but the scale differs. For the spool art, a standard temp gun and a few seconds of pressure per spool is enough. The pinecone ball needs more care: the Styrofoam core melts if the glue is too hot, and the bigger cones need to go on first so the smaller ones can fill the gaps. A low-temp setting and patience with placement order will save the shape.
Brush-on adhesive and simple drilling appear in projects like the mason jar snowflake vases and frosted luminaries, though the drilling is limited to making air holes or hanging points in thin wood or metal lids. Spray paint handling matters for the spool art base and any metal pieces you want to frost; the rule is thin coats in a warm, dry space, not the thick layer that looks efficient and drips overnight.
Seasonal Decor

A finished winter craft earns its keep by how it lives in a room after the glue dries. The projects in this article work best when you think about placement for light first: a frosted luminary on a windowsill catches the gray afternoon sun, while a yarn-wrapped stick arrangement reads as texture against a painted wall but disappears near a busy bookcase. Scale matters too. A cluster of small mason jar vases gets lost on a wide console table; the same grouping on a narrow entry shelf reads as intentional.
January through February is the real test. Most of these pieces need to survive six to eight weeks of daily sightlines without the holiday glitter to distract from any rough edges. I lean toward materials that age quietly: wool darkens slightly, frosted glass stays frosted, bare branches stay bare. Anything too precious starts to feel like clutter by mid-January.
Storage for next year is where I used to fail. Now I pack finished pieces in the same bin they came from, with the leftover materials tucked underneath. A labeled shoebox fits most of these projects; the sweater upcycle pieces fold flat. The only rule I follow is nothing goes into storage until I note what broke or what I’d scale differently, so I’m not relearning that the polar bear’s ears need a tighter stitch when I pull it out eleven months later.
Frequently Asked Questions
What are some easy winter crafts for adults?
DIY fabric snowballs, yarn-wrapped sticks, and winter wreaths are all straightforward projects that need minimal tools. Fabric snowballs use styrofoam balls and scrap fabric; yarn-wrapped sticks need only branches and leftover wool. A scarf wreath wraps up in under an hour with nothing but wire and an old scarf.
How can I host a winter craft night?
Pick simple, low-mess projects and prepare materials in advance so guests can start immediately. The article’s fabric snowballs and yarn-wrapped sticks both work well for groups because they need little instruction and accommodate different skill levels. Keep a single bin with the six staple supplies so you are not running to the store mid-evening.
What materials do I need for winter crafts?
The same six staples carry most projects: mason jars, Mod Podge and Epsom salt, fabric scraps and yarn, pinecones and wood slices, plus basic tools like a glue gun and scissors. A plastic shoebox holds nearly everything; thrift stores price mason jars at a dollar or less, and neighborhood walks after windstorms yield free pinecones.