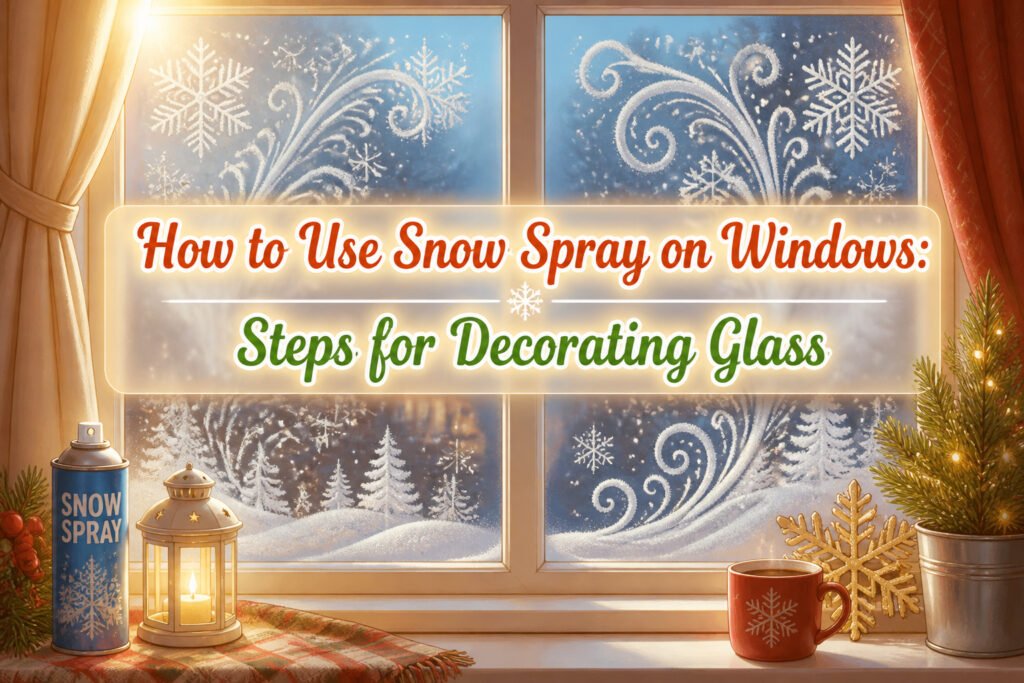
A finished window takes one evening, one can of spray, and about ten dollars in supplies. Most people skip the prep and watch their design flake off by New Year’s. The difference is cleaning the glass with rubbing alcohol first, not just glass cleaner, because residue from old stickers or even some cleaners themselves will kill adhesion before the first layer dries.
1. Clean the Window First
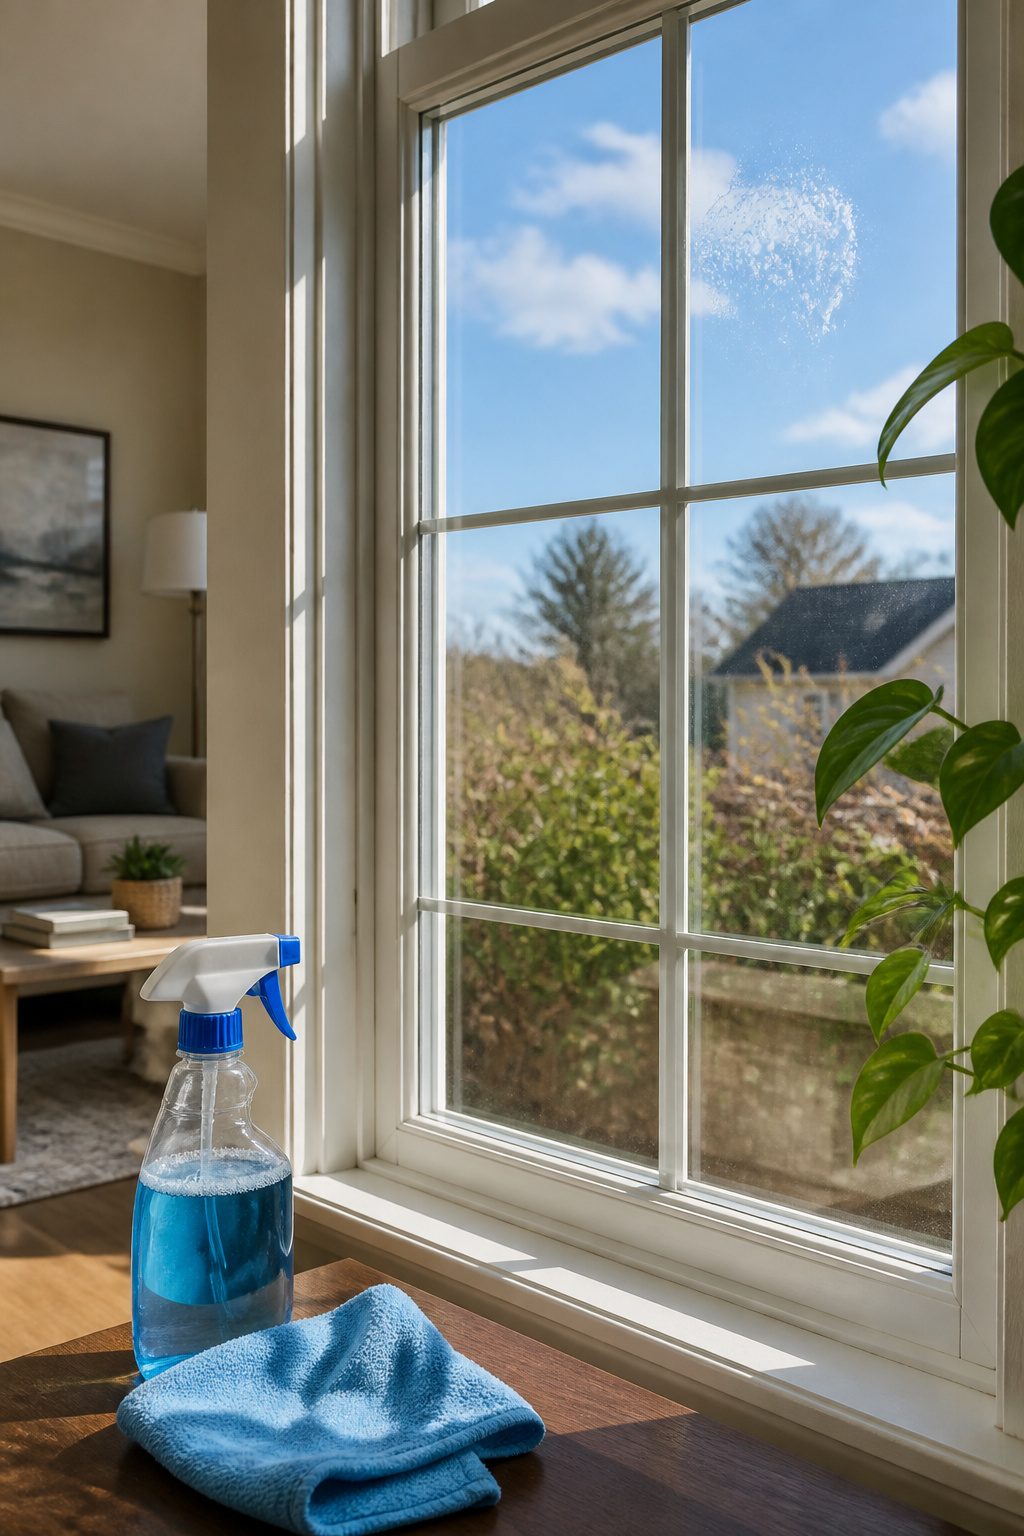
Snow spray sticks to glass, not to the film of dust, kitchen grease, or last year’s adhesive that most windows collect. Dirt and residue left on the surface prevent proper adhesion, so the finish flakes off in patches or turns dull where the spray meets skin oil instead of glass. I learned this the hard way on a bathroom window I thought looked "clean enough," and the snow pattern peeled by New Year’s.
A standard glass cleaner removes the obvious grime, but the real enemy is residue from previous decorations, price stickers, or even some cleaners themselves. Rubbing alcohol cuts through that last layer better than soap, and a microfiber cloth keeps new lint from replacing the old dirt. The glass needs to be fully dry, too; moisture trapped under the spray creates bubbles that look like frost but read as mistakes.
Skip this step, and you are essentially painting over a dirty countertop. The spray goes on uneven, the texture clumps, and the whole design has a shorter life than a weekend project deserves. Ten minutes of prep saves an hour of touching up thin spots later.
2. Tape a Solid Background Behind the Glass
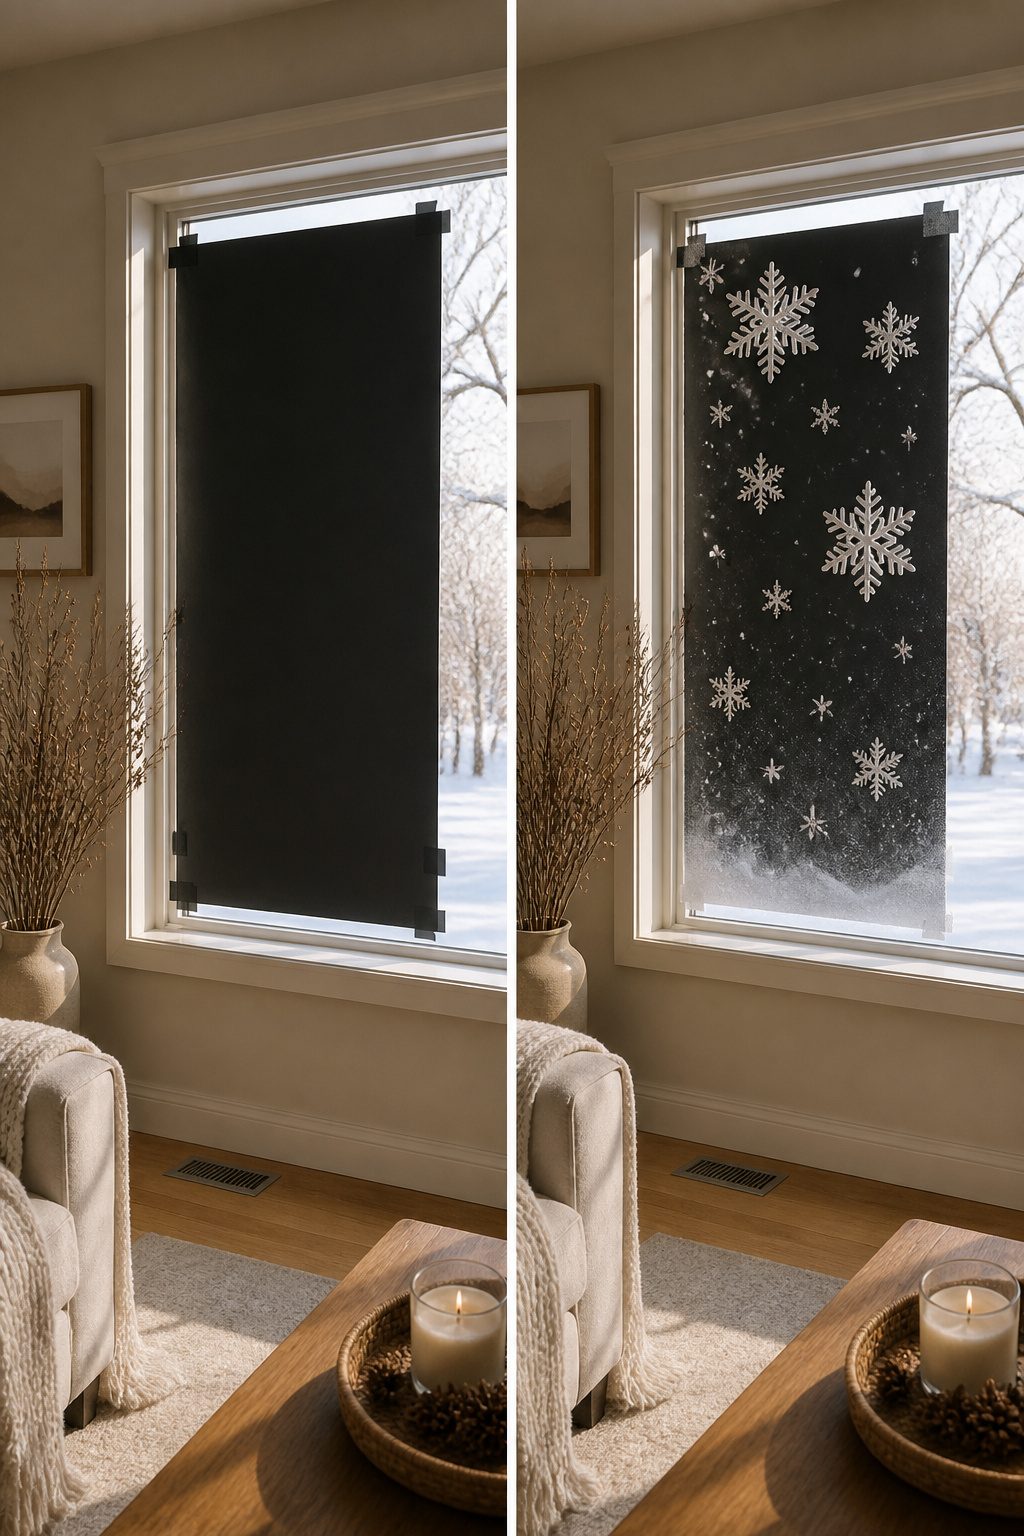
Standing at the wrong side of the glass on a bright afternoon, you lose track of where the spray lands. The mist vanishes against sky and siding, and you only notice the bald patch after you walk outside. Taping a black sheet behind the window fixes this completely. The dark field turns every fleck of white into something you can see and steer. I picked this up from a single tutorial years after I’d already wasted half a can guessing, and it still strikes me as the kind of move professionals keep quiet. A yard of black poster board from any craft store, clipped or taped to the inside frame, costs next to nothing and saves the whole design.
3. Pick a Snow Spray That Does Not Run
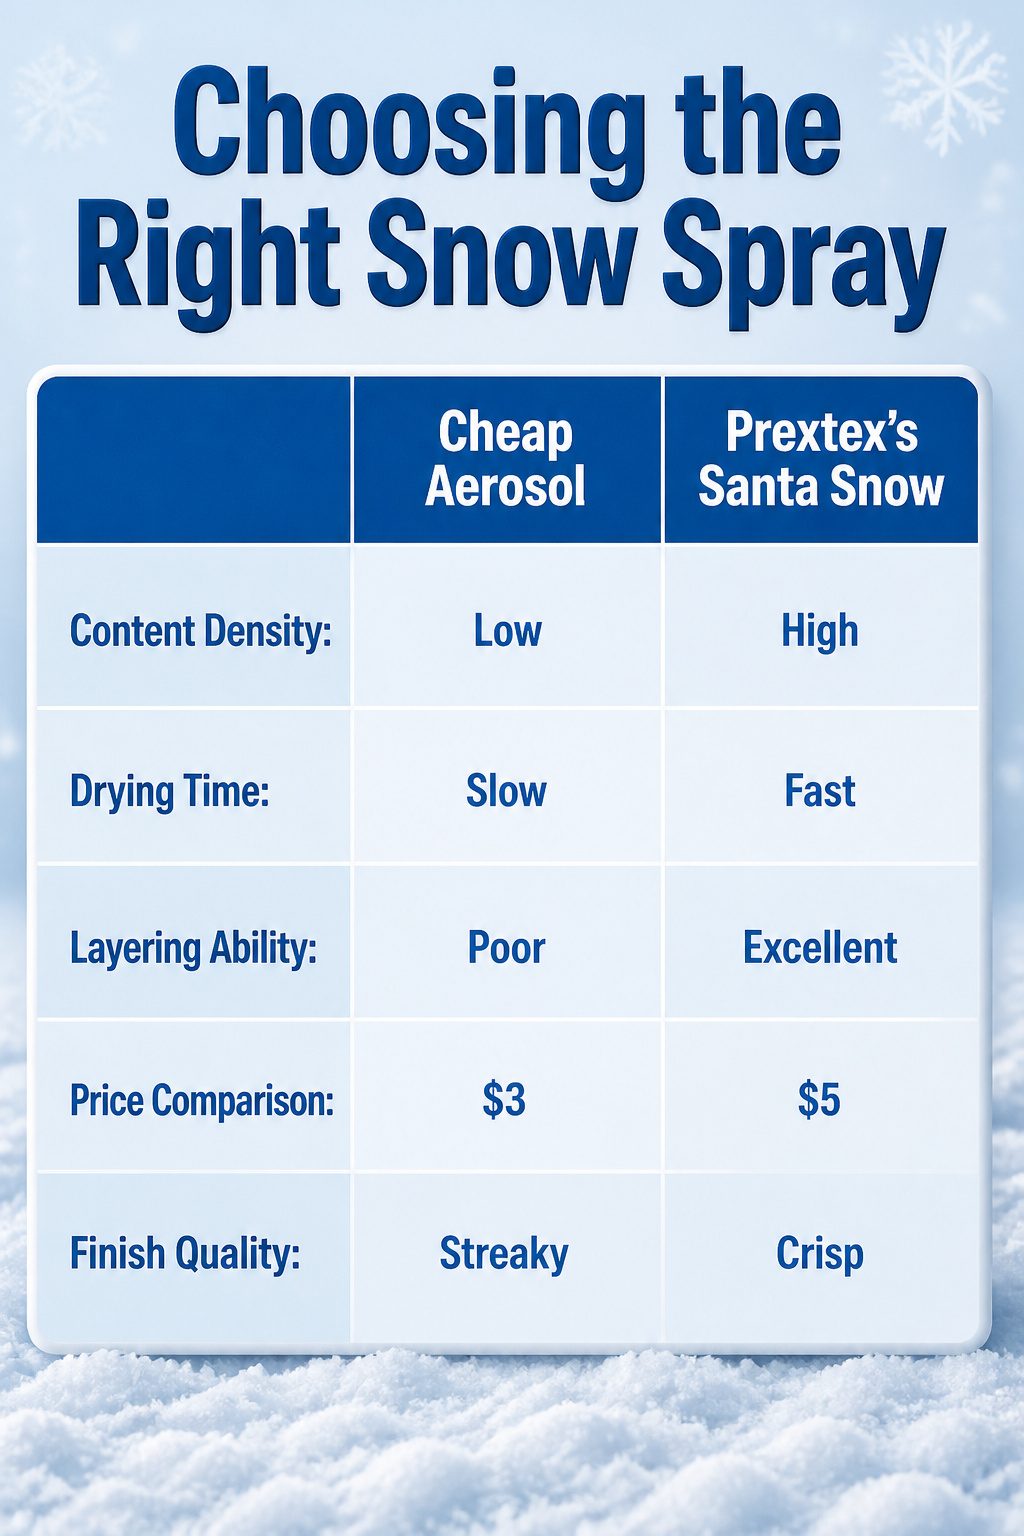
Not all snow sprays behave the same way on glass. The cheap aerosol cans that show up first in seasonal aisles tend to carry too much solvent and too little solid content, so the spray runs down the window before it can set, pooling at the bottom of your design and erasing any detail you tried to build. I learned that the hard way one December after a can of dollar-store spray turned a planned pine tree into a white drip stain.
Prextex’s Santa Snow is the option that keeps coming up in rated discussions for holding its shape. The difference is in the formulation: a denser spray that lands where you point it and dries fast enough to layer over. That density matters because the real work of snow spray window ideas happens in the layering, not the first pass.
"Cheap snow spray is awful, and you will not be able to create scenes with it. It will just run down the window."
What this means in practice: one can of the right spray saves you from restarting a whole window. The cost gap between bargain and rated brands runs roughly a dollar or two per can, which is cheap insurance against watching your weekend project slide off the glass.
4. Build a Base Layer
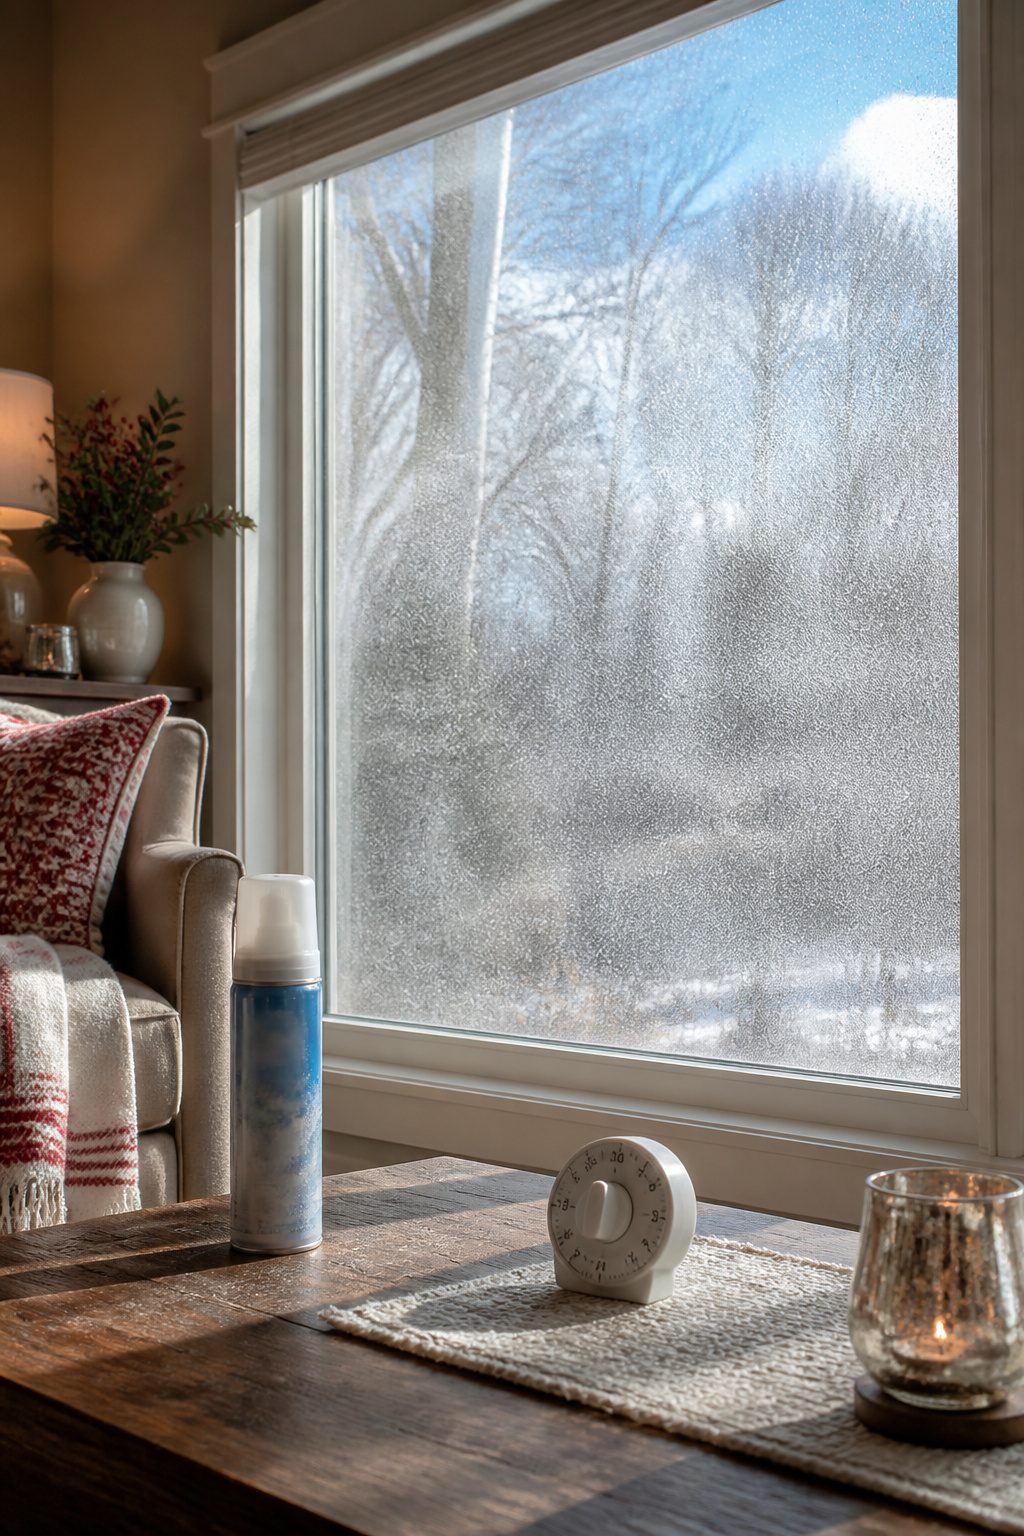
A thin coat of snow spray acts like primer for glass. The first pass should look almost too light, with the window still showing through in places. That translucency is what you want; heavy blobs from the start dry unevenly and start to crack before the holidays are over.
I learned this the hard way on our living room bay window two winters back. The can felt full and I got impatient, laying it on thick enough to hide the street outside. By New Year’s the edges were flaking onto the sill in pale curls. Now I hold the can farther away than feels right, about ten to twelve inches, and keep the nozzle moving in loose arcs.
The base layer needs roughly fifteen minutes before you touch it again. That wait matters more than the thickness. The solvent in most sprays stays active longer than the label suggests, and a second coat too soon dissolves the first instead of building on it. What you get after that first dry pass is a matte surface that later layers can grip, not a finished look. Think of it as frosting a cake: the crumb coat exists so the decorative layer has something to hold onto. Without that foundation, detailed work on top slides or pools, and the whole window ends up reading as flat white instead of dimensional snow.
5. Add Depth With Layering
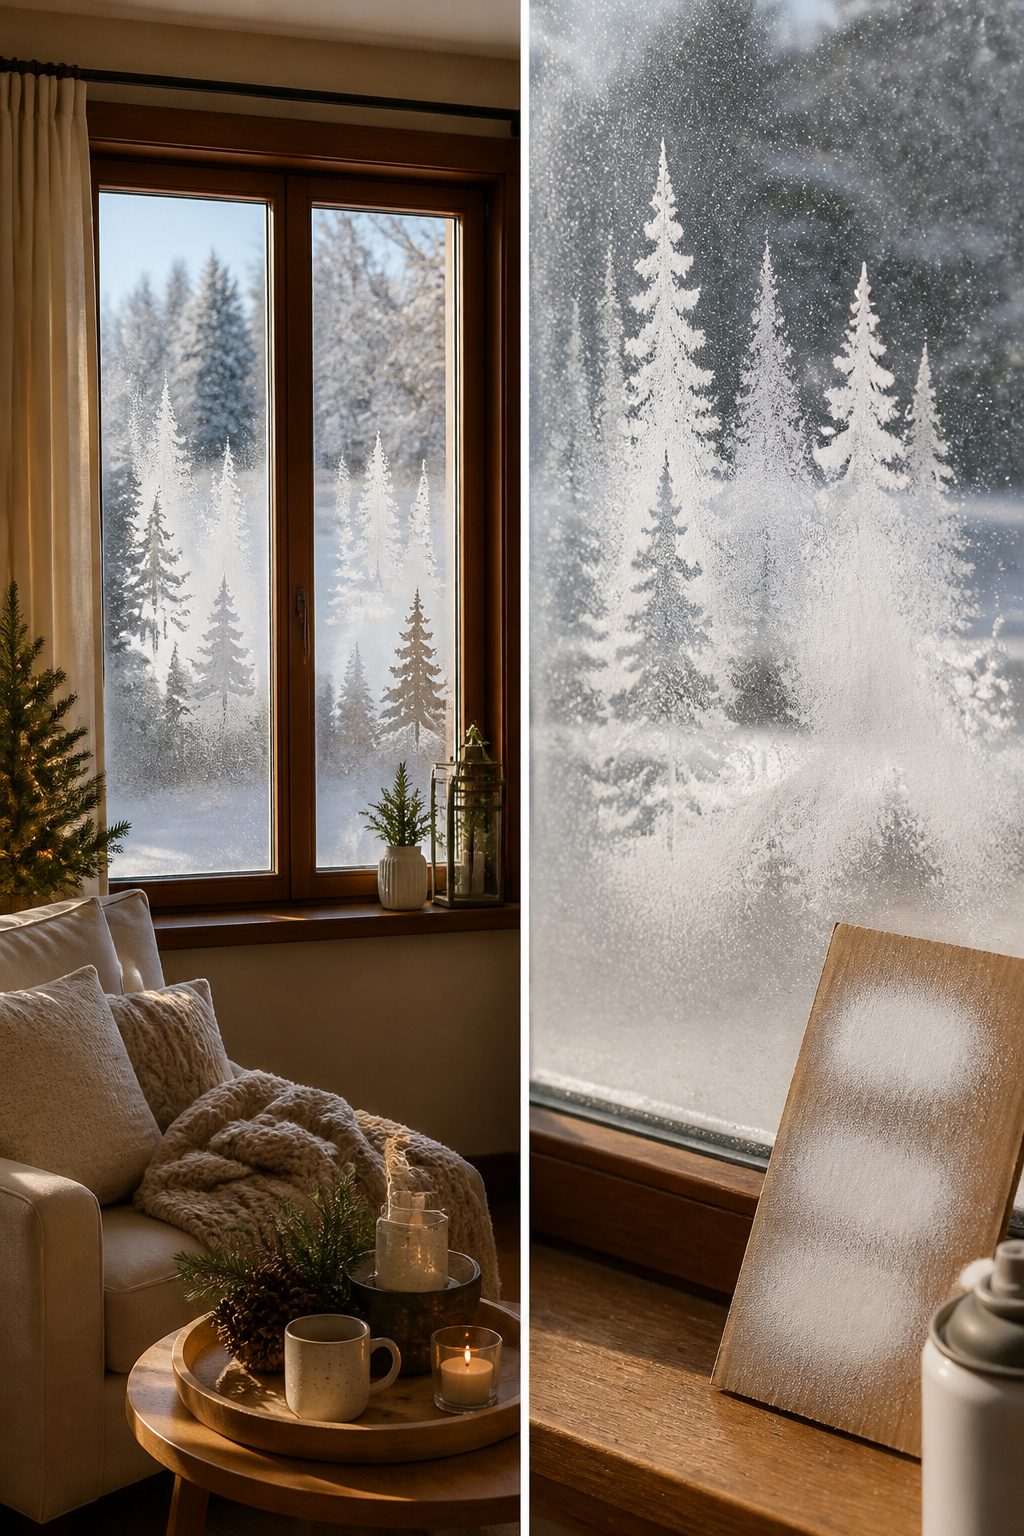
Snow spray builds up best in thin passes rather than one heavy coat. I learned this the hard way after a thick layer cracked and flaked off my kitchen window within a day. Three or four light mists, each given about ten minutes to set, create a surface that actually catches light like real powder.
The trick is treating each pass as a decision about depth. Corners and window edges, where shadow would naturally collect, get a fourth or fifth pass. The center stays lighter, which reads as open sky or flat ground against the darker buildup. I keep a scrap of cardboard nearby and test opacity by holding it against the glass between layers.
Earlier layers stay put only if they are fully dry before the next coat. Humidity stretches that wait time, and rushing it dissolves the texture underneath into gray soup. A hair dryer on cool, held at arm’s length, speeds things up without the heat that can bubble the finish. Once the full buildup is done, the layered spots feel slightly raised to the touch and catch side light in a way a single flat coat never manages.
6. Shape With Scrapers and Silicone Brushes
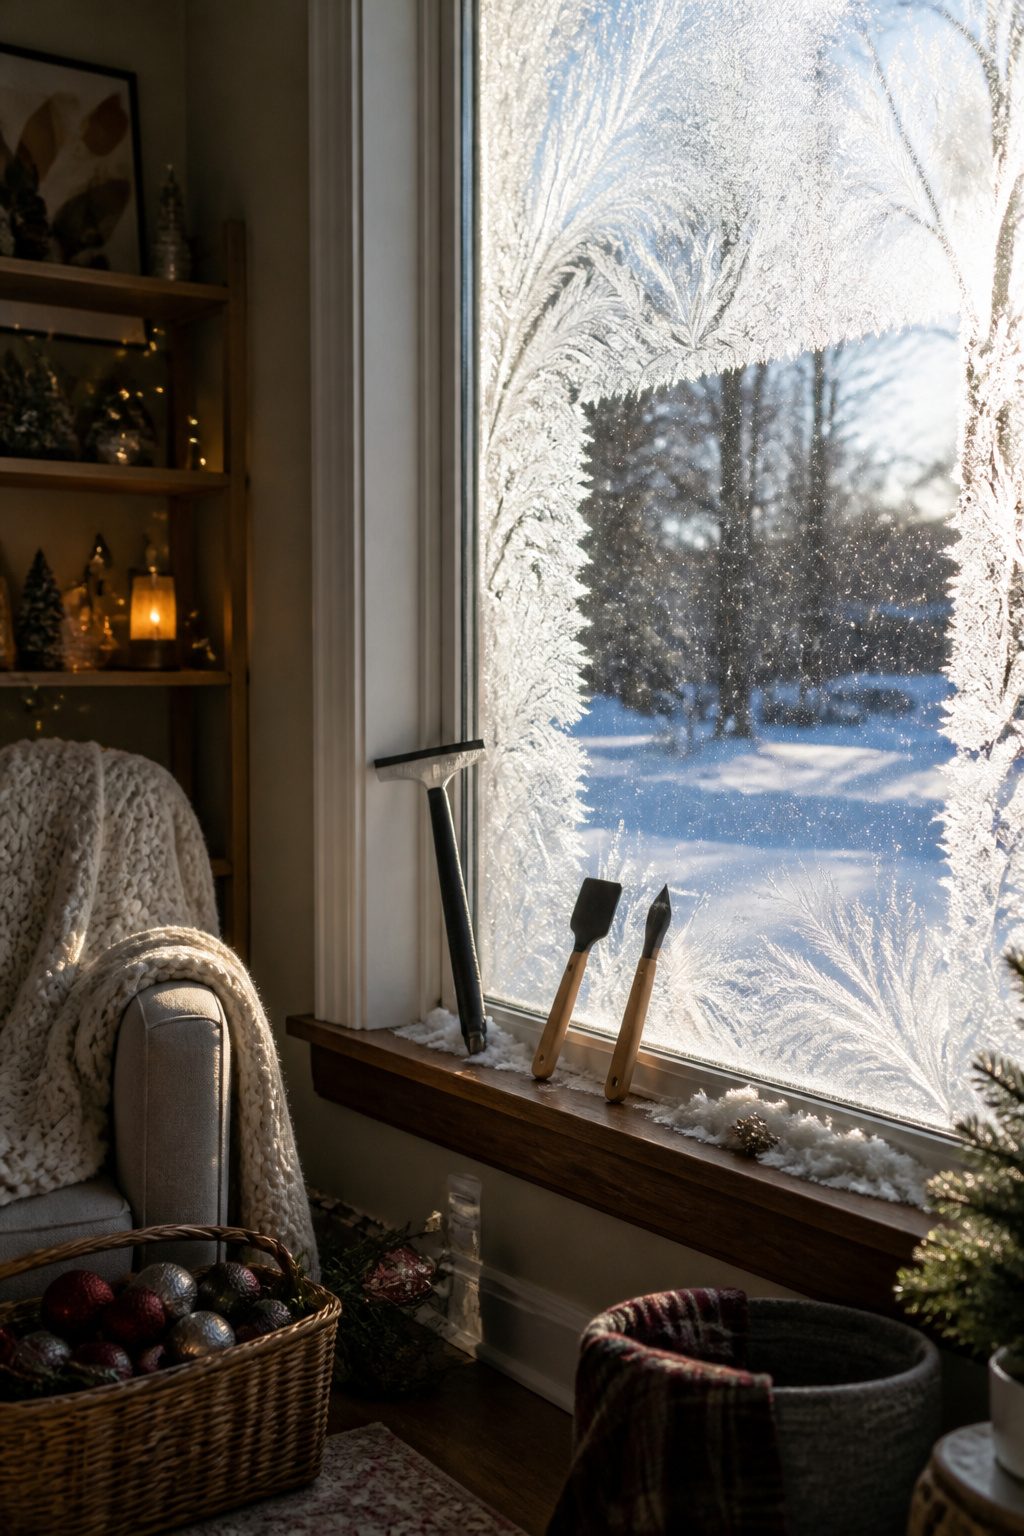
A window scraper is the tool for pushing wet snow spray into clean edges and lifting it off entirely when the shape goes wrong. Fingers leave prints and smudge the line; the scraper’s flat blade gives a hard stop that reads as a window frame or a roofline from across the room. I keep one within reach the whole time the spray is wet, because the window decides in about thirty seconds whether it will hold the edge or let it feather.
Silicone brushes do what the scraper cannot. The flat head spreads the spray into soft drifts and uneven banks, the kind of texture that suggests snow has settled rather than been drawn. The pointed end dabs in bare branches and fence posts, details too fine for a fingertip. Both tools cost little and wash clean with water, which matters more than it should after a long evening of layering.
7. Stencils for Repeating Designs
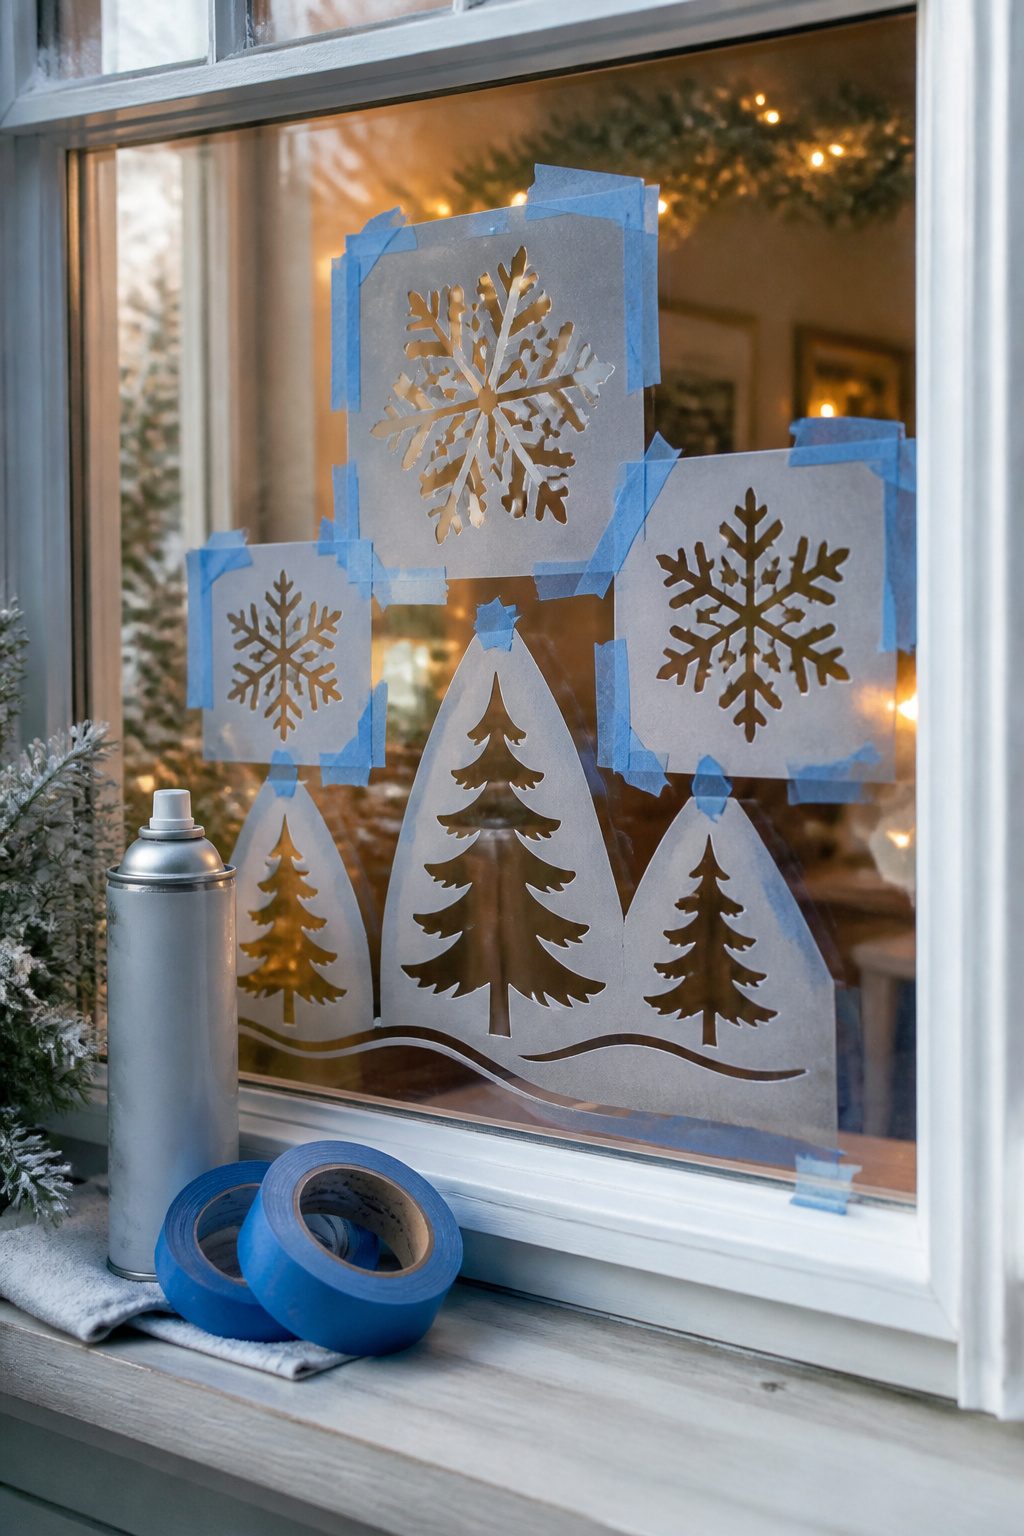
Stencils turn a single evening into a full window without the pressure of freehand drawing. Snow Windows sells sets cut for snowflakes, trees, and small village houses, and similar vinyl or mylar sheets are easy to find elsewhere if you want to mix sources. The real problem is bleed. Snow spray is wetter than paint, and it will creep under any gap between stencil and glass.
Tape every edge flat before you spray, working from the center of the stencil outward so air pockets push to the sides. A scrap of low-tack painter’s tape across the top also keeps the sheet from shifting while you work. Spray from slightly farther away than the can suggests, using two light passes instead of one heavy coat. That gives the first layer a moment to grip the glass before the second hits, which matters more than brand loyalty. Cheap spray runs; quality spray still runs if you drown the stencil. Peel slowly while the last pass is tacky, not fully dry, and any fuzzy edge can be scraped clean with the corner of a window scraper before it sets.
8. Freehand Winter Landscapes
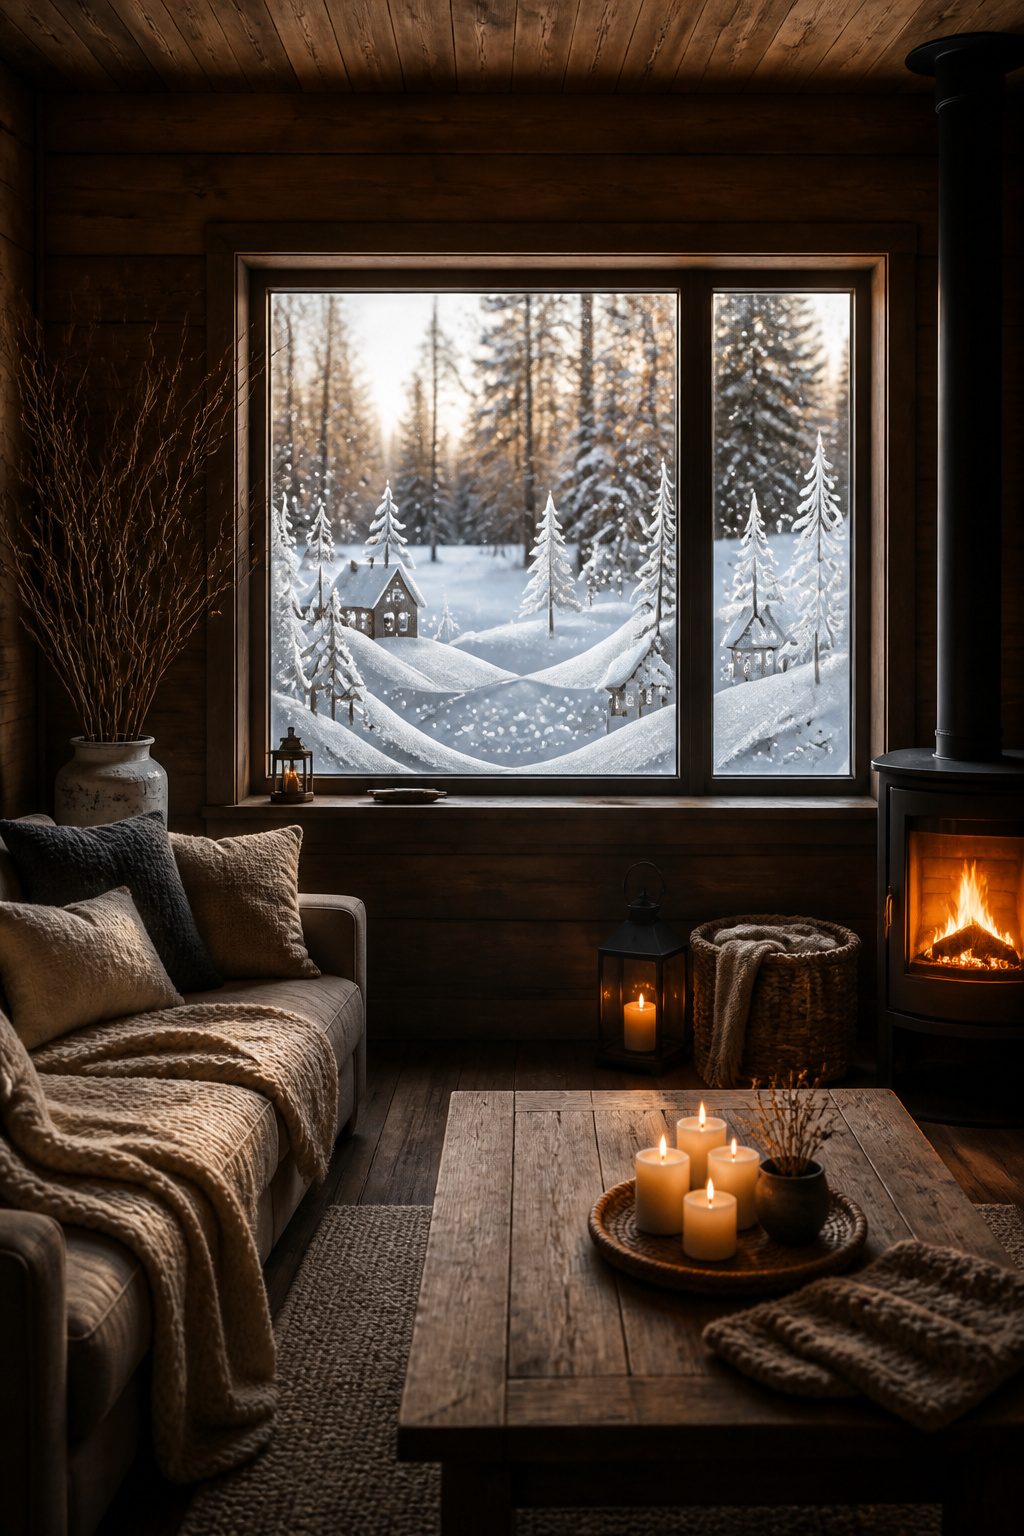
Tom Baker started his first window scene in 2006 with nothing but a can of snow spray and the sharpened end of a paintbrush. Fifteen years and roughly 200 windows per holiday season later, his work has landed in the Empire State Building and stayed up on some panes for seven years straight. That scale matters because it proves freehand landscapes are learnable, not inherited talent.
The trick is thinking in three planes. Background hills get the lightest, most scattered spray. Middle-ground trees and cottages sit slightly darker and lower on the glass. Foreground details, the branches or fence posts that frame the scene, take the densest application and a firmer hand with the scraper. Layer from back to front, and each new spray pass covers the mistakes of the last rather than exposing them.
Baker’s own method began with scratching into wet spray, not painting onto dry. The subtractive approach forgives wobbles: a hill too rounded becomes a ridge with two quick scraper lines, a tree trunk bent wrong loses its outline under fresh snow and re-emerges straighter. Dimension comes from overlap, not precision. A cottage half-hidden behind a middle-ground tree reads farther away than one standing alone, even if both are simple boxes.
I tried a small rolling-hill scene last December on a bathroom window that faces nothing but siding. Three layers, maybe twenty minutes total, and the scraped-back moon was crooked enough to make me laugh. But the overlapping evergreens in front hid the flaw, and the overall depth sold the illusion from the sidewalk. That window stayed up until February.
9. Holiday Themes and Details
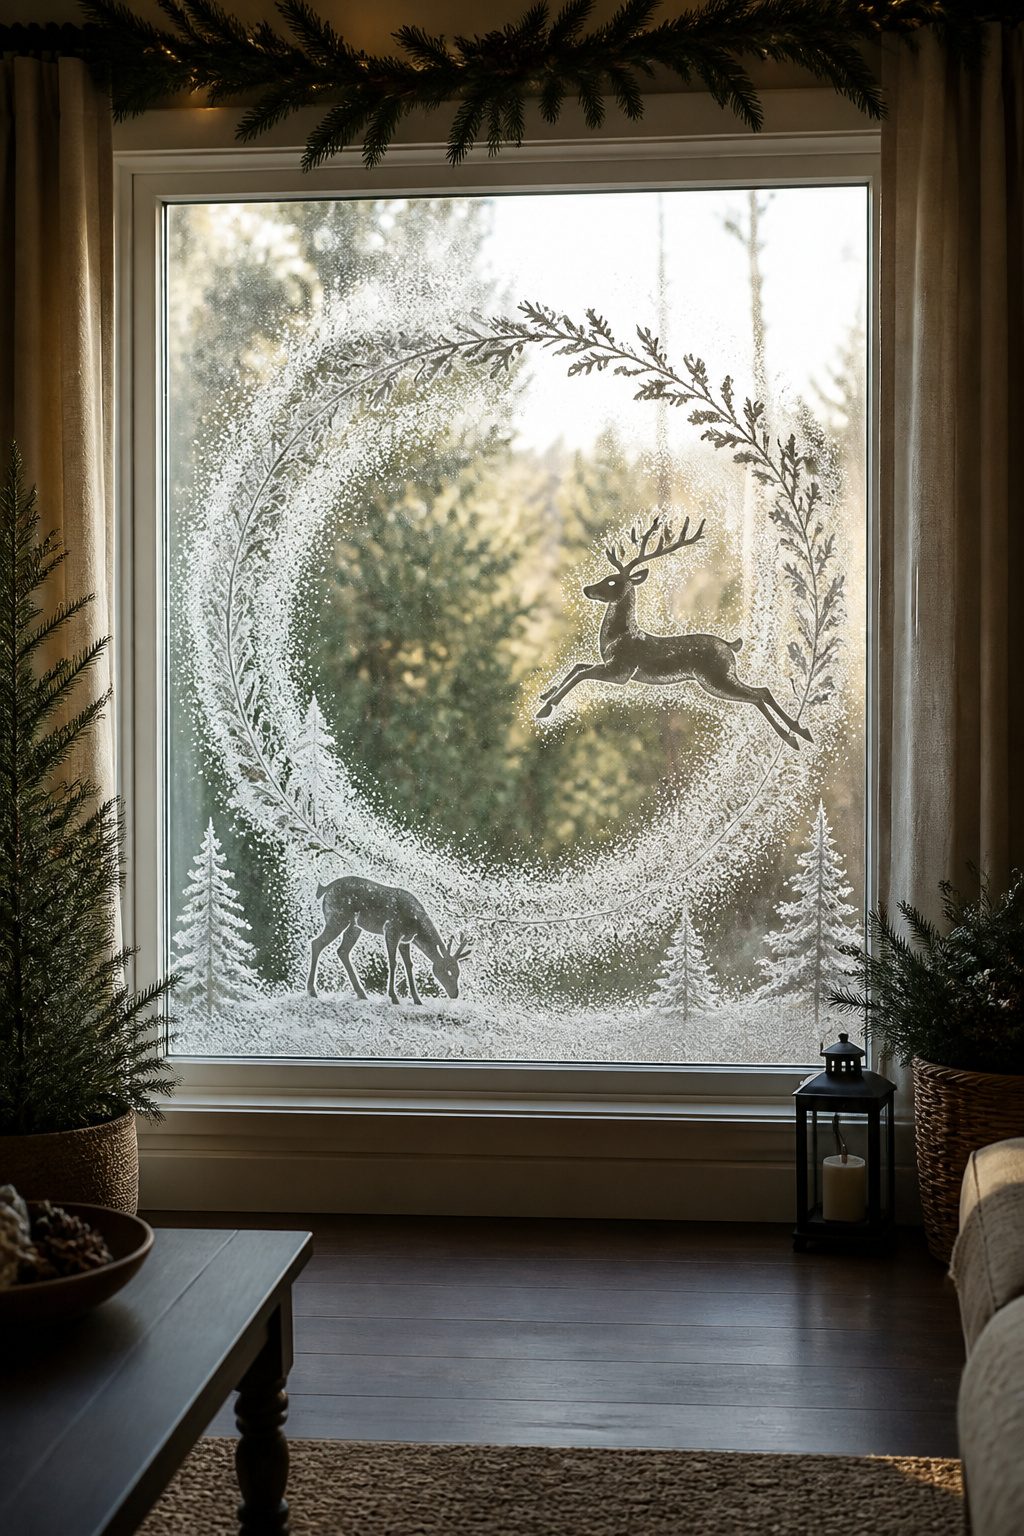
A window sprayed solid white reads as weather, not a holiday. The trick is giving the eye something to follow. I start with a low horizon line, maybe two feet up the glass, so the ground plane sits below real sightlines from the sidewalk. Santa or reindeer placed on that line, not floating midpane, anchor the scene to something the brain believes.
Wreaths work best as frames, not centerpieces. A thick ring of snow spray around the actual window glass, with the living room visible through the middle, draws attention inward without blocking the light you still need in December. I learned that the hard way after spraying a full wreath solid and turning my front window into a wall for three weeks.
Nativity outlines need scale to read from the street. A three-inch baby Jesus looks like a smudge at twenty feet. I go for bold shapes: the manger as a simple peaked roof, figures as blocky silhouettes rather than detail work. The street reads contrast, not intricacy.
Reindeer gain movement if you stagger them. One low, grazing the horizon line; another mid-leap with legs extended. I place the leap where the window meets the frame edge, so the animal seems to exit the scene. The eye follows, then loops back to whatever sits highest, usually the wreath or a single star. That circular path is what makes a passerby look twice instead of walking past.
What I Use and Where I Get It
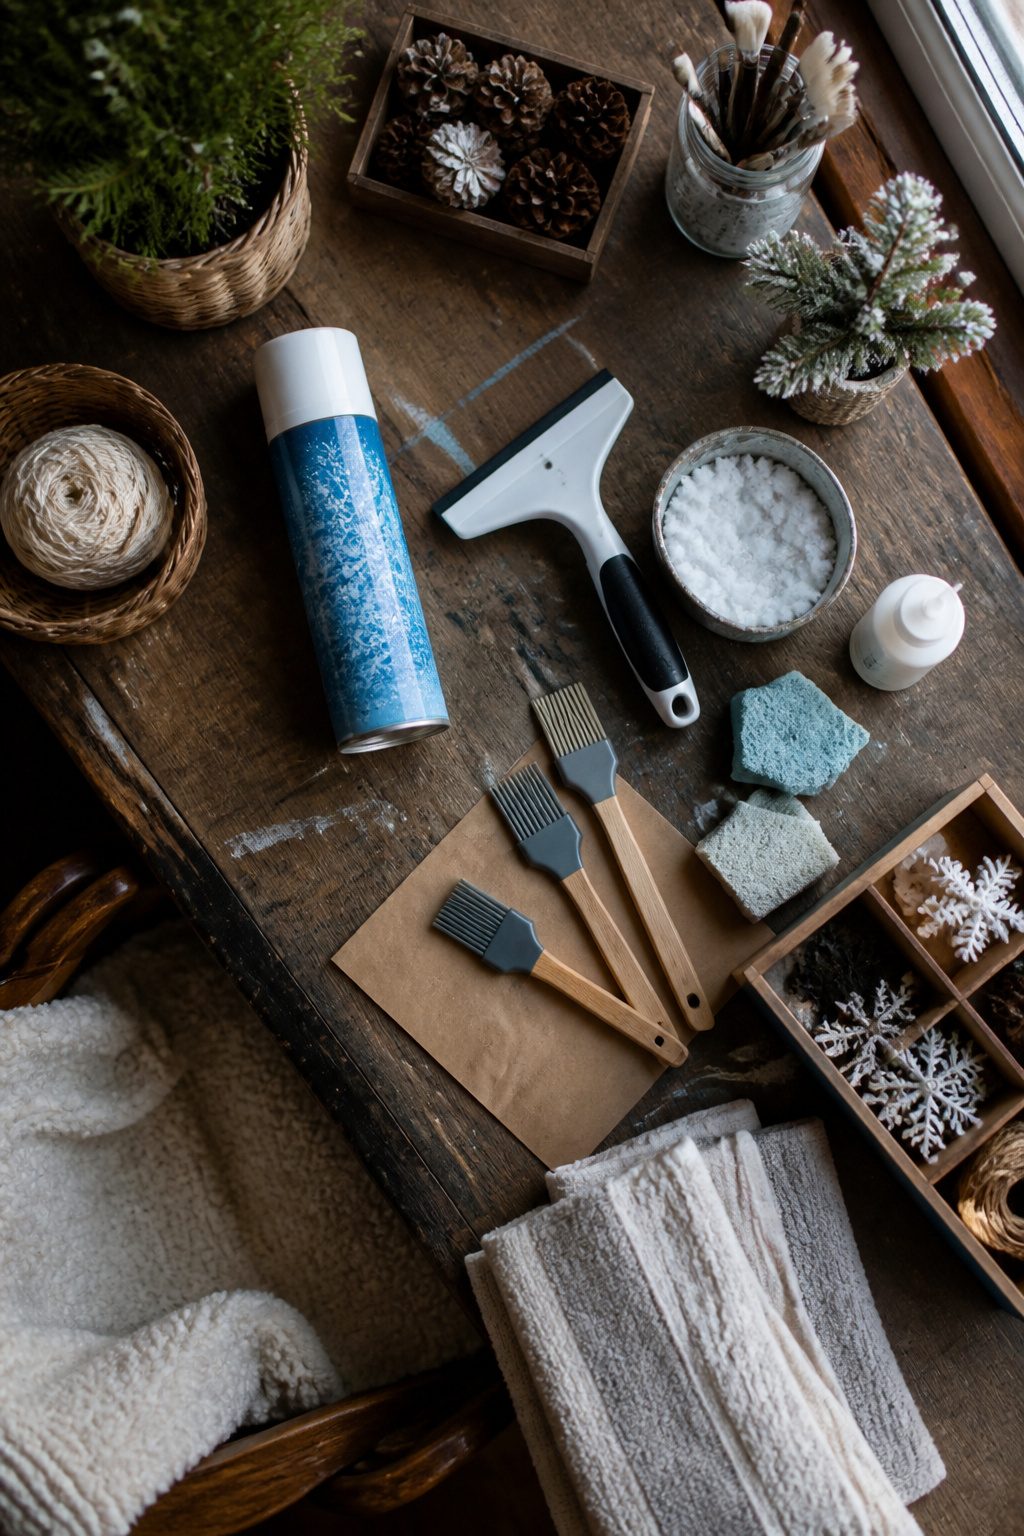
Cheap snow spray runs down the glass before you can shape it, so the brand matters more than the design. Prextex Santa Snow gets consistently high ratings on Amazon, and that is what I would grab first.
For tools, a window scraper pushes the wet spray around and carves lines into it. Any sharp edge works in a pinch, but a dedicated scraper is easier to clean afterward.
Silicone brushes come next: a flat head for spreading and softening areas, a pointed one for branches, fence posts, the fine lines that make a scene read as winter rather than just white.
Stencils bridge the gap if freehand drawing is not your strength. Snowflake sets are everywhere on Amazon, and the Snow Windows site sells purpose-made ones for this exact technique.
What Tutorials Taught Me

The Snow Windows YouTube channel runs free tutorials that walk through everything from basic misting to full winter scenes, and the same instructor offers paid courses if you want structured assignments and feedback. What convinced me, reading through the forums and comments, is that patience matters more than talent here. Every experienced sprayer describes their first attempts as streaky or lopsided, and the ones who stuck with it say the breakthrough came around attempt four or five, not two. The paid courses add a community layer, which helps if you need accountability, but the free videos cover the actual moves well enough to start. Either way, the common thread is treating early work as practice pieces rather than finished decor.
Ideas I Have Not Tried Yet
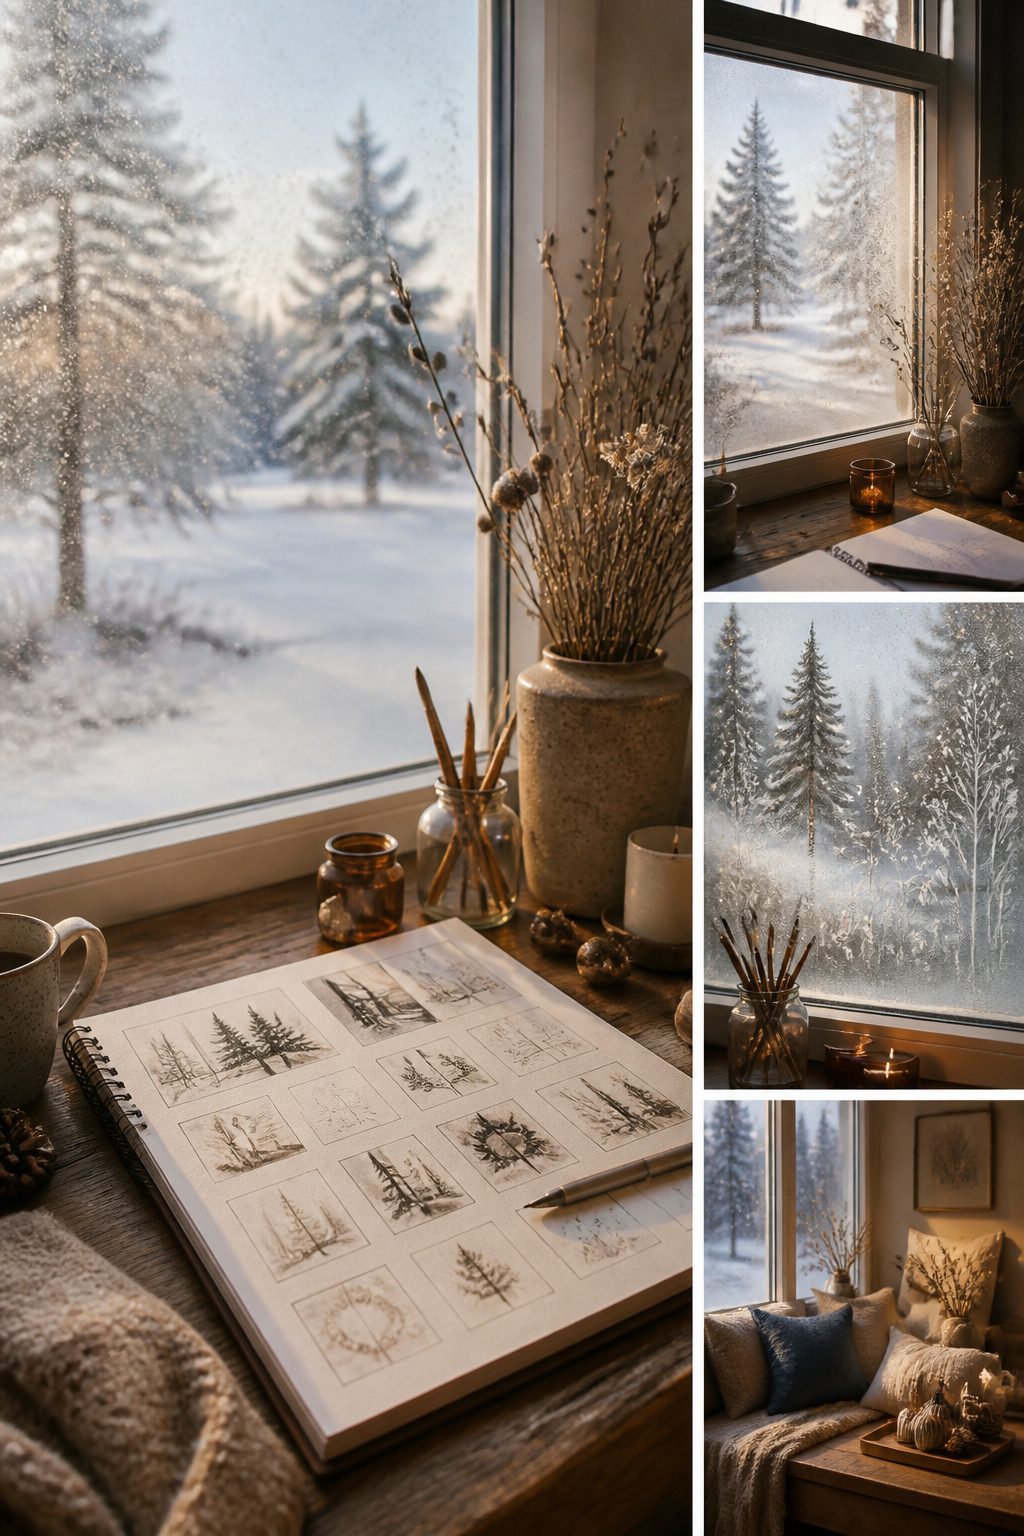
Three directions keep showing up in the work I see online, and I have not tested any of them enough to endorse the full sequence. They look promising enough to list.
- Layering for depth means spraying a pale, distant mountain range first, letting it dry, then adding darker trees or buildings in front. The contrast between foreground and background is what sells the illusion, but getting the drying time right between passes is the part I have not timed out myself.
- Non-Christmas winter scenes skip the wreaths and reindeer entirely. A bare orchard, a frozen lake with skater silhouettes, or a gray January skyline after the holidays are over; this stretches the same can of snow spray across January and February without looking dated.
- Mixing stencil and freehand gives you repeating elements where you want rhythm, like a row of pines, then breaking the pattern with hand-drawn branches or a single deer that does not match the template. The risk is the two styles clashing if the stencil work is too crisp against loose freehand lines, so the artists who pull this off usually rough up the stencil edges with a scraper before the paint sets.
Frequently Asked Questions
How do I create winter landscapes with snow spray?
Build the scene in three planes: light, scattered spray for background hills; slightly darker, lower placement for middle-ground trees and cottages; and dense application with a firm scraper hand for foreground branches and fence posts. Work from back to front so each new layer covers the last one’s mistakes rather than exposing them. Tom Baker, who paints roughly 200 windows per season, uses a subtractive approach of scratching into wet spray to shape hills and trunks, which forgives wobbles better than trying to paint perfect lines from the start.
What tools do I need for snow spray decoration?
A window scraper pushes wet spray into clean edges and lifts mistakes before they set; fingers smudge and prints ruin lines. Silicone brushes spread spray into soft drifts with the flat head and dab fine details like branches with the pointed end. Stencils bridge the gap if freehand drawing is not your strength, though every edge needs taping flat to prevent the wet spray from bleeding underneath.
How do I clean my windows before using snow spray?
Remove the obvious grime with standard glass cleaner, then cut through leftover residue from previous decorations or price stickers with rubbing alcohol and a microfiber cloth that will not leave fresh lint. The glass must be fully dry; trapped moisture bubbles under the spray and reads as a mistake rather than frost. Ten minutes of this prep saves an hour of touching up thin spots where dirt blocked adhesion.