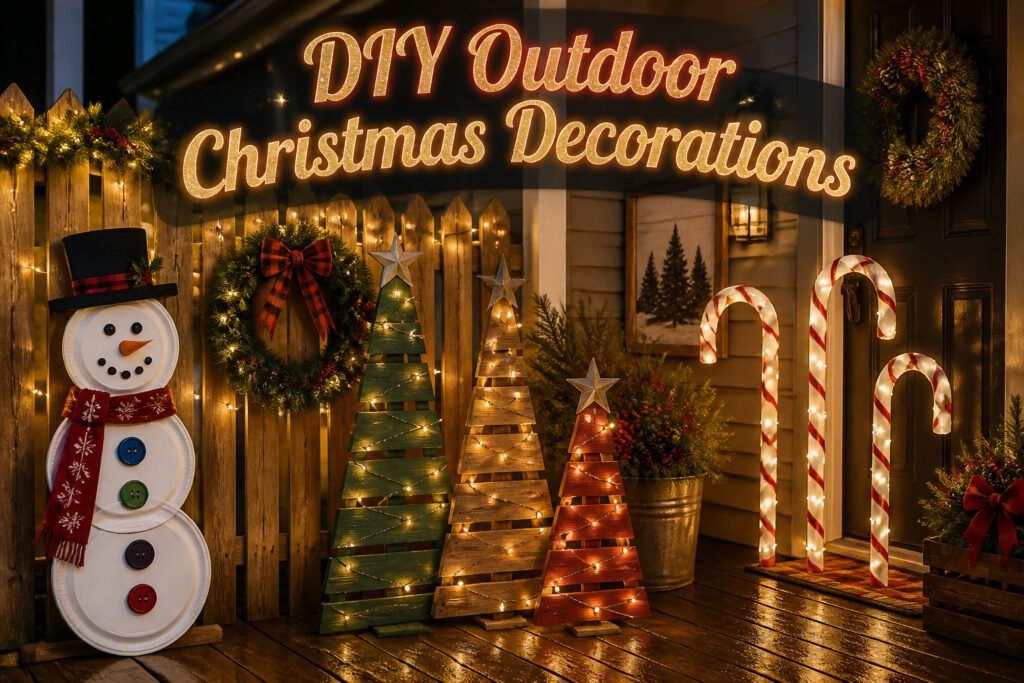
Outdoor Christmas projects range from a $13 plate snowman to nearly $100 for lighted PVC candy canes, and the difference that matters is not the money but whether you have a garage full of scrap or a balcony with no storage at all.
The scrap-wood trees cost me nothing for lumber yet still ran to $60 once blades and five strands of lights were tallied, and that light count is the line item that doubles every total without warning.
1. DIY Oversized Christmas Ornaments
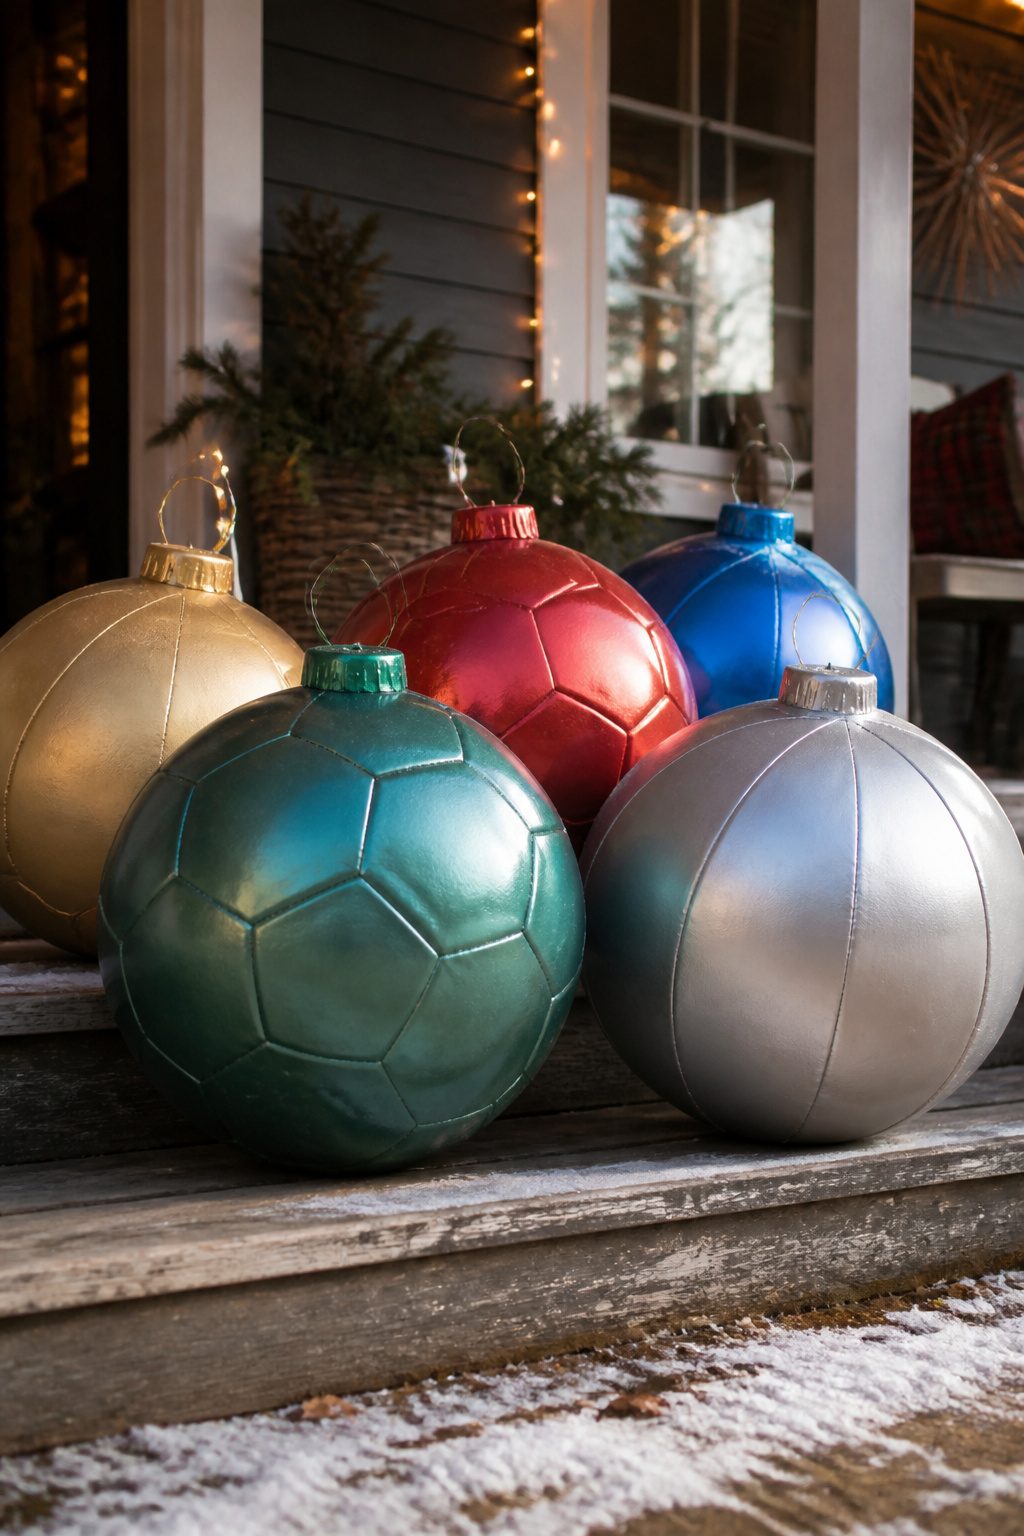
Old sports balls or beach balls, the kind a soccer ball size, become the round part of DIY oversized Christmas ornaments with two cans of spray paint and a handful of plastic bottle caps.
I tried this on a damp Saturday and learned the hard way that the paint needs a full overnight cure before you glue anything.
My bottle caps, painted metallic and threaded with fishing line through a tiny hole I poked, popped clean off when I rushed the adhesive.
A washer knotted at the end of the line keeps the whole hanger from pulling back through the cap hole, which is the detail that saved the second attempt.
The spray paint runs about $4 to $8 per can depending on whether you want weather-resistant metallic or basic color, and you will need two: one for the ball, one for the caps.
After the cure, these held up fine through rain in my yard, though I would not trust them in a windstorm without checking the glue seam each season.
2. Wooden Christmas Trees from Scrap
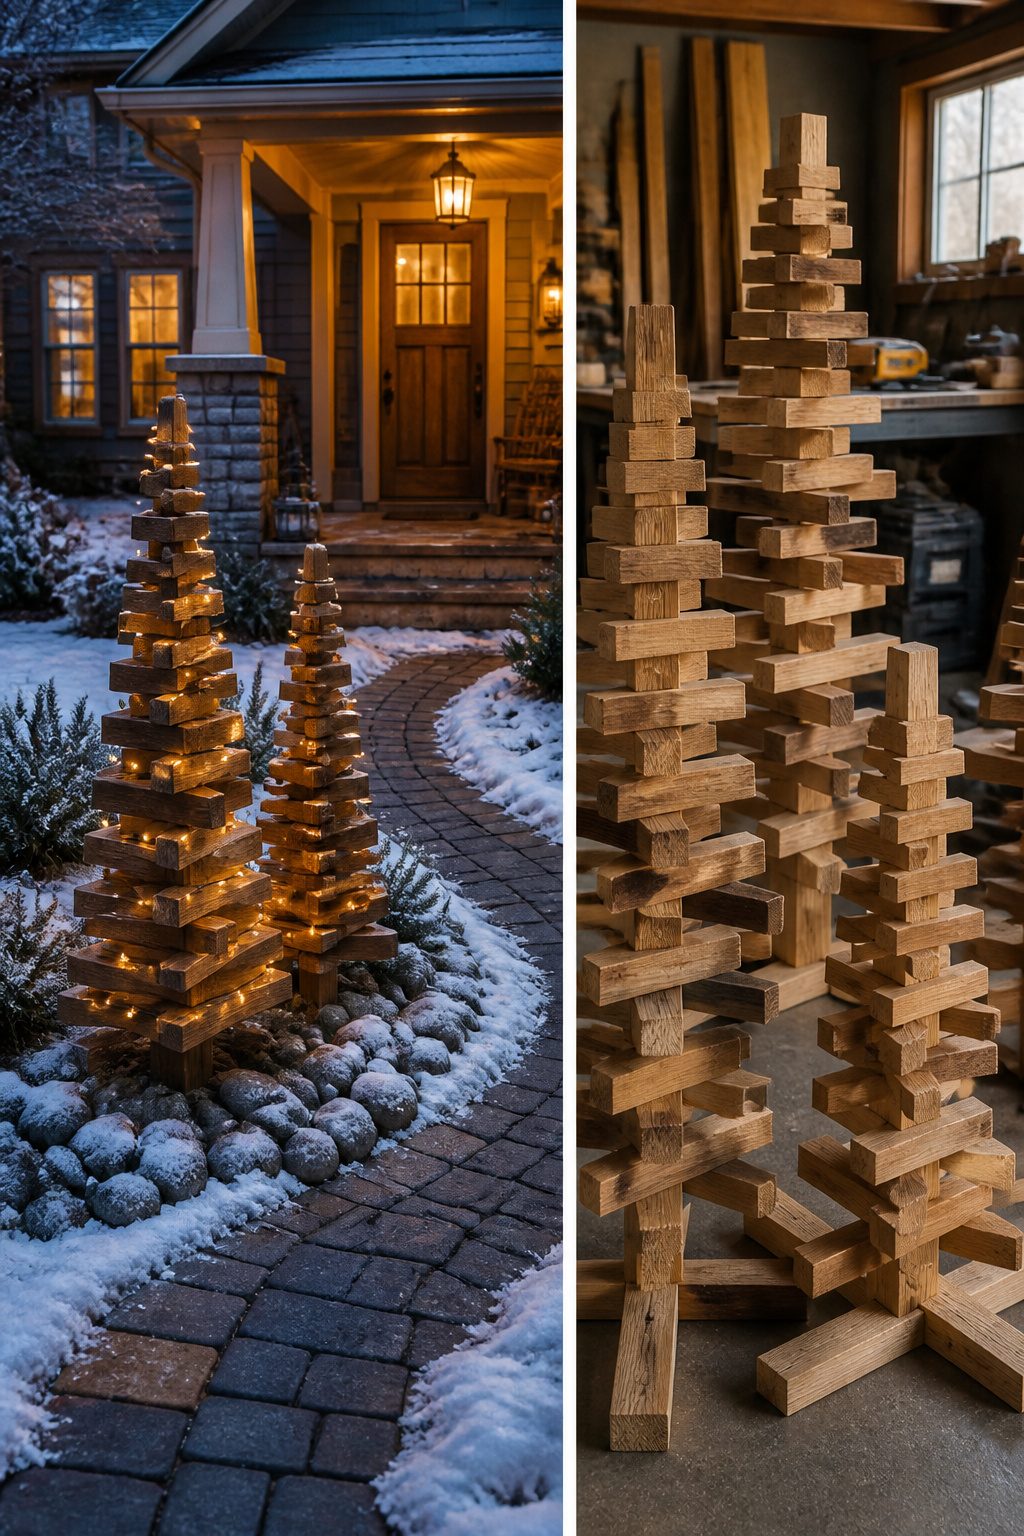
Scrap wood Christmas trees need only a miter saw and a drill, which makes them one of the few outdoor projects a beginner can finish in a single afternoon.
The sources build them from 2x4s or trim board, and the real appeal is that the dimensions are forgiving: odd lengths from your pile just become staggered branches.
I like the versions with lights best, though running the strand takes patience; drill your holes before assembly, not after, or the bit skates across the face and splits the grain.
Untreated wood left in snow will swell and check by January. I learned that the hard way with my first set, which I built from fresh pine scraps and set directly on the lawn.
The bases drank up meltwater, froze overnight, and by New Year’s the tallest tree had warped into a lean.
Now I paint every cut end and set the feet on paver stones, not soil. Pressure-treated or exterior-grade paint adds maybe an hour to the build and doubles the life.
3. DIY Lighted Christmas Trees
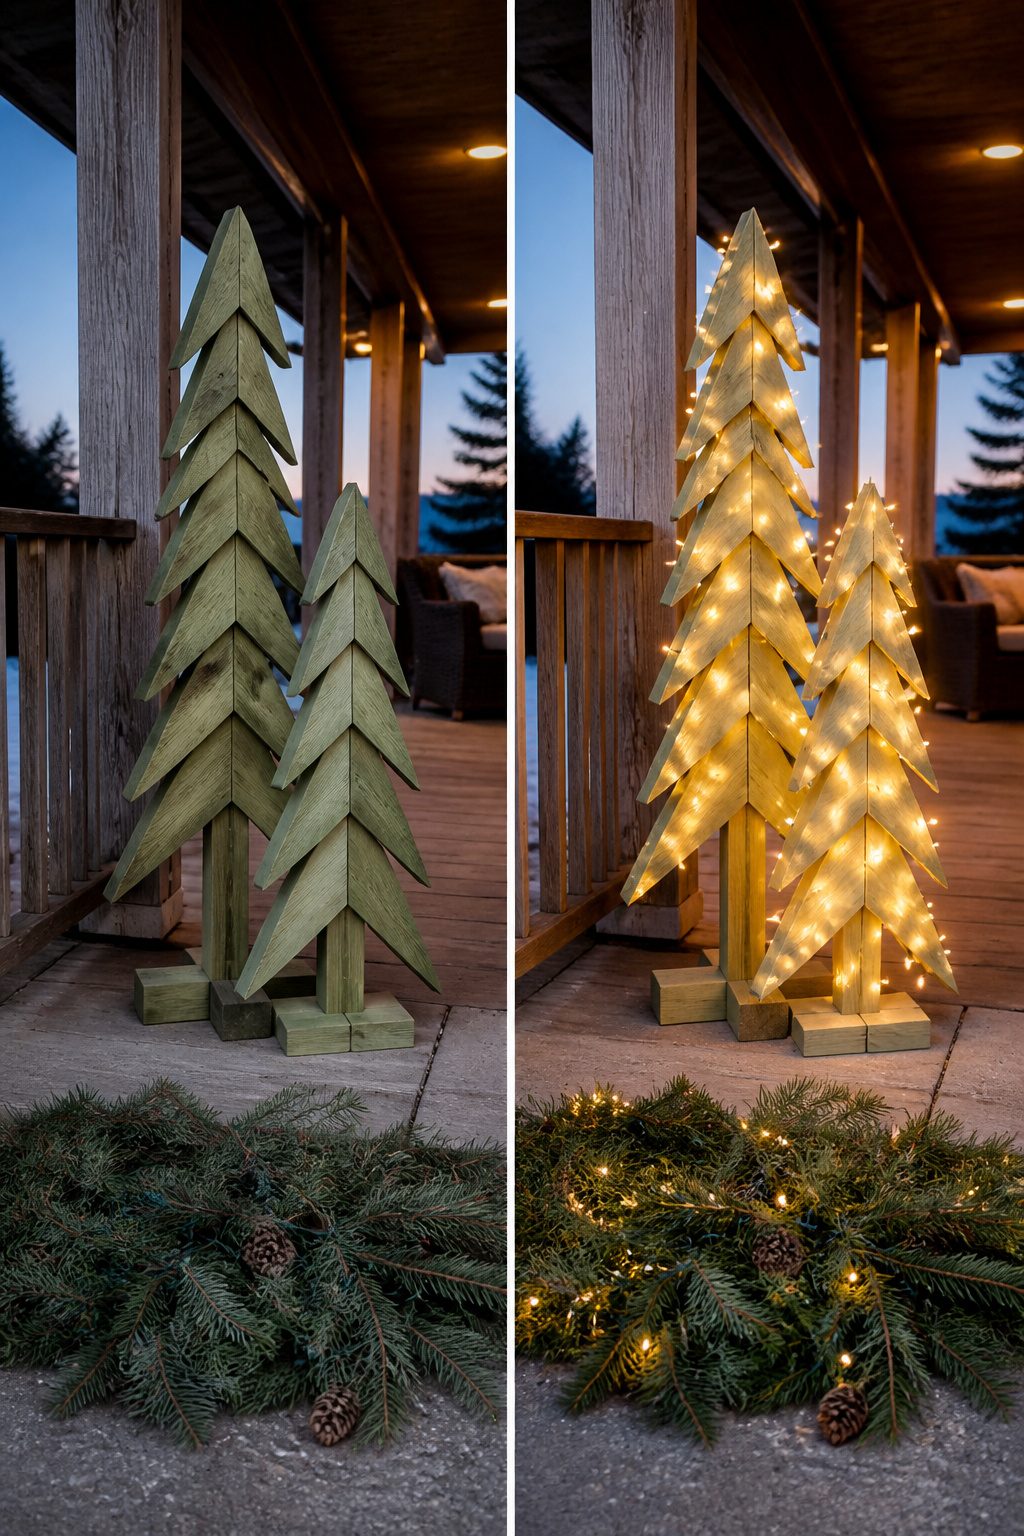
Plywood cutouts from 2x4s came first for me, mostly because I already had the lumber sitting in the garage from a summer project.
The boards ran about $4 each at the time, and three of them plus a string of lights made a tree that stood against the porch railing for two seasons without complaint.
The tomato cage version started as a way to save money; wire cages cost less than the lumber, and the internet was full of photos showing them wrapped in mini lights and looking full and tidy.
What those photos never showed was how the cages want to spring open the moment you stop wrestling them, and how a December wind in my yard finished the job.
By New Year’s the cage had relaxed into a cone-shaped heap, lights sagging, and I carried the whole thing to the curb still lit. The 2×4 frame wins for anyone who needs the decoration to survive actual weather.
If you do try the cage route, wire the rings together at every cross point before you add a single bulb; the extra ten minutes is what separates a tree from a pile.
4. DIY Pallet Christmas Tree
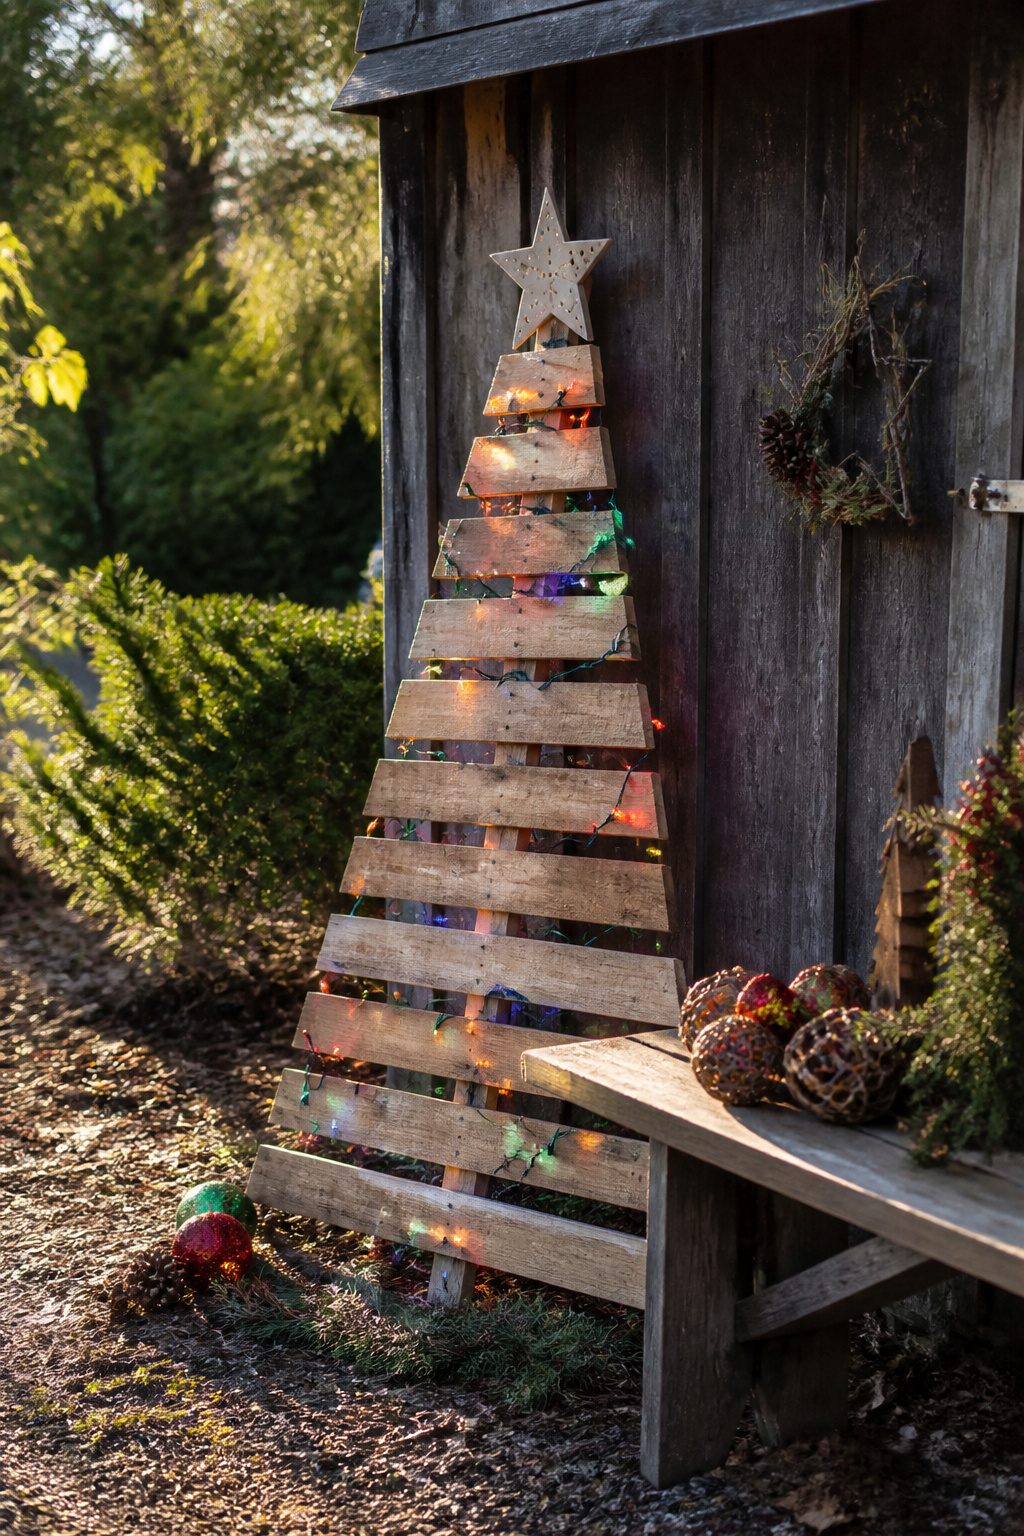
A pallet in good shape still has its slats nailed tight and no rot softening the wood, but the real test is whether the nails come out without splitting the boards. Mine didn’t.
Two hours of prying with a crowbar and a hammer left me with half the slats warped from the leverage, which is why some builders just cut the tree shape while the slats are still attached to the frame and call the rustic gaps character.
If you disassemble first, paint goes on easier. The passages mention leaving the wood raw or painting it, and the difference is mostly whether your porch gets rain.
Raw pallet wood turns gray by January in most climates. Exterior paint in a dark green covers the mismatched boards and hides nail holes the putty didn’t quite fill.
I used what I had left from a fence job, so the cost stayed near zero, but the time cost is real: pulling nails cleanly adds an afternoon, and cutting the triangle while assembled saves it.
Paint the planks before you string lights, because wet paint and extension cords do not mix, and the gaps between warped slats are exactly where the bulbs want to slip through and snag.
5. Giant Candy Canes
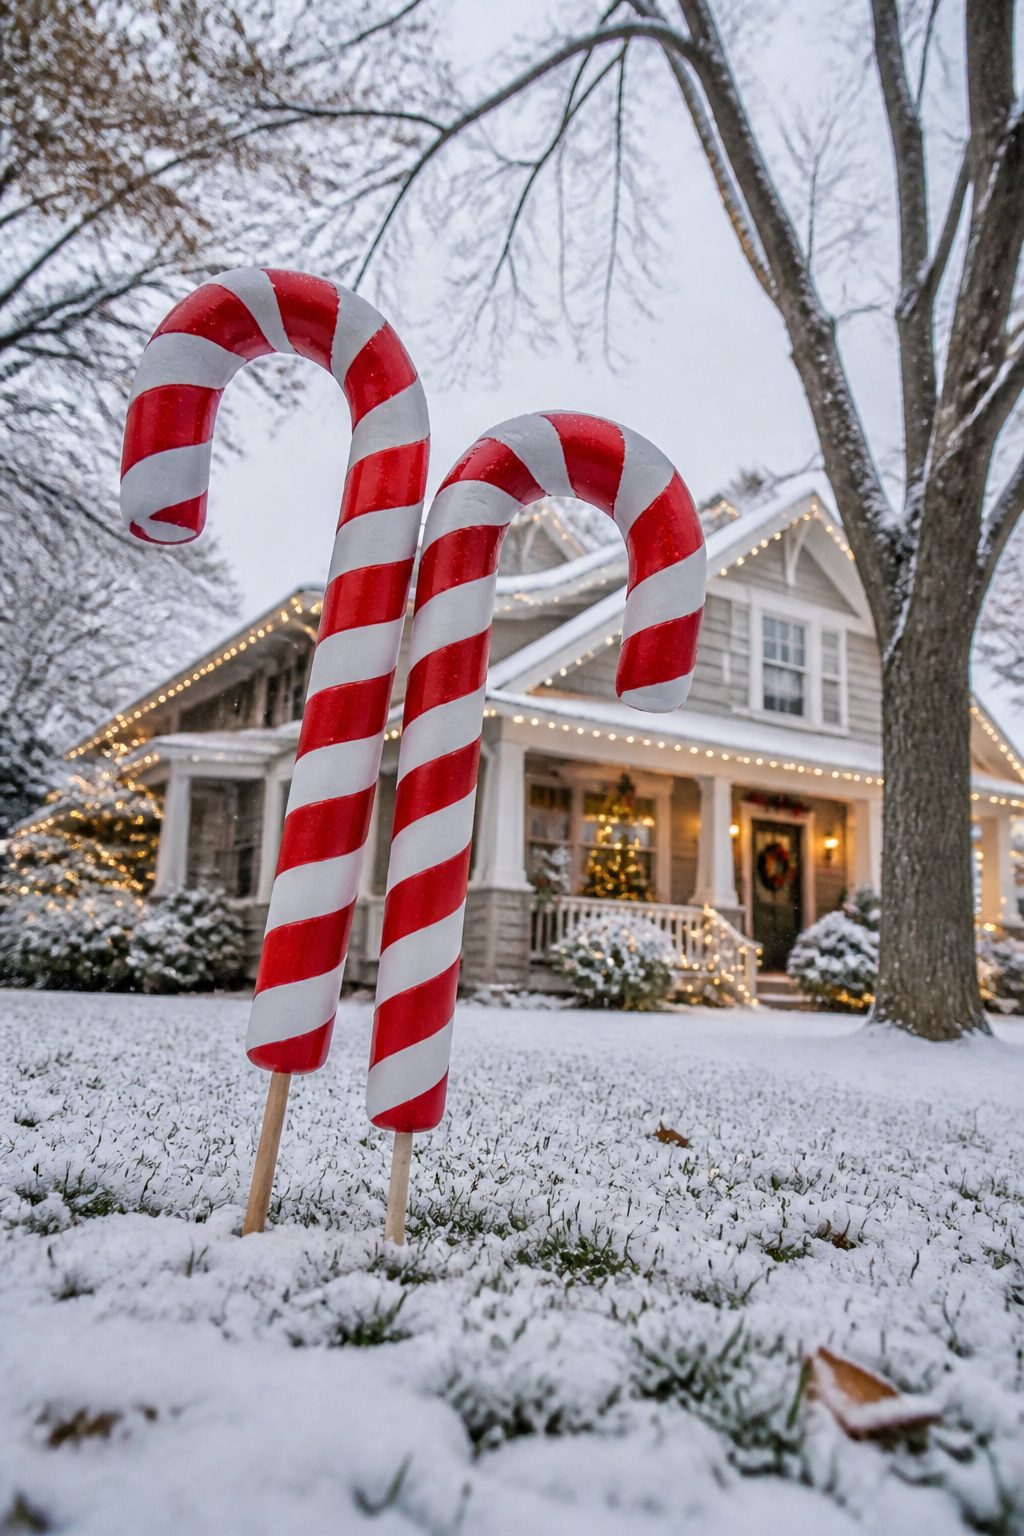
PVC pipe bends under heat, but pool noodles bend with nothing more than your hands, which is why the noodle version took me about twenty minutes instead of an afternoon.
I cut each noodle in half lengthwise, taped the flat sides to a dowel, and wrapped the curves with red electrical tape in spirals rather than painting, since paint cracks the moment foam flexes.
The pipe version needed a heat gun and a bending jig I built from scrap wood, but it also survived three winters and still lives in my garage.
The pool noodle canes looked almost as bright the first December, though the white foam yellowed where sun hit it, and by February the squirrels had stripped two of them down to the dowel for nesting material.
If you rent and store decorations on a balcony, the noodles win for weight; if you want to do this once and forget it, the pipe wins full stop.
6. Lighted Orbs
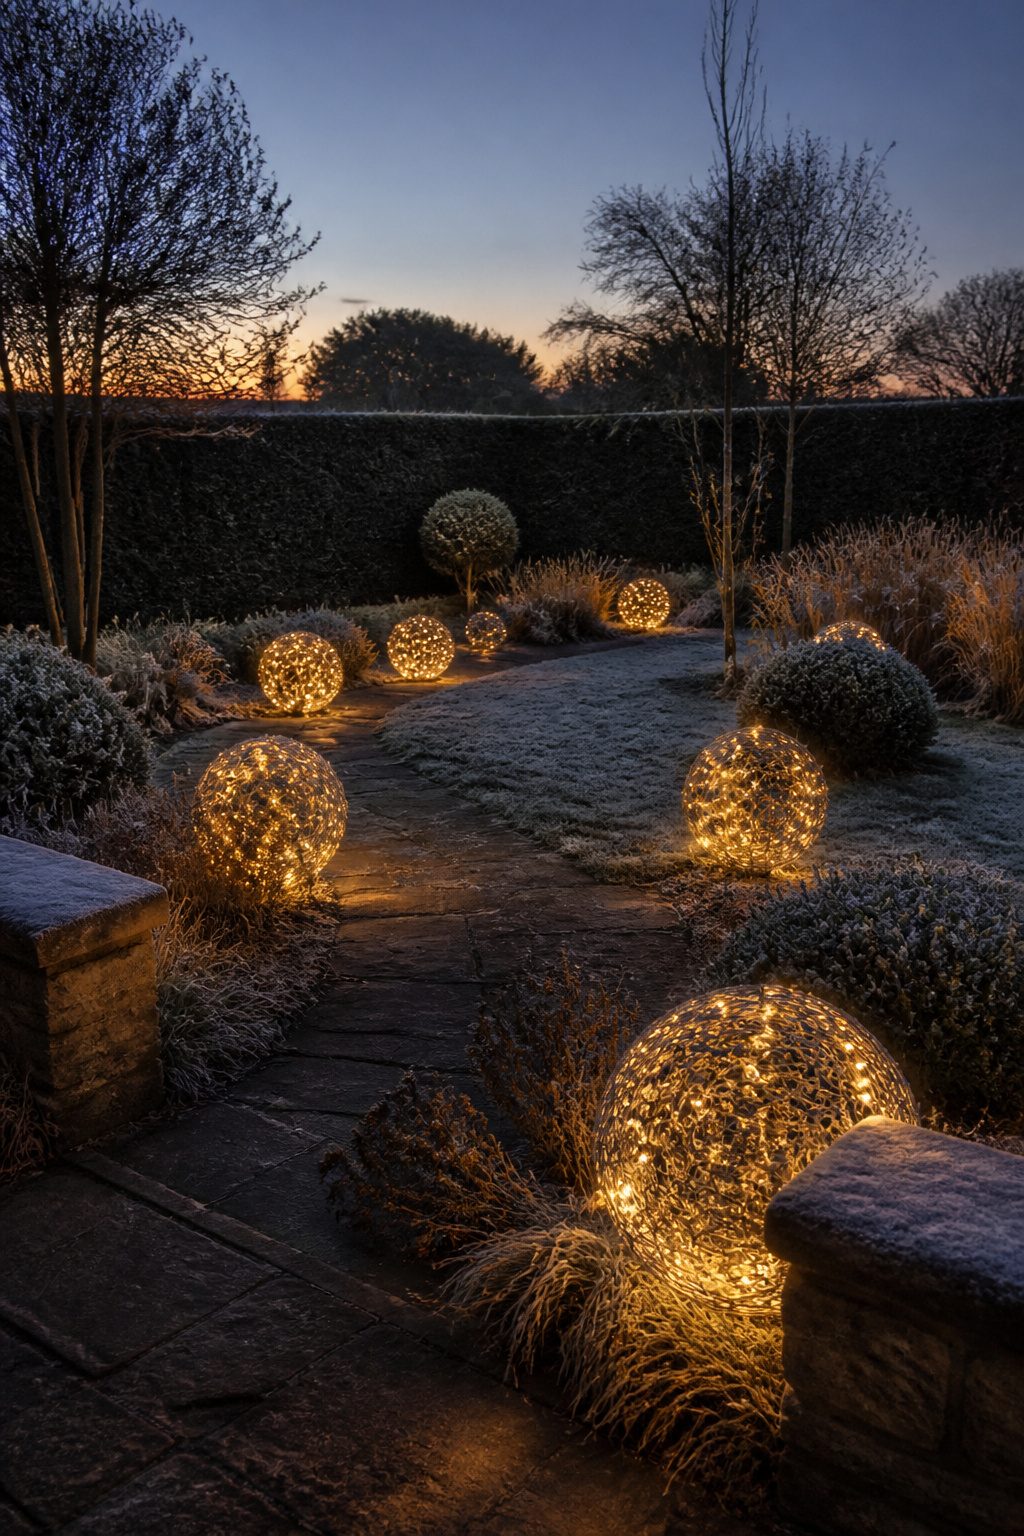
Chicken wire and twine both turn into lighted orbs, but they age very differently outdoors.
The chicken wire method shapes a sphere from wire fencing, then wraps it with LED mini lights. I have seen these in yards glowing at various sizes across the lawn, and the effect is genuinely striking from the road.
What convinced me, reading through a dozen accounts, is the hour count: wrapping lights tightly enough to read as a solid ball takes roughly two to three hours per orb, depending on size.
The wire cutters are non-negotiable; the edges bite.
Battery lights save you from running cords across wet grass, but plug-in strings stay brighter longer through December evenings. The real cost shows up in January.
Several makers noted that standard chicken wire rusts fast once the weather turns; by New Year’s, brown streaks run through the glow unless you started with vinyl-coated fencing, which costs more and is harder to shape.
Twine-wrapped orbs skip the rust problem entirely.
You blow up a balloon, wind it with twine soaked in glue, let it dry, then pop and remove the balloon. The hollow shell takes lights inside rather than wrapped around.
The texture reads softer from a distance, more lantern than disco ball. The glue matters: craft glue yellows; exterior wood glue holds up but adds stiffness that can crack if the twine layer is too thin.
For renters, twine wins on storage; the shells crush flat. For homeowners wanting impact from the curb, chicken wire with plug-in LEDs and a timer stakes the claim until you swap the wire for vinyl-coated next year.
7. Upcycled Plate Snowman
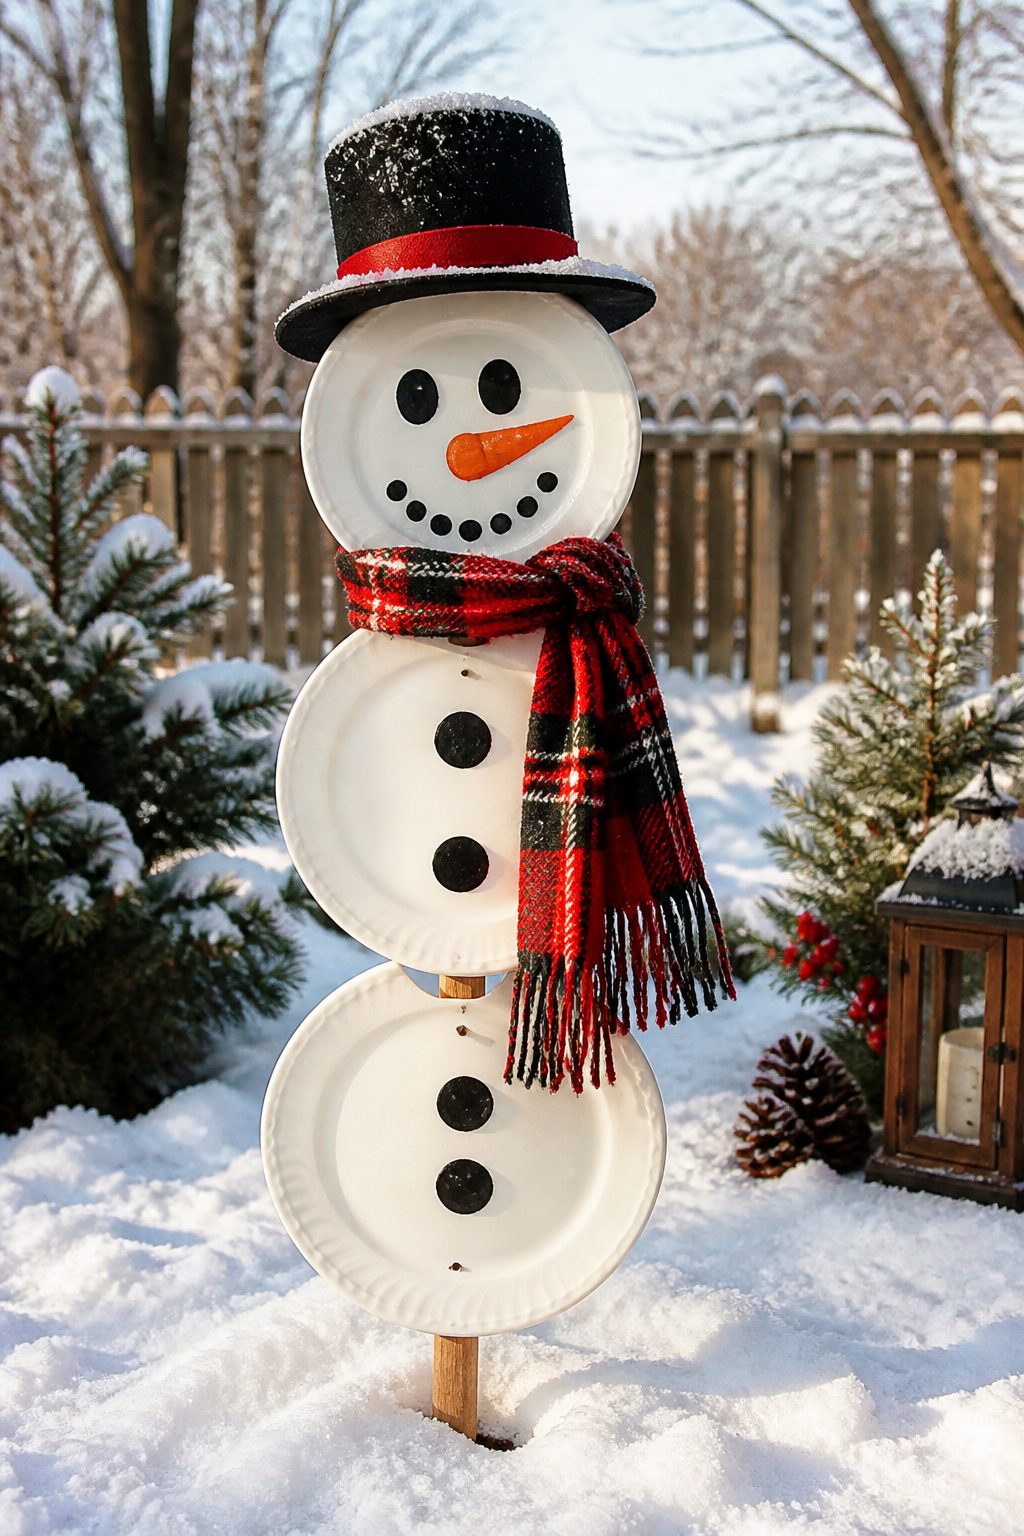
Old plates from a thrift store stack into a snowman faster than you would expect.
The glue is where it falls apart. Construction adhesive labeled for exterior use is the only thing that held through freeze-thaw cycles in my tests; hot glue turned brittle by January and silicone never really set on glazed ceramic.
Wind is the second problem.
A vertical stack of plates catches gusts like a sail. My first attempt wobbled, so I added a wooden dowel through the center holes and drove it into the ground.
That made the whole thing rigid enough that a strong gust snapped the bottom plate instead. A loose stack that can rock slightly survives longer than one locked tight.
Paint faces and buttons on with exterior acrylic, or use permanent vinyl if you want clean edges.
A thrifted scarf around the neck hides the seam between the head plate and the body, and it gives you something to tighten if the stack loosens over the season.
8. DIY Christmas Wreaths
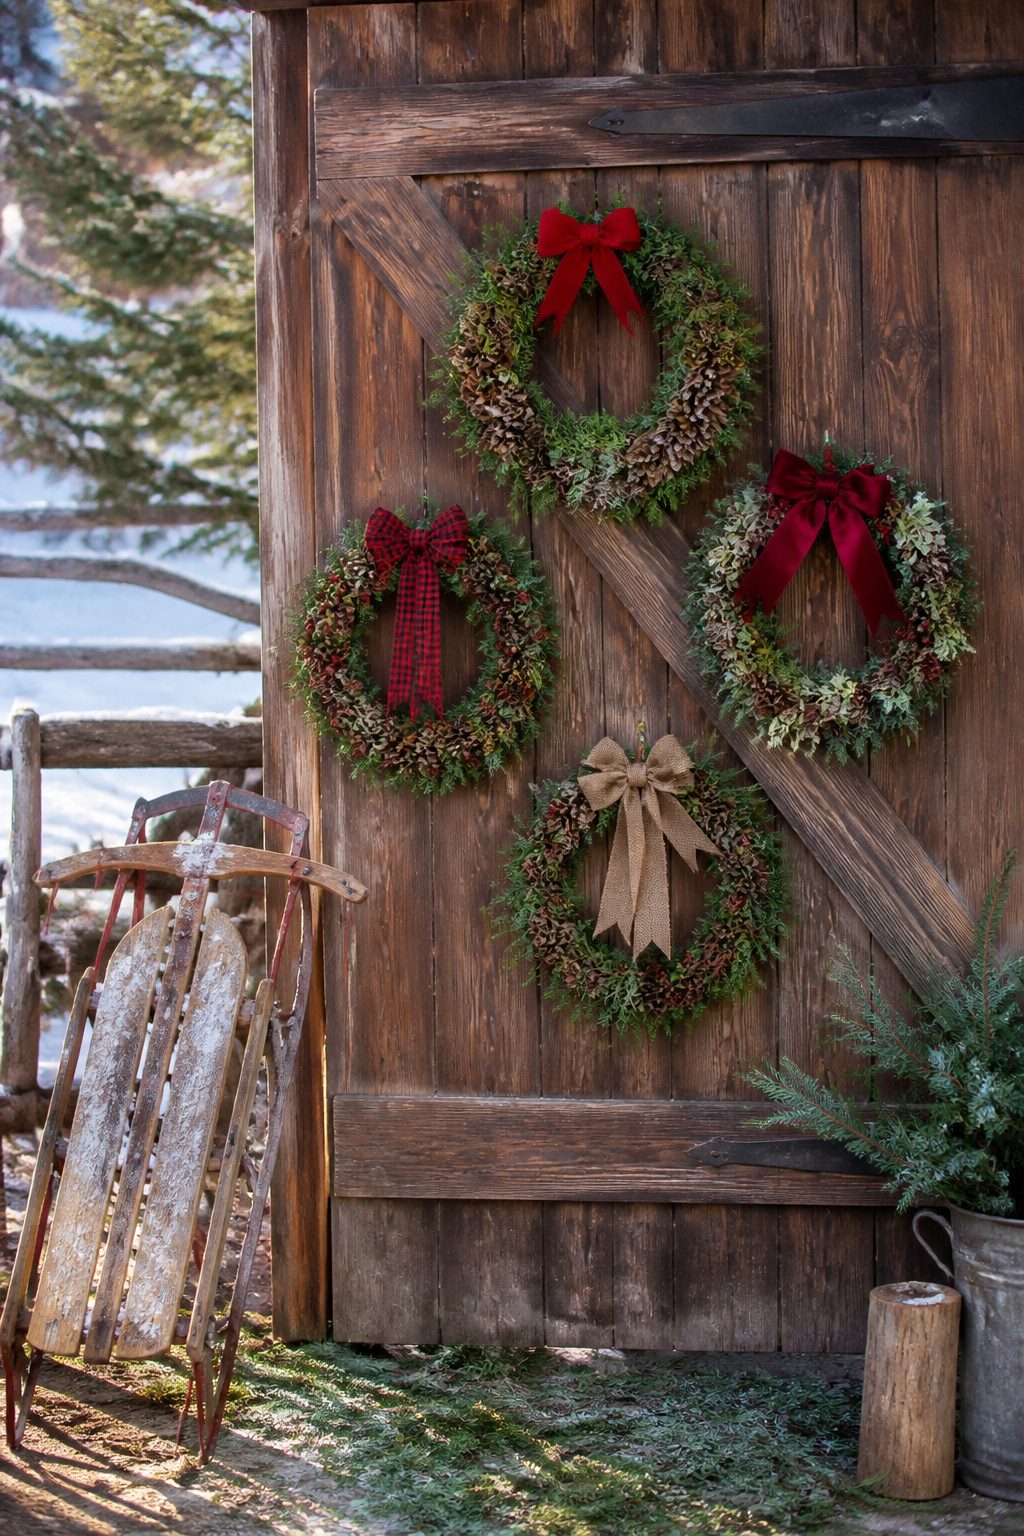
Cardboard rings and rubber bands make the cheapest wreath frames I’ve found. I cut mine from a shipping box, about fourteen inches across, and stretch rubber bands around the ring in rows.
The rubber bands hold stems and pine cones without any glue, which matters when you’re working outside and the weather turns.
Fresh greenery stays presentable for roughly one to two weeks in December, shorter if the temperature swings above fifty or rain freezes and thaws on it.
I collect pine cones and twigs from my yard, but I buy cedar or fir sprigs from a nursery lot when my own shrubs look too picked-over.
The rubber-band method lets you swap out browning pieces without tearing the whole wreath apart, which is the main reason I keep using it instead of wire forms.
9. DIY Christmas Countdown Sign
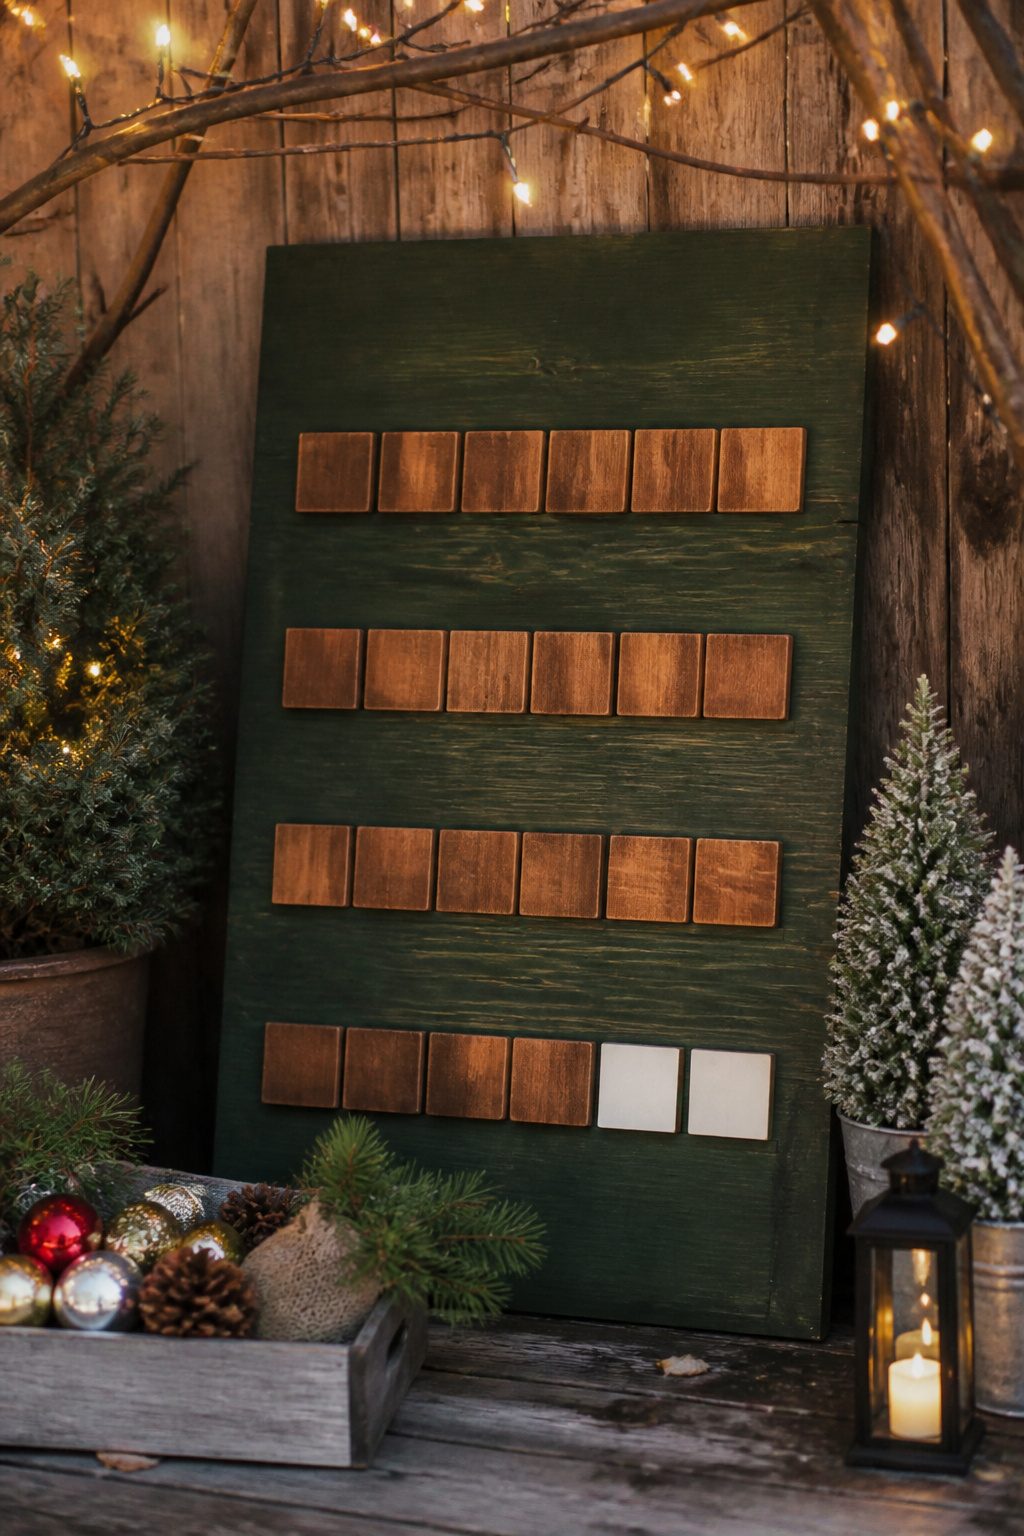
A wooden countdown sign with changeable numbers solves the problem of buying a new yard stake every year.
Mine is a 24-inch pine board routed with shallow slots for two-inch wooden tiles. I painted the board with exterior acrylic in a dark green that has held up fine, but the numbers themselves were a different story.
I used the same paint on the tiles, and by the second December the edges started peeling where moisture wicked up from the grass.
Sanding the tiles and switching to a gel stain with a spray sealant fixed the peeling, though the stain darkened enough that I had to paint the numerals in white afterward.
Customization is where this project earns its keep.
The slots can fit holiday shapes instead of numbers, or a small chalkboard strip for messages. A renter I know mounted hers on a leaning easel rather than staking it into a lawn she did not own.
The real reason I stop updating mine after mid-December has nothing to do with the paint.
By the fifteenth, the neighborhood has already settled into its holiday look, and I am usually inside wrestling with gift wrap. The sign sits on December 15 or so, and nobody walking past seems to mind.
10. DIY Lighted PVC Candy Canes
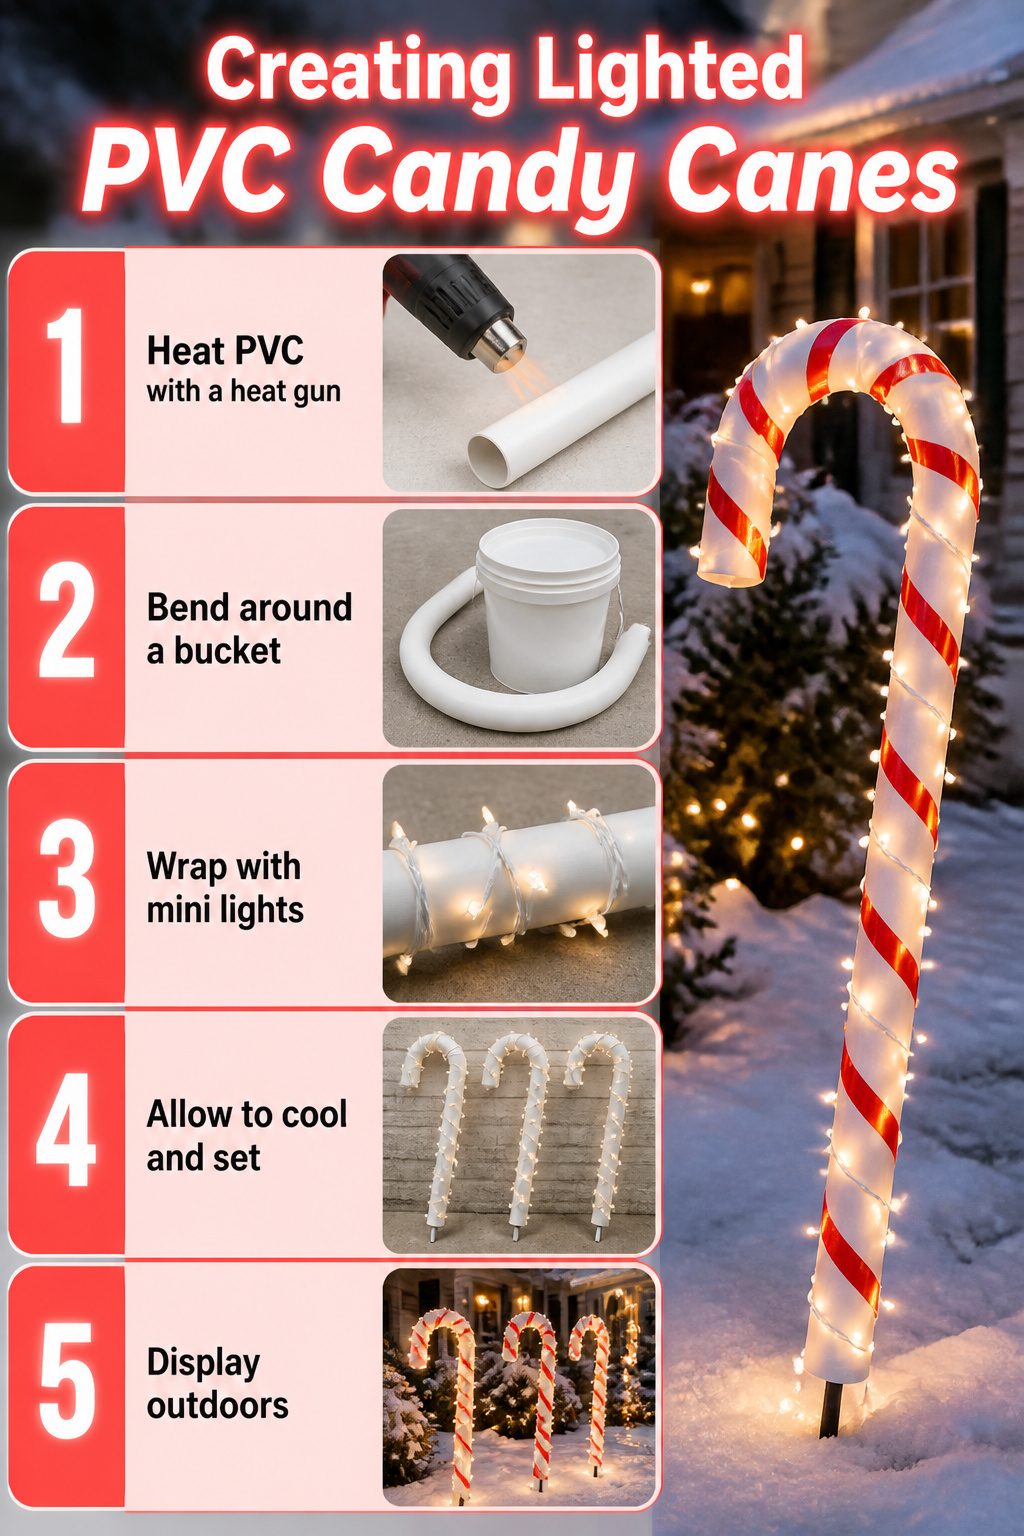
The first PVC candy cane I tried to bend taught me that heat gun work is a feel you learn by scorching one.
I held the pipe too long in one spot and the wall collapsed inward, leaving a flat spot that ruined the curve.
The second attempt moved faster, rotating the pipe steadily until the plastic went soft and compliant, then pulling it around a bucket in one smooth motion before it cooled.
Light strings make or break the look. Icicle strands look thin and sparse wrapped around a two-inch pipe; mini-lights on white wire, packed closer, read as solid glow from the street.
The PVC walls are thick enough to drill cleanly for zip-tie anchors without cracking, which the pool noodle version never managed.
After two seasons the noodles had dents, faded stripes, and one squirrel-chewed end. The PVC set still stands straight, the paint only chalking slightly where the sun hits hardest.
What I Actually Spend on Materials
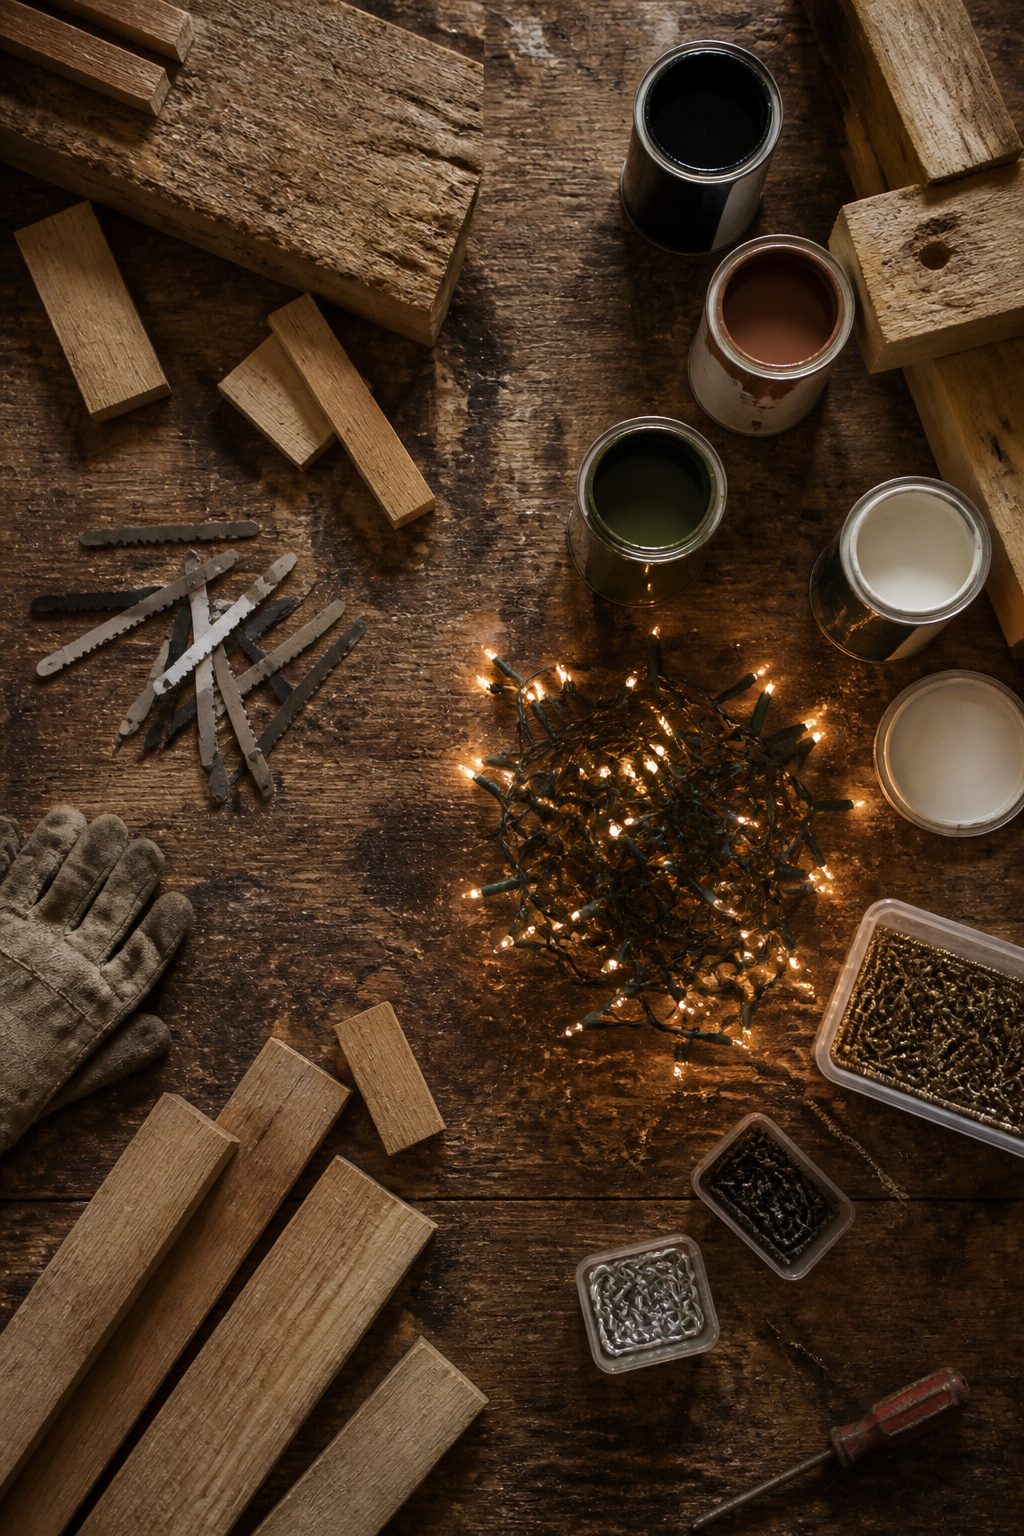
Scrap wood costs nothing until the blade on your jigsaw dulls halfway through a pallet. A new 10-inch T-shank blade runs about $8, and you will need two or three if the nails are still in the boards.
The real budget eater is lights. A 100-count string of warm-white LEDs that holds up outdoors starts around $12, but the projects that look impressive need five or six strands.
Spray paint surprised me most: a single 12-inch plastic ball takes nearly two full cans of Rust-Oleum 2X at $6.47 each, so the paint costs more than the dollar-store ornament.
| Project | Free/Scrap | Lights | Paint/Finish | Hardware | My Total |
|---|---|---|---|---|---|
| Scrap wood trees | $0 wood, $16 blades | $36 (3 strands) | $0 (raw wood) | $8 screws | $60 |
| Pallet tree | $0 wood, $8 blade | $24 (2 strands) | $0 | $4 hooks | $36 |
| PVC candy canes | $18 pipe | $48 (4 strands) | $13 red/white | $6 caps | $85 |
| Lighted orbs | $5 balls | $60 (5 strands) | $26 (4 cans) | $0 | $91 |
| Plate snowman | $3 plates | $0 | $8 spray adhesive | $2 wire | $13 |
Lights are the line item that doubles your total without warning. Buy them in September when the hardware stores first stock them; the same box hits $18 by Thanksgiving.
Tools I Use and Borrow
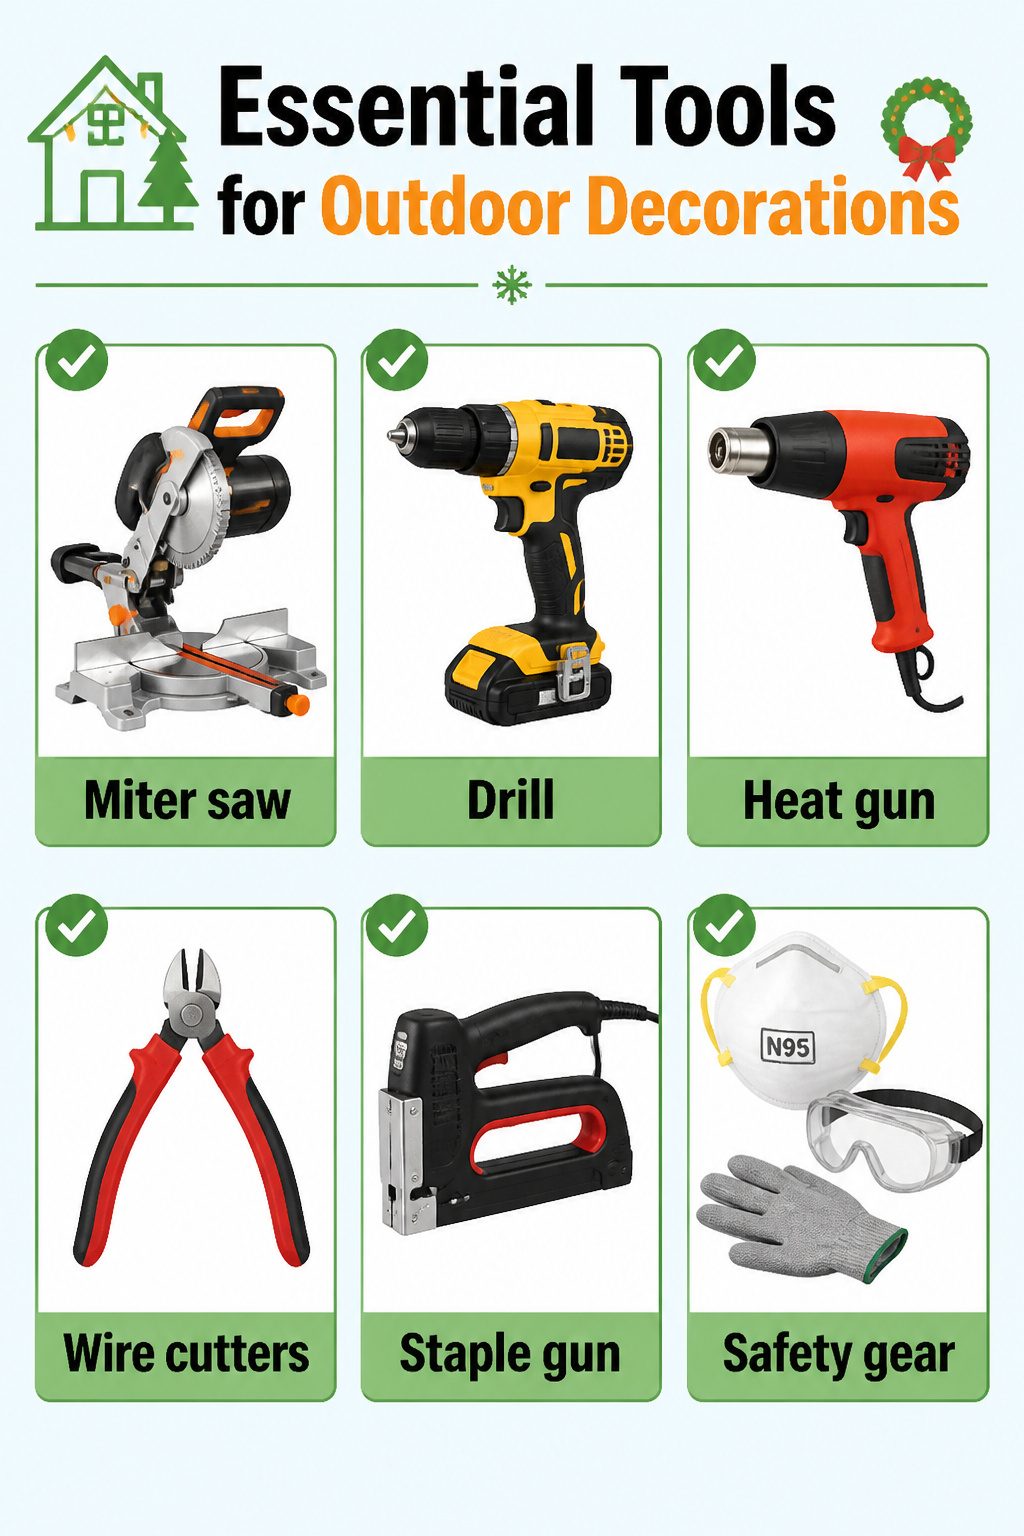
A miter saw and a drill handle most of the wooden tree and reindeer builds, and if you own any tools at all, you probably already have those two. The rest I borrow or buy cheap.
- Heat gun: essential for bending PVC candy canes and shaping plastic into smooth curves. A hardware-store basic model runs around $20 and sees year-round use for shrink tubing and paint stripping, so this one stays in my bin.
- Wire cutters: the plate snowman and any light-string project needs these for trimming hangers and cutting zip ties clean. Most households have a pair kicking around a junk drawer.
- Staple gun: the pallet snowflakes and any fabric or light attachment goes faster with one. I use an electric staple gun borrowed from my brother; a manual one works but wears out your hand on a stack of slats.
- Safety gear I skipped and regretted: no dust mask while cutting old pallet wood. Two hours of sneezing taught me that "dry" scrap still holds mold and pesticide residue from shipping. A basic N95 costs under $2 and saves the weekend.
Why I Upcycle and What Breaks
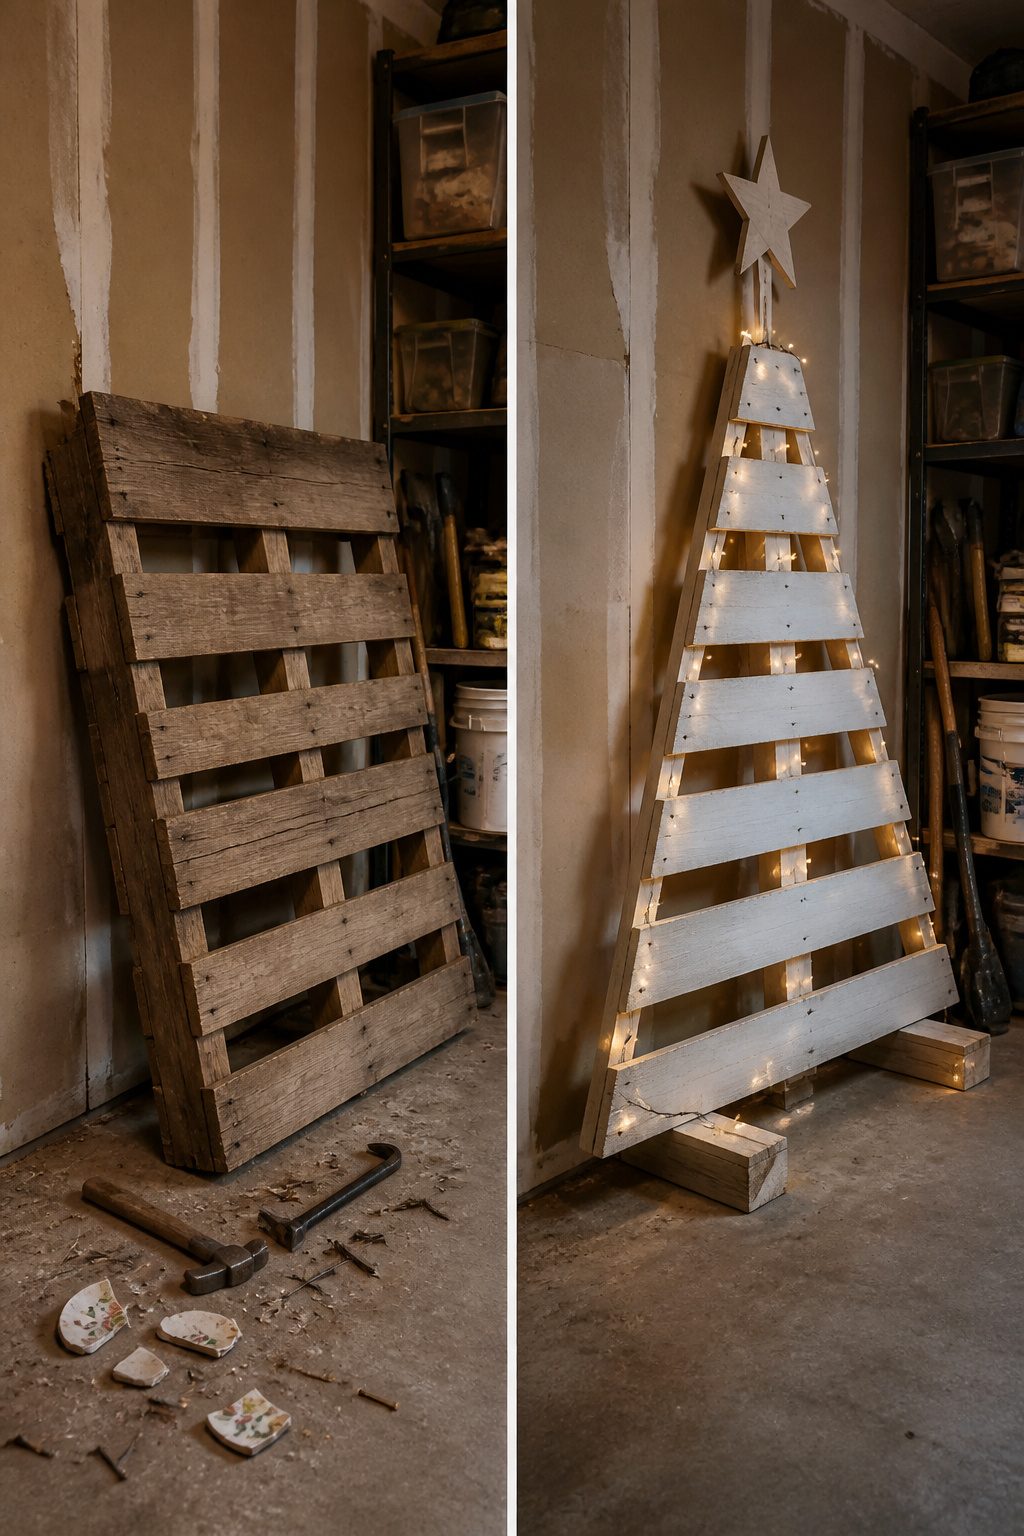
Pallets look like free lumber until you spend an hour pulling twisted nails and still miss one.
The cut on my palm from last year’s "tree" healed in a week, but the tree itself warped and grayed by February. Free wood costs an afternoon minimum, and that math only works if your weekend is actually free.
Old plates for the snowman stack seemed smarter until December frost hit a hairline crack I hadn’t noticed.
Two plates shattered the first cold night, and I was back at the thrift store buying replacements, which meant the project cost more than buying new ones to begin with.
I rebuilt that one with dollar-store plastic the next year. Same silhouette, no grief.
The PVC candy canes stayed up. The pallet tree and the plate snowman did not.
Now I upcycle only when the material is already clean, already dry, and already sitting in my garage. Anything that needs a truck rental, a pry bar, or a prayer gets crossed off the list before I start.
Frequently Asked Questions
What are some easy DIY outdoor Christmas decorations?
Oversized ornaments made from sports balls, scrap wood trees, lighted orbs from chicken wire or twine, PVC candy canes, and pallet Christmas trees are all straightforward builds that need only basic tools.
Most of these can be finished in an afternoon, and several use materials you may already have. The article details ten projects ranked by tool requirements and durability.
How do you make DIY outdoor Christmas decorations?
Each project follows its own method, but common techniques include bending PVC with a heat gun, shaping chicken wire into spheres, stacking painted plates with exterior adhesive, and cutting scrap wood with a miter saw.
The article gives specific instructions for all ten, including the mistakes that ruin the first attempt and what fixes the second.
What materials do I need for DIY outdoor Christmas decorations?
Scrap wood or pallets, PVC pipe, chicken wire or twine, old plates or sports balls, LED light strings, spray paint or exterior paint, and basic hardware like screws and fishing line are the staples across the ten projects.
The article includes a full cost table showing that lights are usually the biggest expense, often doubling the total.