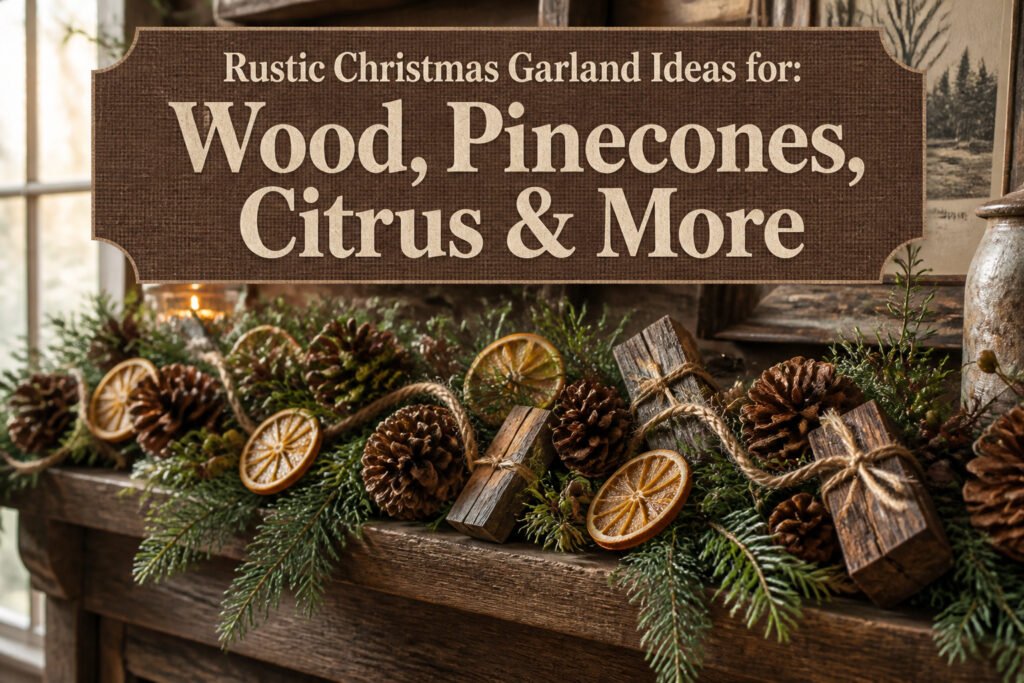
A rustic Christmas garland can run from a simple strand of twine and cinnamon sticks to a full mantel piece weighing two pounds per foot.
What separates the projects that survive January from the ones that sag or splinter is the material you start with, not what you add later.
Reclaimed barn wood gives you the grain and heft, but only if you sand the edges until they pass the sleeve test.
1. Reclaimed Wood Base
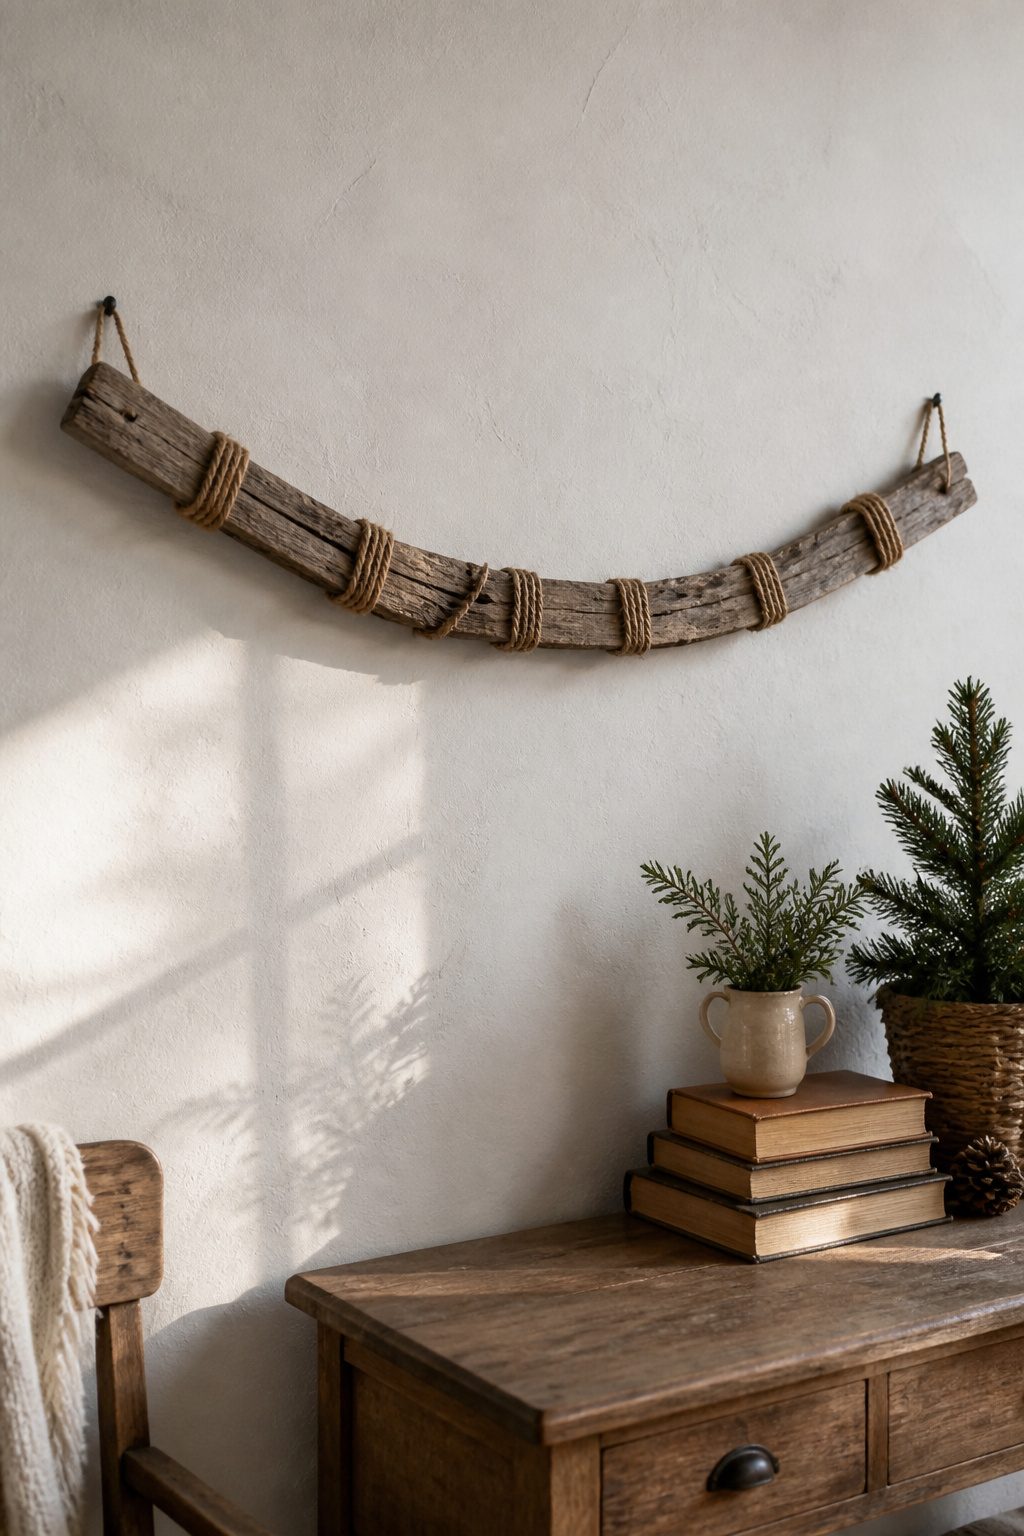
Reclaimed barn wood or a thin pallet board gives a garland real heft, and the grain does more decorative work than anything you add later.
Sand the edges until they pass the sleeve test; splinters look rustic only until they draw blood. Small hooks at each end keep the hanging simple and let the line stay flat against the wall.
Twine or jute rope wrapped around the wood is what shifts it from scrap to garland.
I like to anchor the rope with a staple or a finishing nail tucked on the back face, then wind in tight coils with no gaps, or in a figure-eight if the board is wide enough to need the coverage.
Jute frays more than twine but holds that fuzzy, weathered surface that reads as found rather than bought. Either way, keep the tension even; loose wraps sag by January and the whole piece starts looking like a craft fail.
The natural grain pairs with greenery without fighting it, so this base works whether you drape it with evergreen, pinecones, or leave it nearly bare.
2. Pinecone and Berries
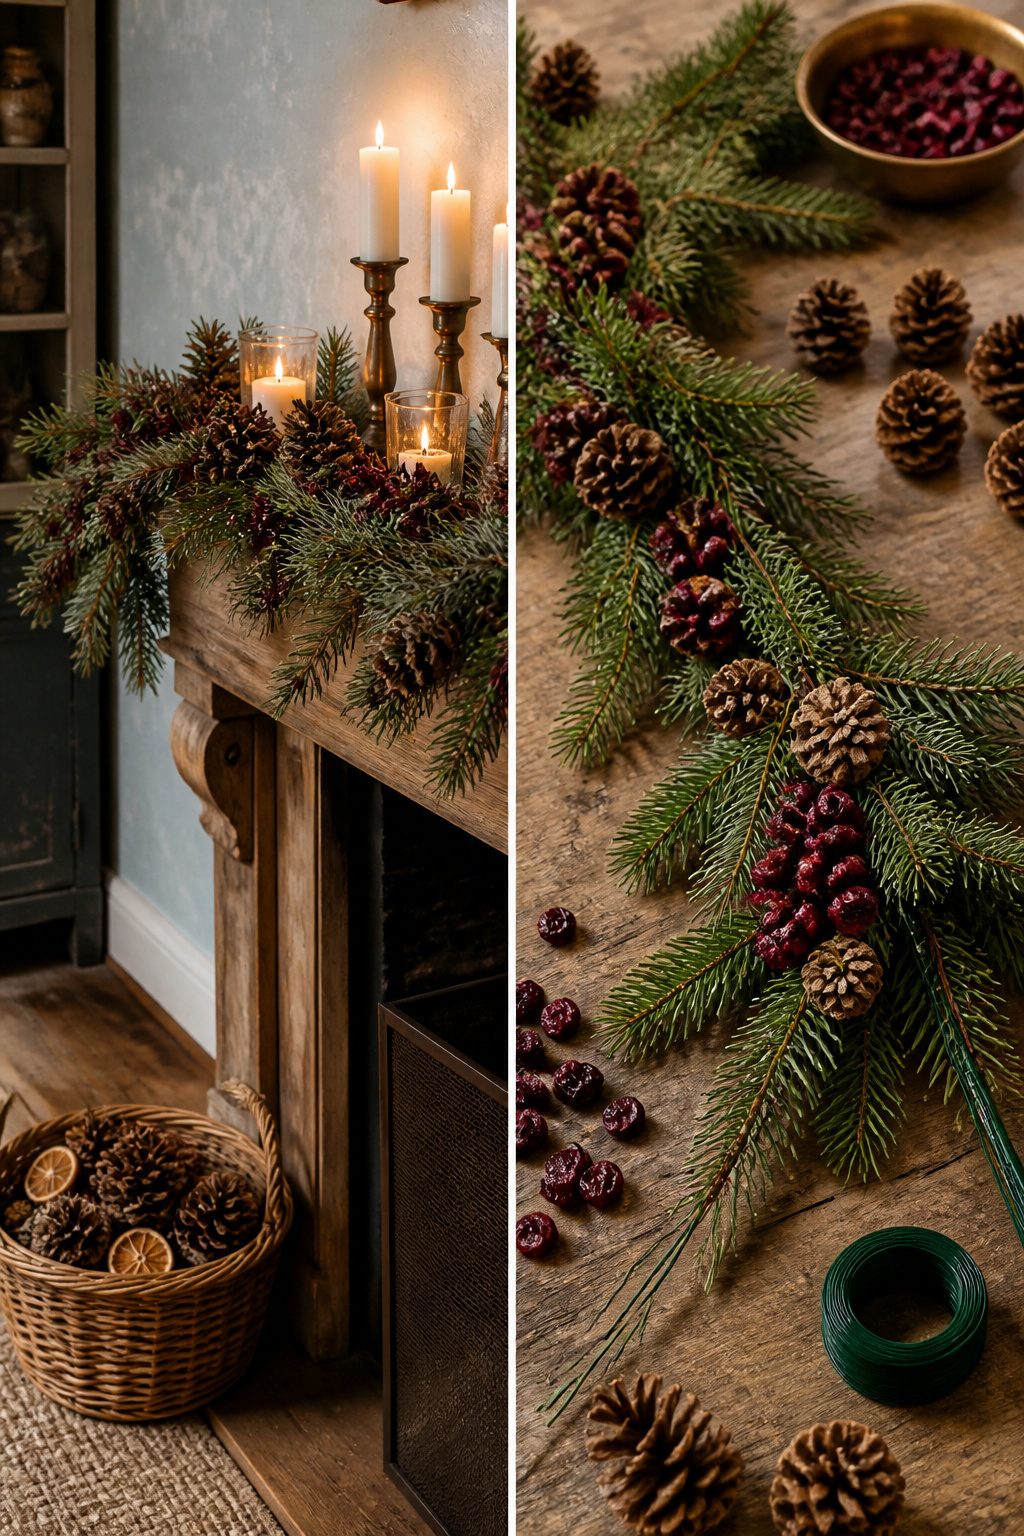
Pinecones, dried cranberries, and evergreen sprigs thread together into a garland that looks like it came off a woodland trail rather than off a shelf.
I start with three to four sprigs of greenery per bunch, tying each with floral wire, then string those bunches along twine with the pinecones and berries worked in between.
The wire running the full length gives the whole piece shape so it does not sag across a mantel.
For securing, thin wire or hot glue both work. Hot glue sets fast and holds through a season of opening and closing a door if the garland hangs there.
Wire lets you reposition later. The berries go last, tucked into gaps so they do not crush against the cones.
Artificial pinecones substitute fine if you are working in a rental with pet or landlord restrictions on natural materials.
The 72-inch mixed pine garlands sold online use plastic cones and berries dusted with glitter, and reviewers note the look is convincing until a slice of faux fruit snaps off.
That fragility is the tradeoff: real cones take a drop or a bump, but the artificial ones travel lighter and store flat.
3. Cinnamon Stick Twine
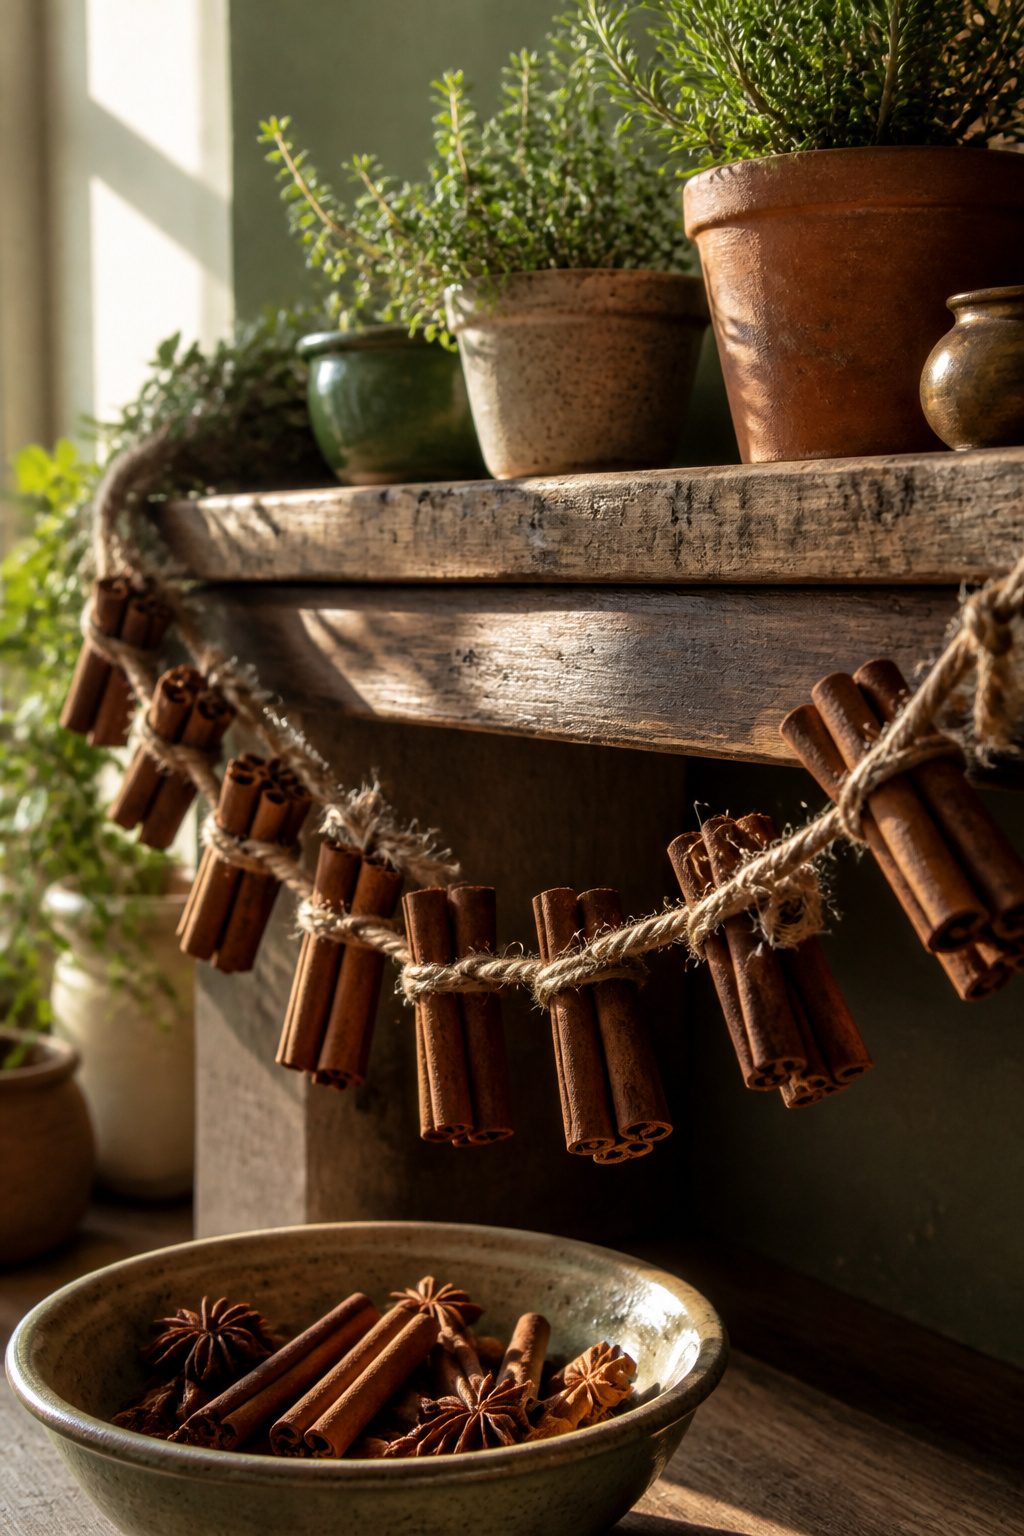
Cinnamon sticks and jute twine carry their own heat, so the garland smells like something is actually baking instead of sitting in storage.
Twelve to fifteen sticks per foot gives you the density where the twine disappears and the bark becomes the texture.
Less than that, and the line looks skimpy against a mantel; more, and the garland stiffens into something that fights the drape.
The wrapping itself is simple once you accept that the sticks will crack if you rush. Lay two sticks parallel, twist the twine around their centers, add the next pair, and keep the spiral tight enough that nothing slides.
A dab of hot glue at the knots locks the jute before it loosens in dry winter air. I have seen garlands where the maker skipped the glue and the whole thing unwound by New Year’s.
The scent holds up better than you would expect from something uncoated.
In a heated room, the first two weeks are the strongest; after that, the cinnamon fades to a background warmth you notice when you walk back in from outside.
The trick is placement: near a vent or a radiator, the heat cycles the aroma faster. Against a cool interior wall, the same garland lasts the full season without turning into plain decoration.
4. Hand-Painted Ornaments
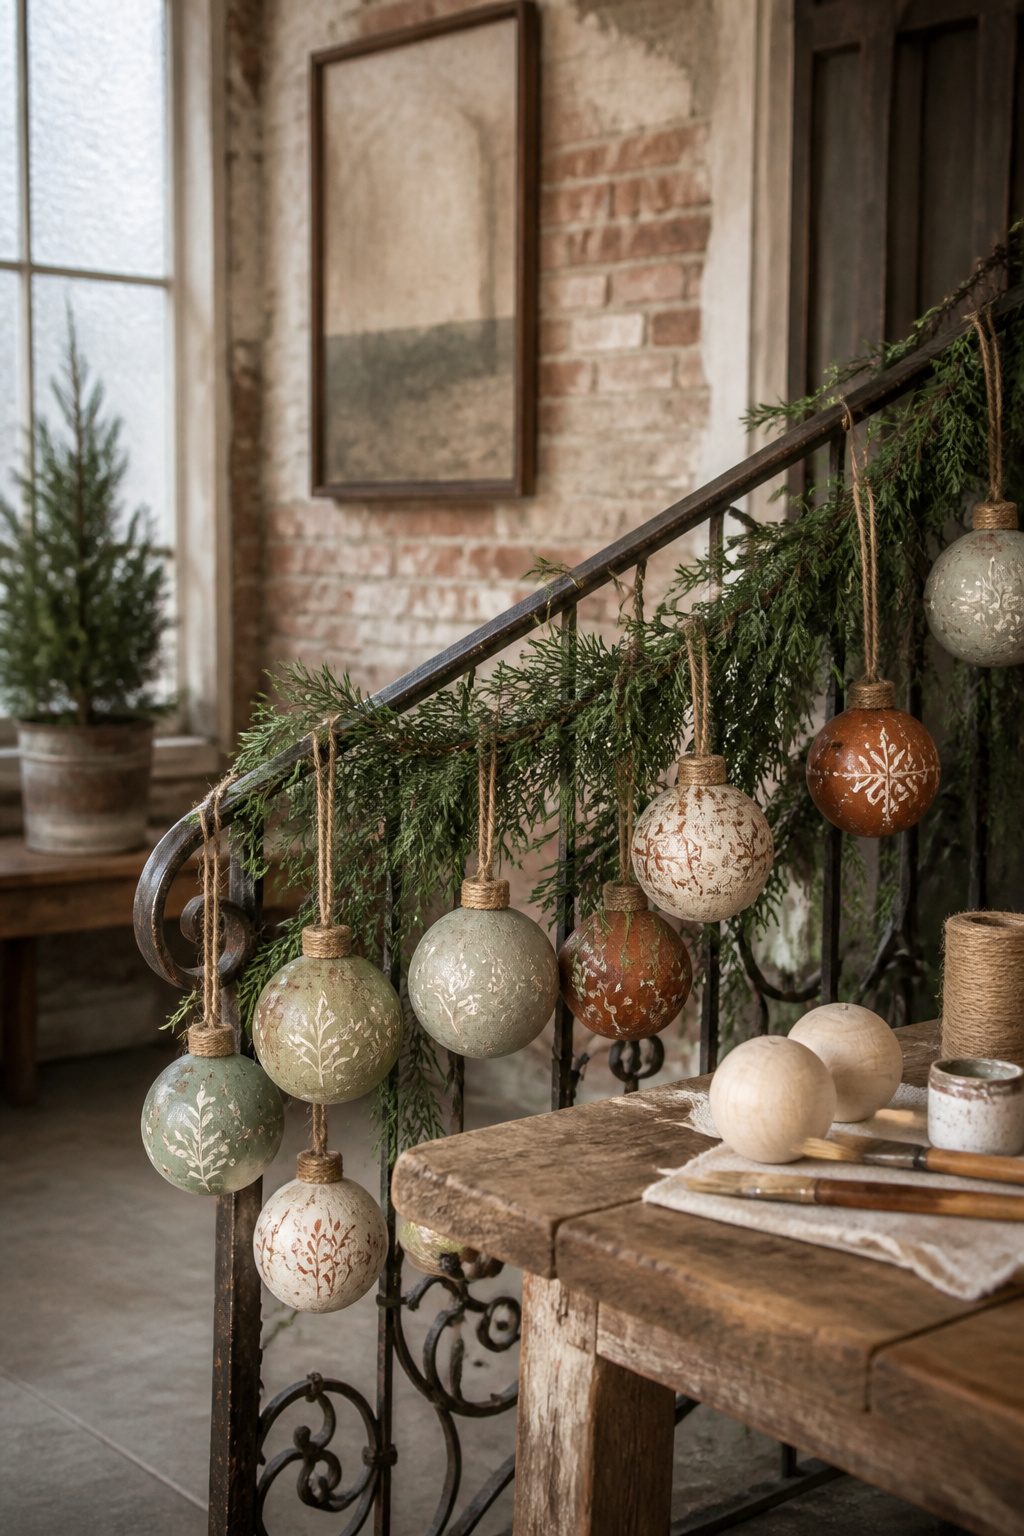
Paint colors make or break whether hand-painted ornaments read rustic or read craft-fair. The palette that works is sage, ivory, or rust, applied with a dry-brush technique so the wood grain or ceramic bisque still shows through.
Full coverage in bright red or kelly green swings too cheerful for this particular garland; the weathered finish is what ties it back to the base.
Attachment is where I got cautious after a previous garland. Tiny loops of wire or thin twine let the ornaments hang without pinching the greenery or twine base underneath.
Reclaimed metal hooks look vintage but can snag; if the garland base is real evergreen or dried material, that damage shows. Wire loops threaded through the ornament hole and twisted closed keep the weight distributed.
Spacing matters with weight. Salt dough or ceramic pieces slide on single-strand twine; two holes per ornament, threaded so the piece straddles the line, keeps it locked where you set it.
Knots tied flush against each ornament prevent the whole string from bunching at one end once it is hung.
5. Dried Orange Slices
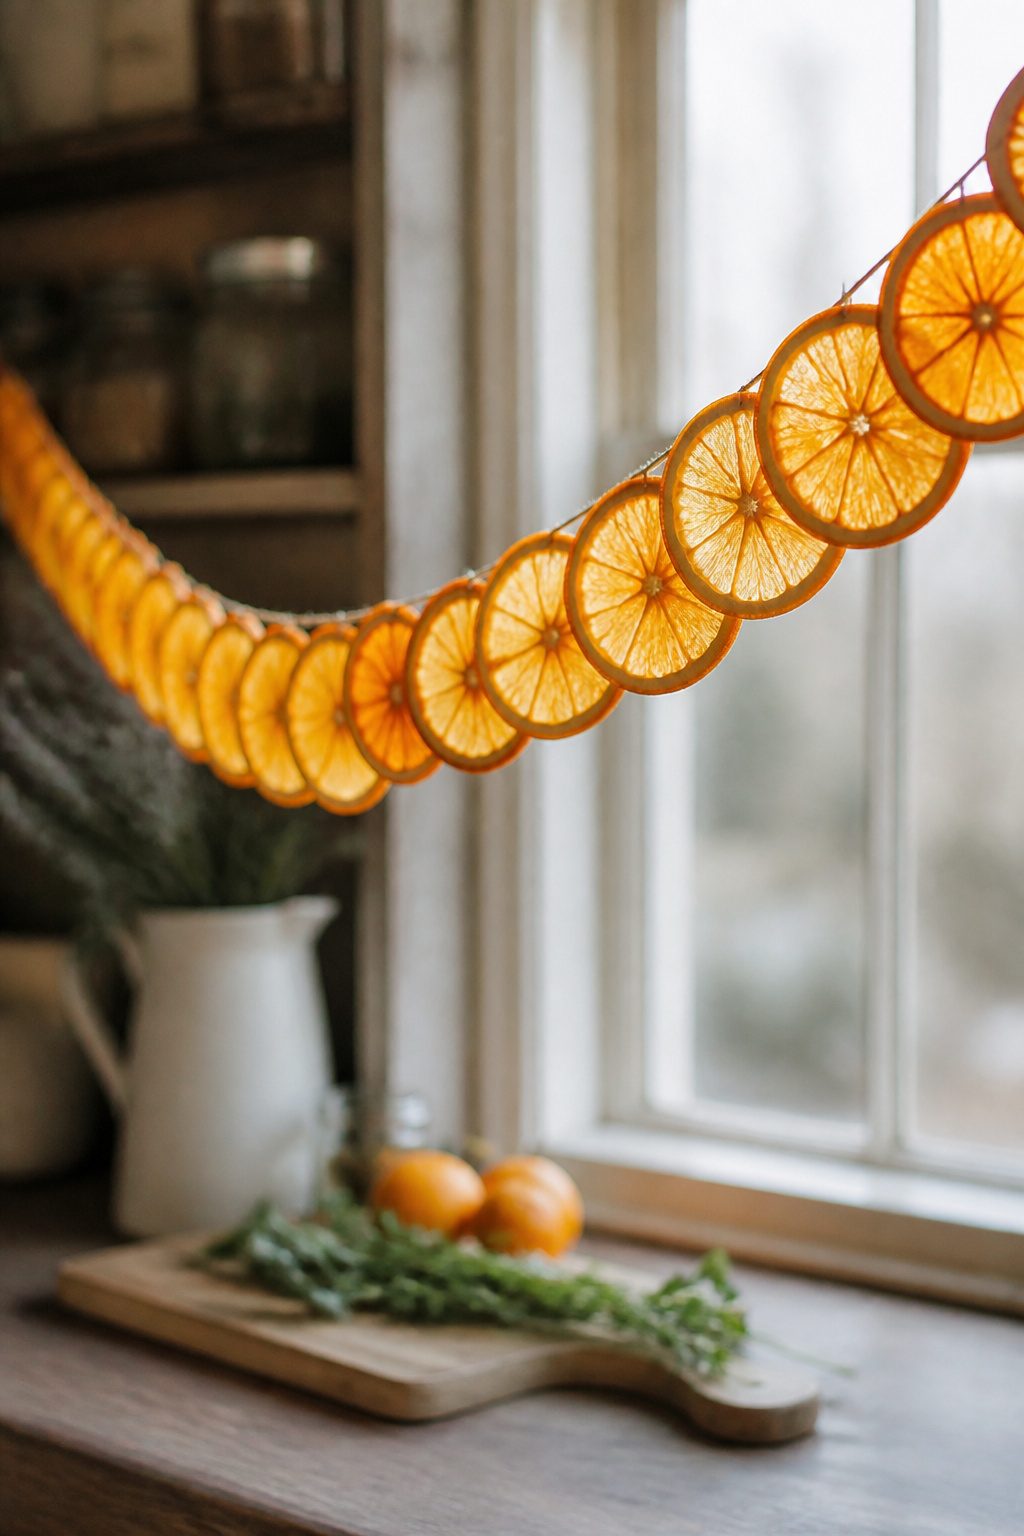
Dried orange slices carry more color than almost anything else on a rustic garland, and the faint citrus smell lasts a week or two before fading to something subtler. The drying method matters less than the thickness of the slice.
About an eighth of an inch, or just under, gives you the even dehydration that keeps the wheel flat; much thicker and the centers stay wet and grow mold, much thinner and you get brittle parchment that cracks when you breathe on it.
I lay the slices on a wire rack over a baking sheet and run the oven low, roughly 200 degrees, for two to three hours, flipping once.
A dehydrator works too if you already own one, but the oven does not need to be special equipment. The slices should feel firm and slightly leathery, not sticky, before they come out.
Let them cool completely on the rack; trapping steam against a plate softens the edges again.
For threading, a upholstery needle and kitchen twine pass through the pith at the center, not the flesh. The pith has some give and will not split the way the dried pulp does.
If you want them wired into a grapevine base, floral wire through the same spot works, but bend a small loop at the end so the wire does not pull through under its own weight.
I have cracked slices by rushing the cooling step and by threading through the flesh instead of the center; both mistakes are visible from across the room.
6. Salt Dough Ornaments
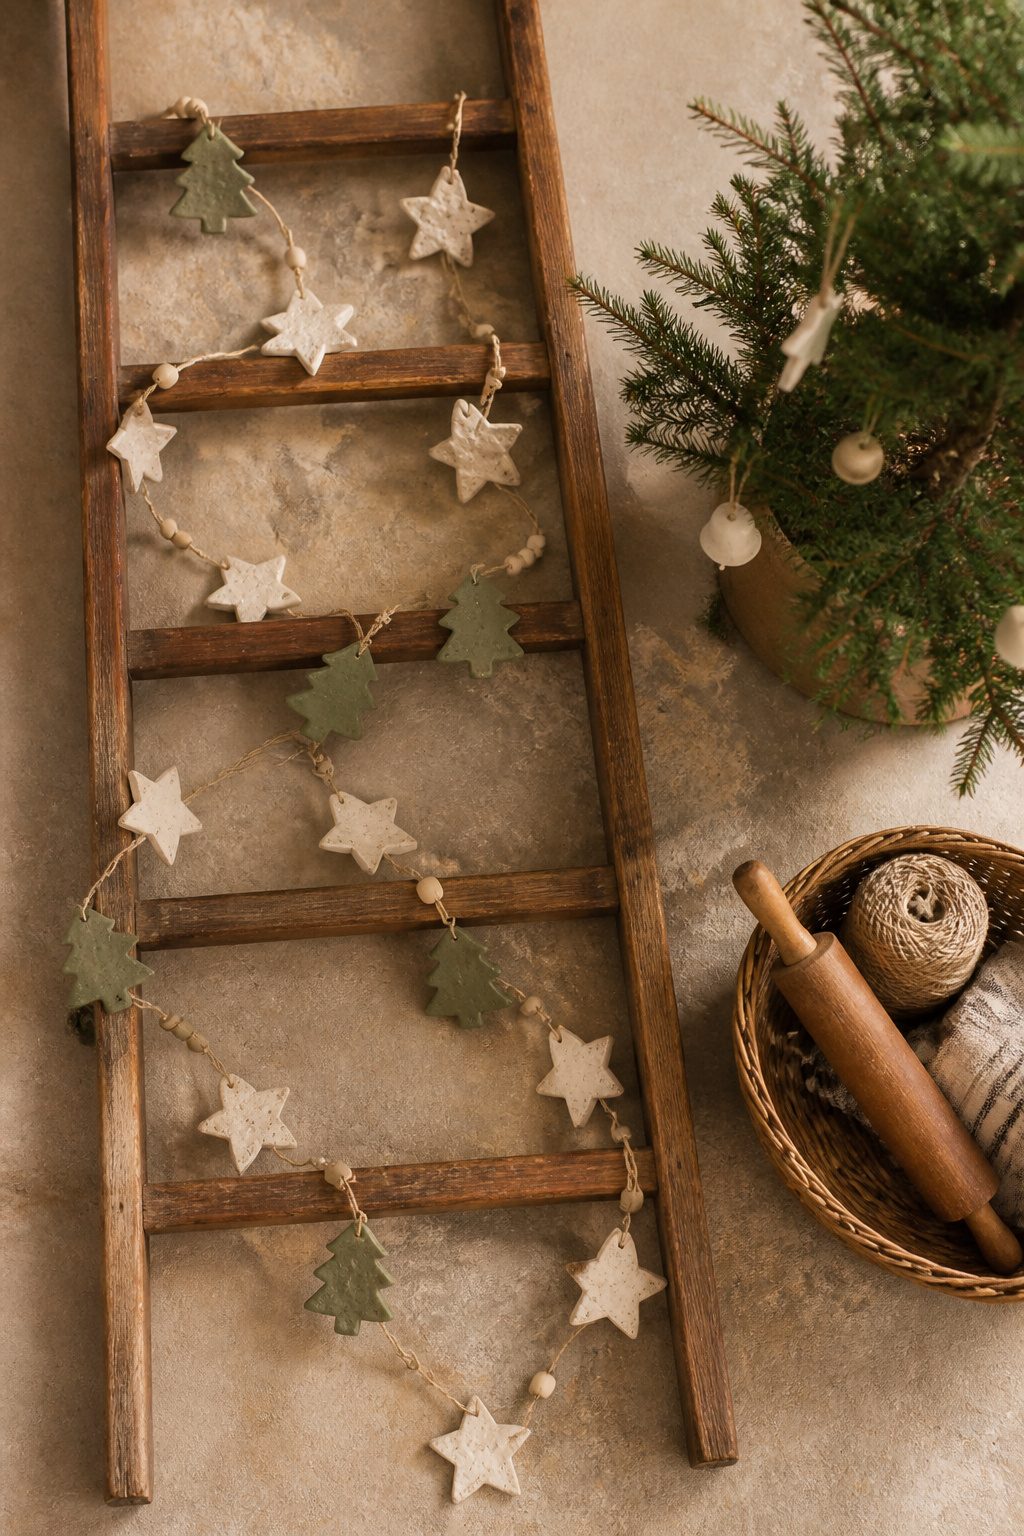
Salt dough ornaments hang beautifully on a rustic garland, but the dough itself can get heavy fast.
The basic recipe is one part salt, two parts flour, and one part warm water; knead until smooth, roll to about a quarter inch, and cut your shapes.
Bake at 200°F for two to three hours until completely hard, flipping once so the centers dry out. Thinner is better here; anything over a quarter inch stays damp inside and gains weight that will sag your twine.
Punch two holes near the top edge of each ornament rather than one single hole at the top.
The double holes let you thread the twine through and back, which keeps the ornament from sliding down the line and bunching up with its neighbors.
If you want them even lighter, skip the full three-dimensional shapes and stick to flat cutouts like stars, trees, or simple rounds.
Once cooled, a quick coat of matte acrylic in cream or soft green keeps the rustic palette without adding gloss that fights the natural materials around them.
7. Evergreen Sprigs
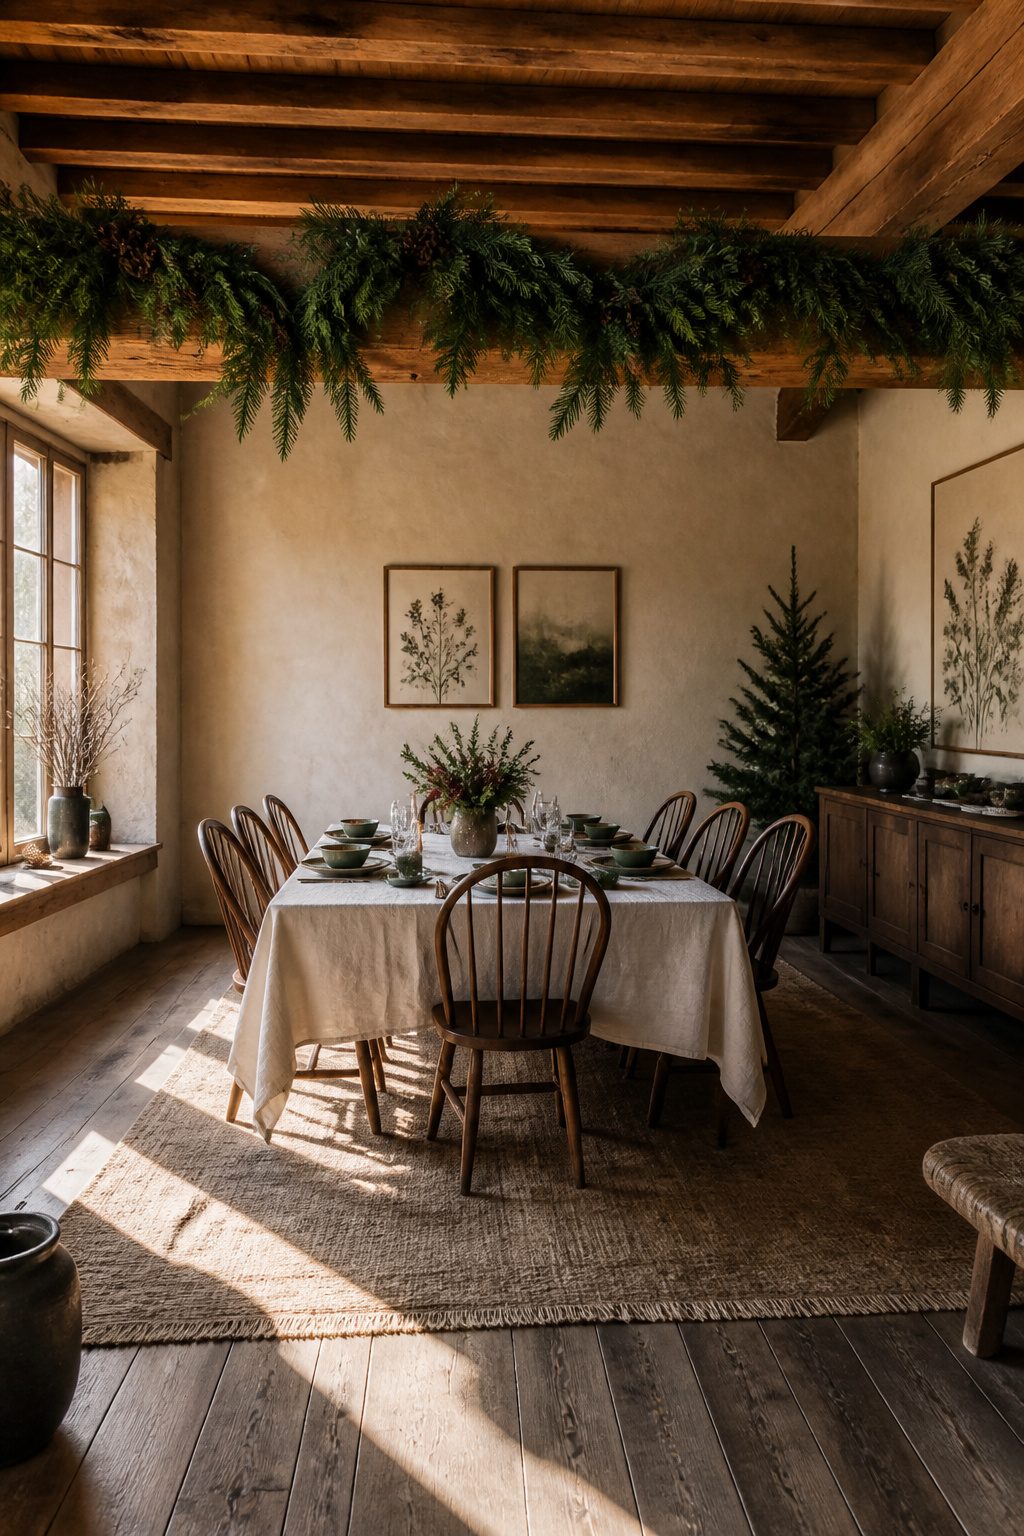
Fresh evergreen branches carry a scent no plastic can copy, but they also carry a deadline.
Indoors, expect three to four weeks of decent color before the needles start dropping; heat vents and direct sun pull that toward the shorter end.
Artificial PVC garlands, like the Perego Fir, skip the shedding entirely and cost nothing in upkeep, though the 4.7-star reviews still mention the same complaint: up close, the branches sit too uniform, too perfect.
The wiring technique matters more than the material choice. Three to four sprigs, real or faux, form one bunch.
Floral wire binds the stems at one end. Repeat until you have several bunches, then wire those bunches together along a central strand.
A second wire run down the full length keeps the shape from sagging. Fresh garlands from nurseries use this exact double-wire structure, and pulling one apart in the store shows you the spacing faster than any tutorial.
Once the backbone is tight, tug individual sprigs outward to fill gaps. The fluffing hides the mechanics, and the mechanics are what let a thin-looking strand read as full from across the room.
8. Twine and Floral Wire
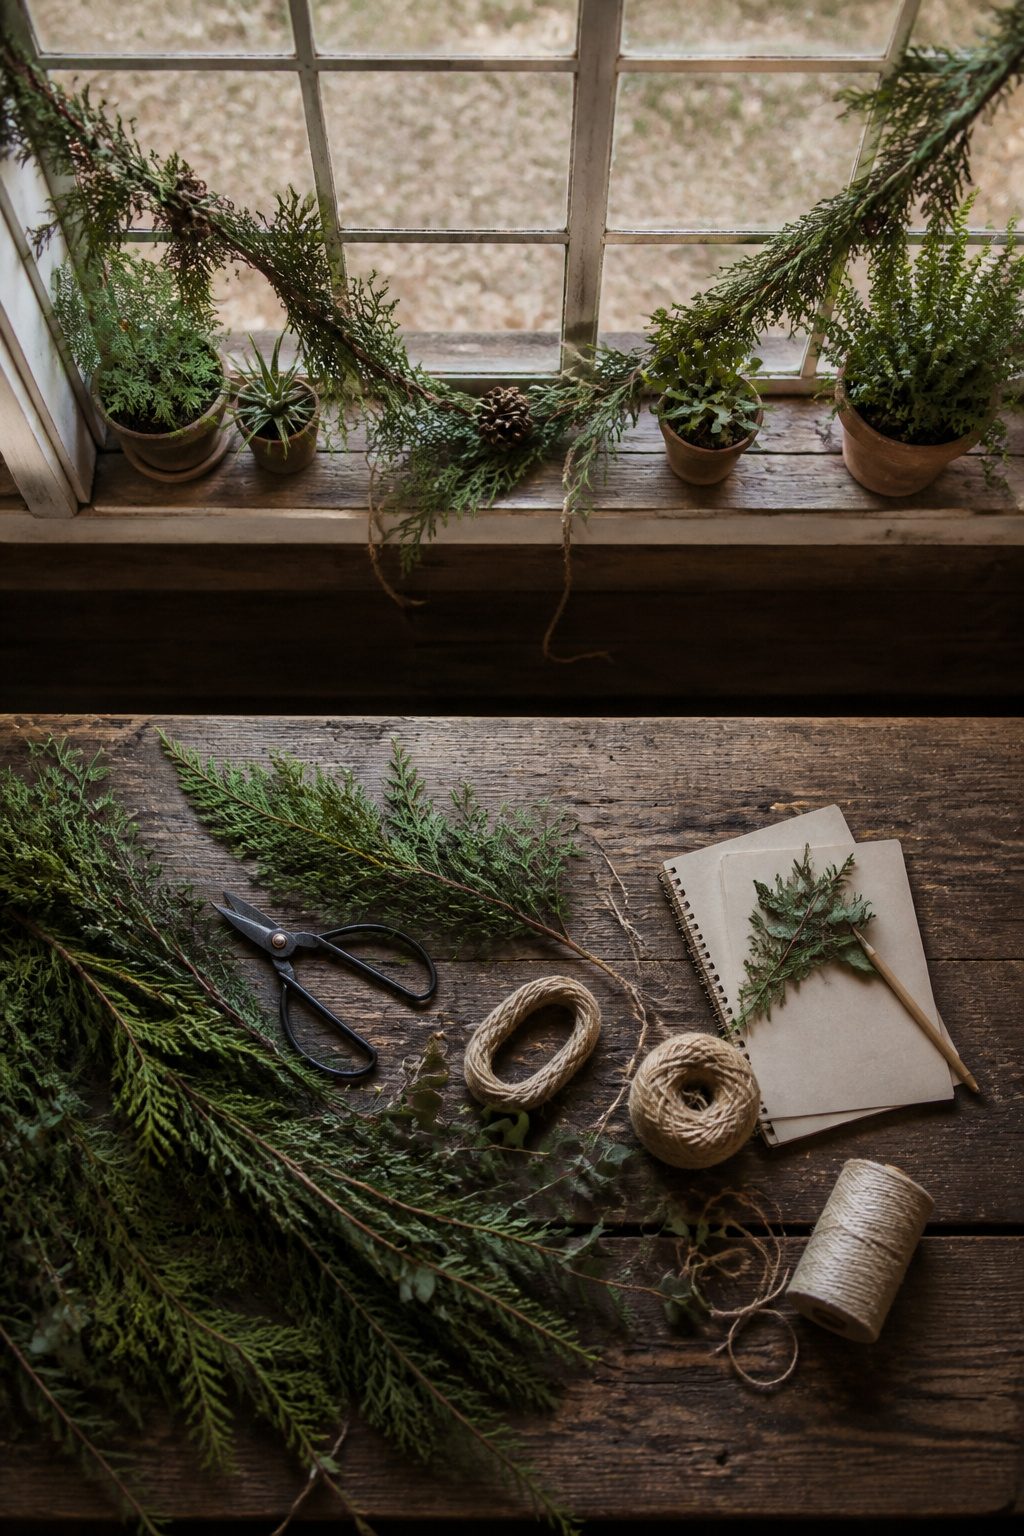
Twine and floral wire do different jobs in a garland, and using the wrong one is the mistake that turns a Saturday project into a Sunday redo.
Twine carries the weight and drapes the shape; floral wire binds the pieces together. The sources build their garlands by bundling three or four sprigs with wire, then tying those bunches to a length of twine.
That two-step structure matters. Wire twisted around greenery holds tight without slipping, while twine strung the full length gives the finished piece its flexibility and its natural, hand-tied look.
Gauge choice for the wire is where I would have guessed wrong before reading through these builds. The instructions call for thin wire, the kind that disappears behind a cinnamon stick or a pinecone without adding bulk.
Anything heavier fights the rustic texture you’re after. A hot glue gun speeds the work when you want to secure twine knots or attach dried orange slices directly, though the wire-and-twine method alone handles most of the assembly.
The one tool that makes the work faster, if you are working with fresh evergreens, is a pair of floral shears.
Clean cuts matter more than I expected; crushed stems dry out and drop needles, and scissors bruise where shears slice.
Where to Hang It
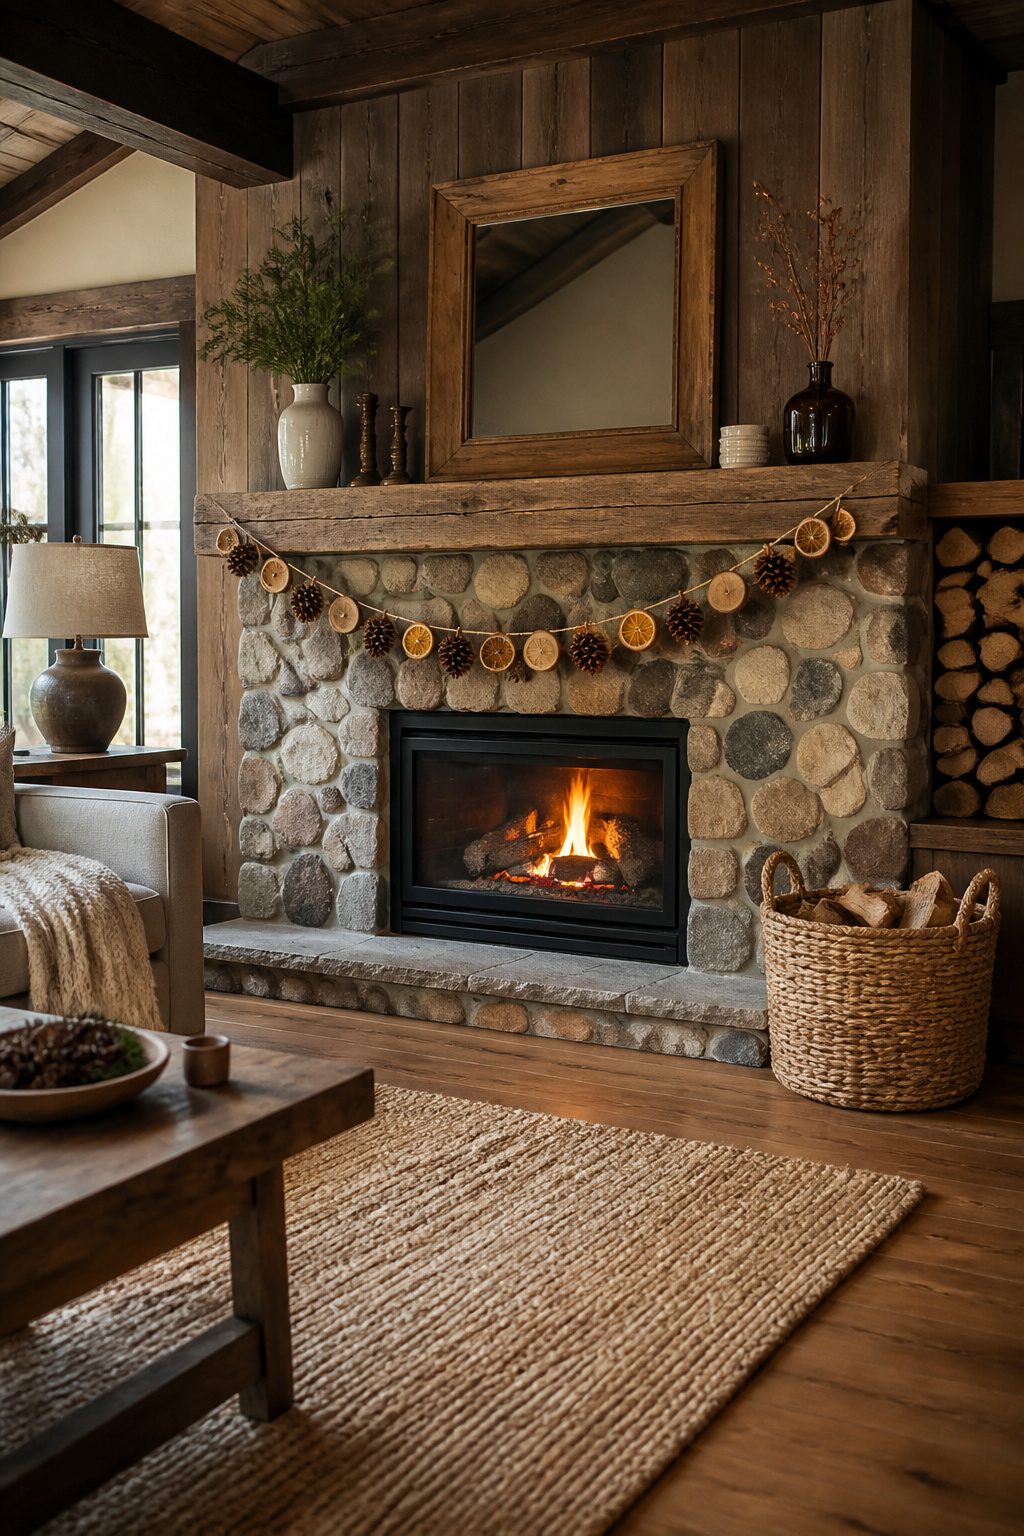
A finished garland of wood slices, pinecones, and dried citrus runs about two pounds per foot, which is heavier than the plastic kind but still manageable if you plan the anchor points before you hang it.
On a mantel, the weight sits mostly at the center, so two adhesive hooks rated for five pounds each at the ends usually handle the load, with a third hidden at the middle if the span is over six feet.
I have had better luck with the clear, removable strips than with the metal hook versions; they peel off in January without lifting the paint, which matters when the deposit check is still weeks away.
Doorways need more security because the garland moves every time the door does.
Small nails at the frame corners work, though I prefer pinning the twine directly into the grout line above a tiled entry and letting the garland hang free of the door swing entirely.
For stair railings, the drape should be loose enough that a hand can still grip the rail; three attachment points per eight-foot run keeps it from pooling on the treads.
If the garland is going outside, any wood elements need a coat of clear sealant first. Unsealed pine absorbs moisture, cracks by New Year’s, and drops needles or slices onto the porch.
Weather-proof twine helps too, but the sealant is what saves the piece for a second year.
Scent That Lasts the Season
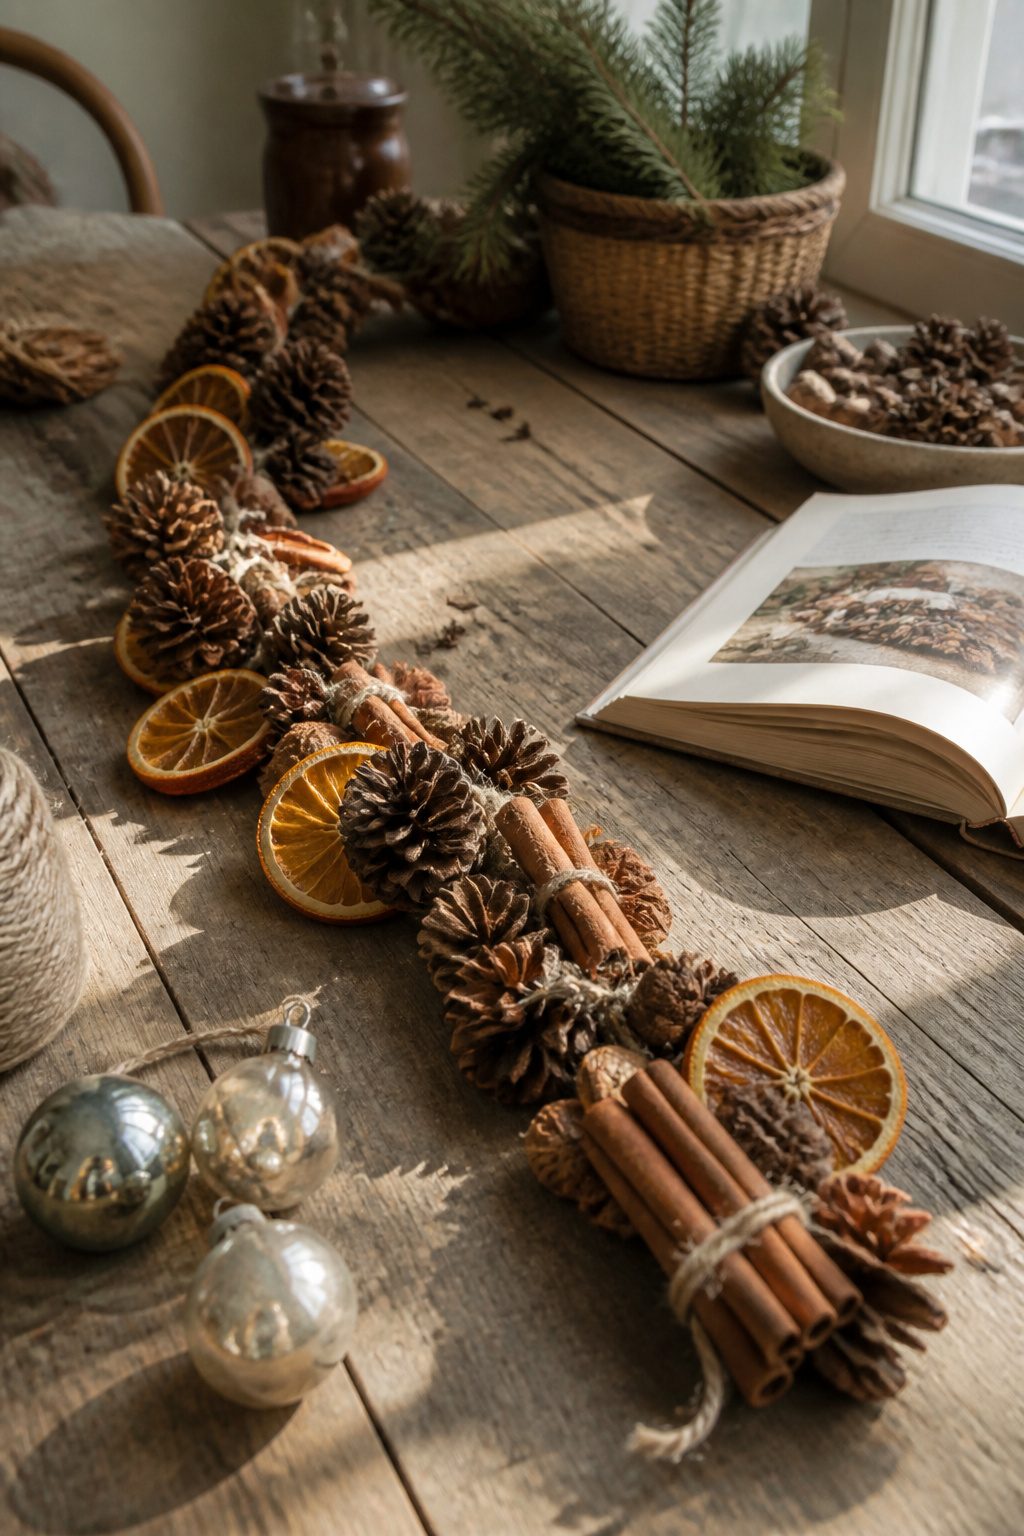
Cinnamon owns December, but clove and nutmeg do the heavier lifting on a rustic garland.
Clove carries farther, lasts longer against dry winter air, and its sharp edge keeps the sweetness of dried orange slices from turning the whole mantel into potpourri. Nutgentle rounds it off without the powdery flatness cinnamon develops after a week.
Refreshing scent without rebuilding means working with what is already wired. A drop of clove oil on the twine knots every ten days, or tucking fresh whole cloves into the gaps between pinecones, revives the throw without unwrapping anything.
The nutmeg fades first, usually inside two weeks; the clove holds four to six if the room runs cool.
Citrus, bright as it is on day one, goes fastest, often within a week, so I stopped counting on it for backbone and started treating it as the accent that gets swapped.
Light Count for Rustic Garlands
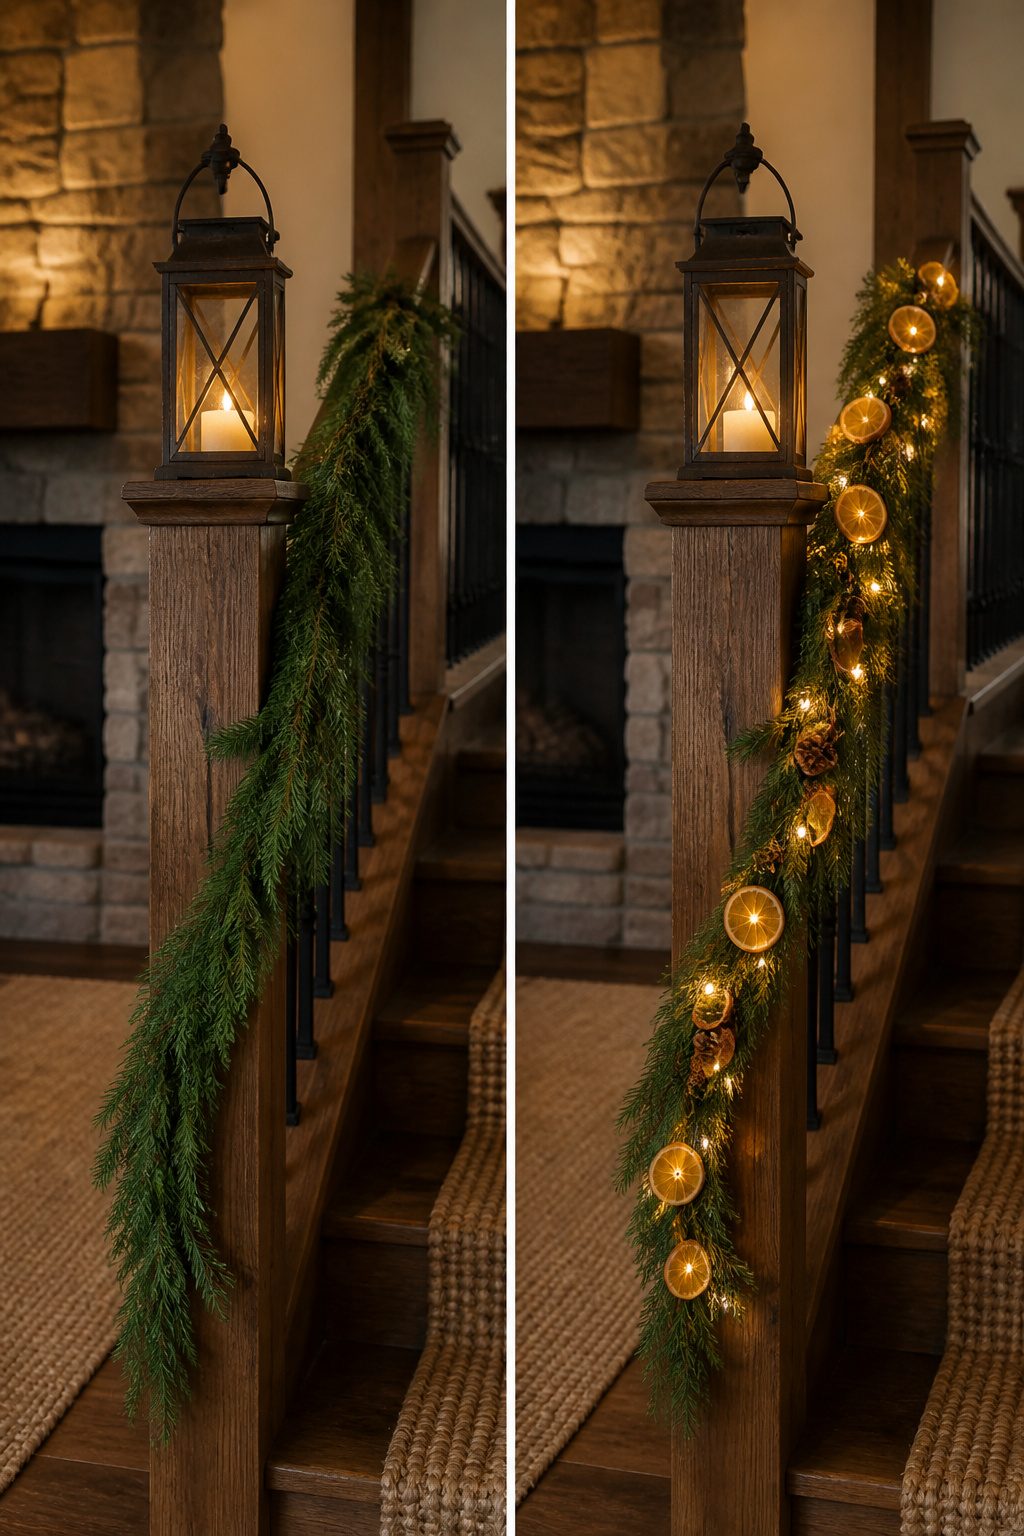
Five to ten small LED bulbs per foot is the workable range for most rustic garlands, and the right end of that spread depends on what else is on the twine.
A sparse design built from cinnamon sticks, dried orange, and bare wood shows every bulb; at five per foot the lights read as deliberate points rather than a solid rope.
Pack in evergreen sprigs or pinecones and the foliage swallows light, so eight to ten per foot keeps the glow from disappearing entirely.
Color temperature matters as much as count. Warm white, around 2700K, matches the honeyed tones of dried citrus and natural pine.
Candlelight, closer to 2200K, goes amber and can turn a green garland muddy; it suits all-wood or all-neutral builds where you want that firelit look without an actual flame.
I wire both to a dimmer regardless, because even the right bulb at full brightness on a mantel at night feels like a runway.
Five per foot for open designs, ten for dense greenery, and warm white unless every element is brown or beige.
What This Tradition Comes From
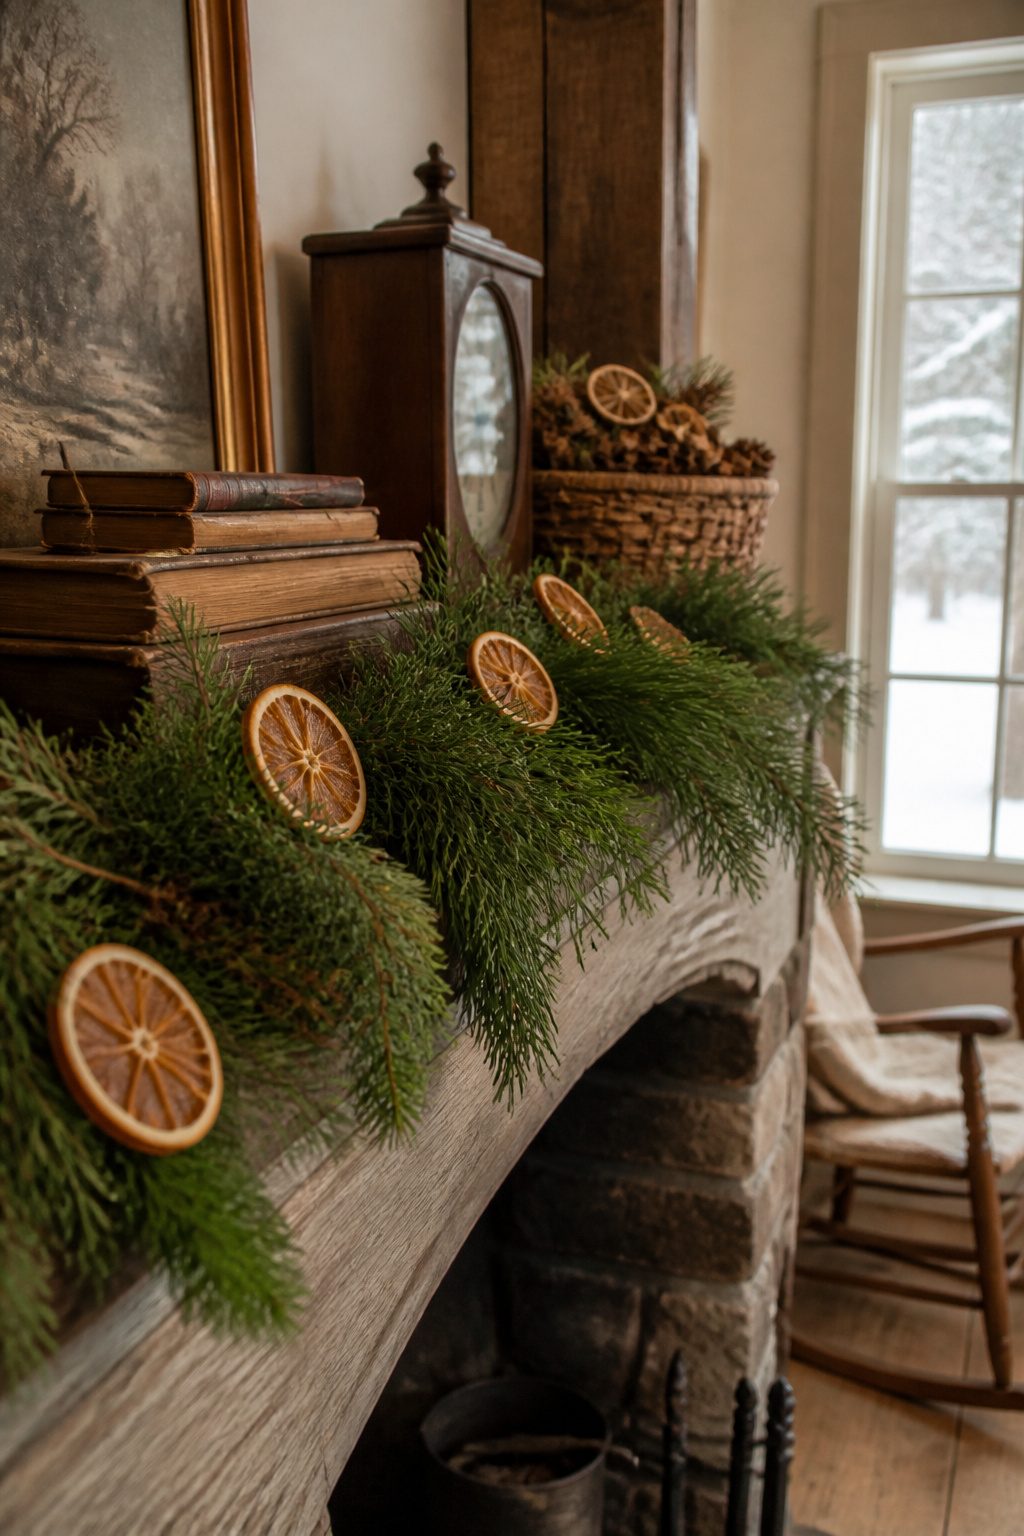
European settlers carried their winter greenery customs across the Atlantic and found spruces, firs, and pines waiting in abundance.
Those early garlands were practical as much as festive: families strung evergreens to sell for extra income, and the branches held meaning beyond decoration.
In a season when most plants go dormant, evergreens signaled perseverance, the same living green defying the dark months that European Yule traditions had honored for centuries.
The dried fruits in a rustic garland follow the same practical root. Fresh greenery dies; oranges and apples shrink into something that keeps.
A strand of pine boughs with dried citrus slices is doing what colonial garlands did, using what lasts through January without a greenhouse or a florist budget.
Christmas did not become a national holiday here until 1856, and before then, December 25th often passed as ordinary work in diaries of the period. The elaborate decorating came later, popularized partly by Queen Victoria and Prince Albert’s tabletop tree.
Swags of greenery over mantels and doorways spread from that fashion, but the materials stayed local and dried, the same combination a weekend project still uses.
Frequently Asked Questions
Can I use artificial pinecones for my garland?
Yes, artificial pinecones substitute fine if you face restrictions on natural materials in rentals or have pet concerns.
Plastic versions dusted with glitter look convincing from a distance, though they tend to snap more easily than real cones when bumped or dropped.
The tradeoff is storage and weight: faux cones travel lighter and pack flat, while real ones handle rougher treatment.
What’s the best way to protect a wooden garland outdoors?
Coat any wood elements with a clear sealant before hanging them outside. Unsealed pine absorbs moisture, cracks by New Year’s, and drops pieces onto your porch.
Weather-proof twine helps too, but the sealant is what lets you reuse the garland a second year.
How many lights should I add to a rustic garland?
Use five to ten small LED bulbs per foot, with the lower end for open designs like cinnamon sticks and bare wood, and the higher end for dense greenery that swallows light.
Warm white around 2700K matches the honeyed tones of dried citrus and natural pine best.