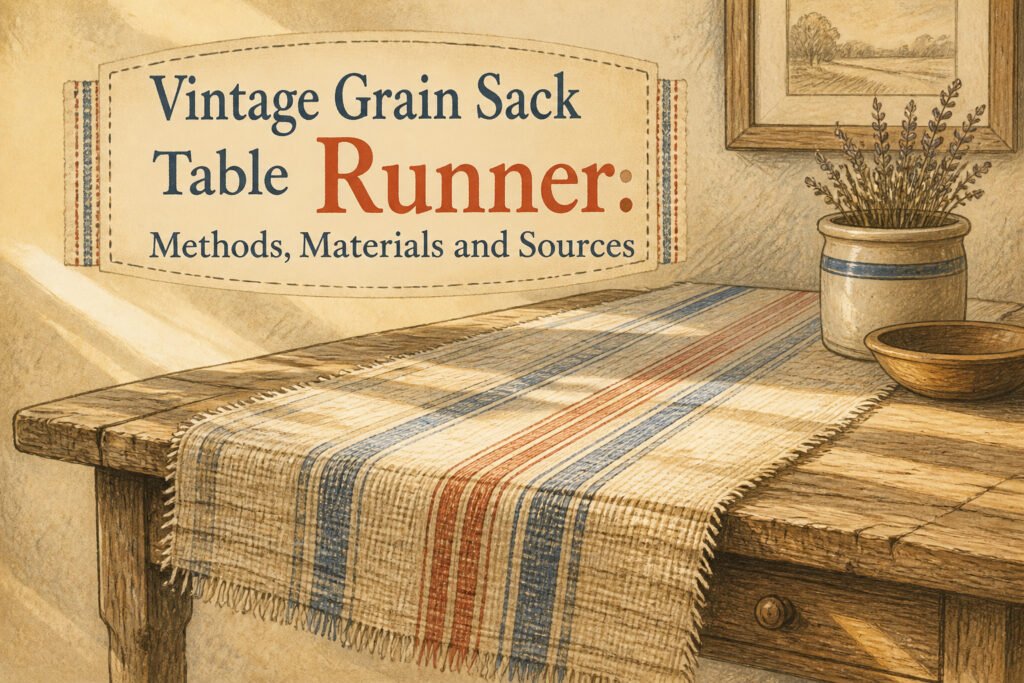
A vintage grain sack table runner is a long strip of heavy, hand-loomed linen or hemp cut from a 19th- or early 20th-century grain sack, often striped in blue, red, or tan. The first thing that changes whether you end up with a runner or a frayed ruin happens before any cutting starts: you must wash the sack on delicate with a color catcher, because century-old dyes still bleed and the weave needs to tighten before you touch a seam ripper to the hand-stitched sides.
Wash Your Grain Sack
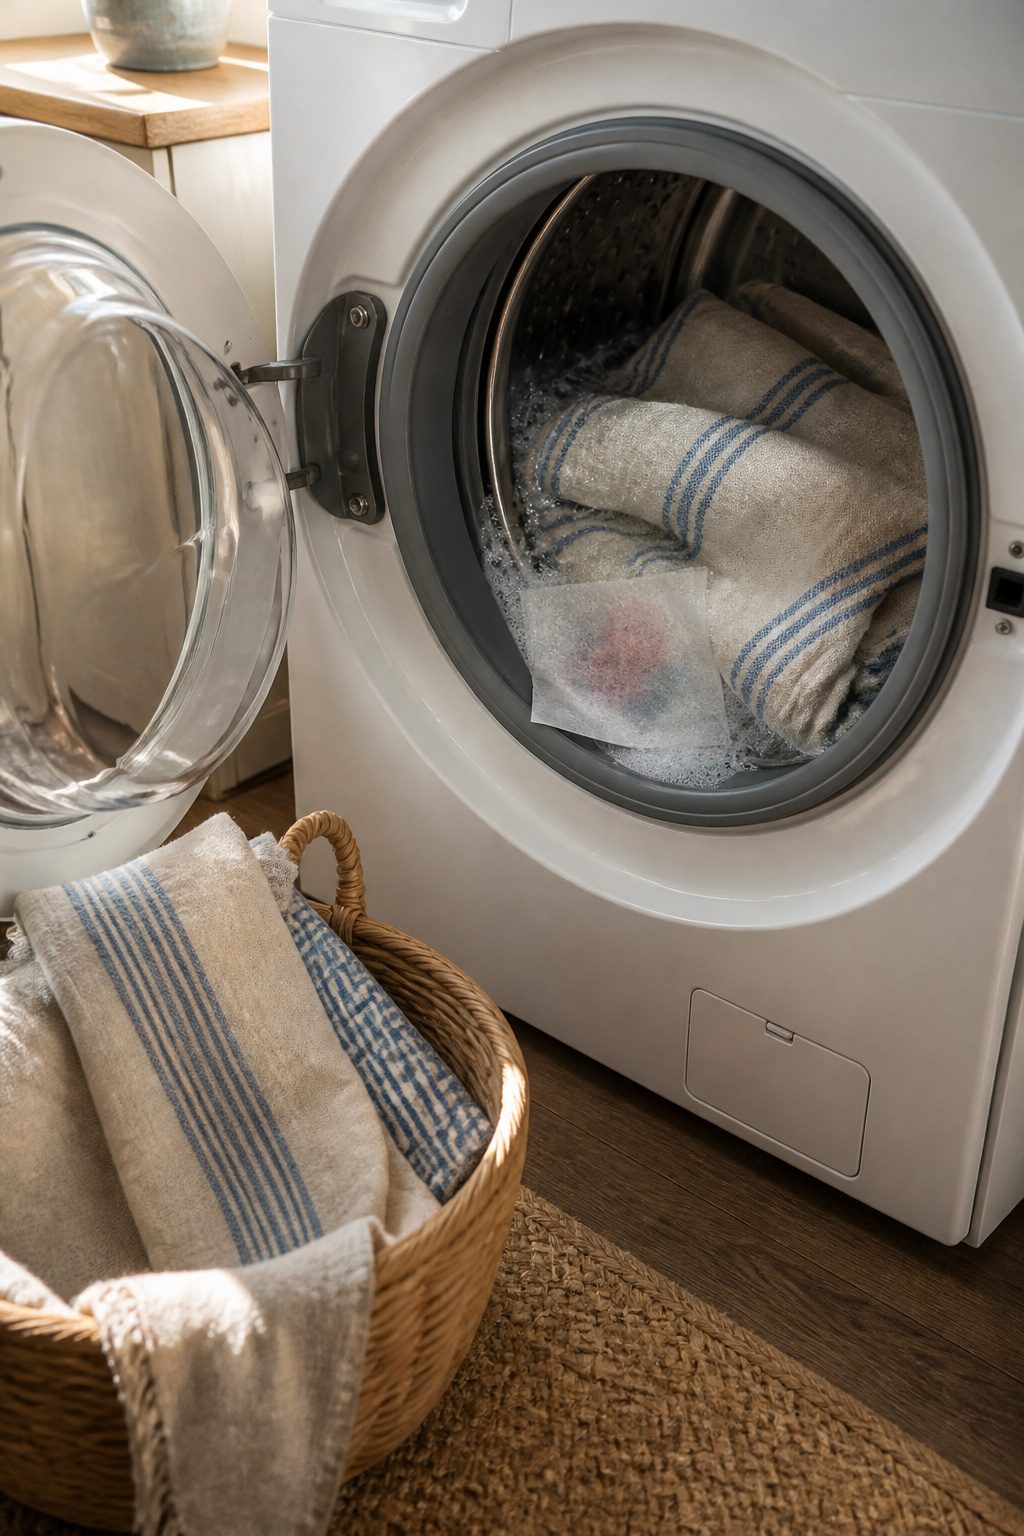
The first wash on a grain sack that has sat in storage for decades does more than clean it. It sets the weave, tightening the hand-loomed linen so the fabric holds together when you later open the side seams. Skip this step and the material can fray badly enough to ruin the piece.
I run mine on the delicate cycle with a color catcher in the load. The color catcher matters because these old stripes were dyed with formulas that can still bleed after a century, and you want to know now, not when the runner is on your table. The same wash handles light pretreating if you have stains to lift. The fabric comes out intact, the weave settled, and you can move on to cutting without the panic of watching it unravel in the machine.
Inspect the Seam
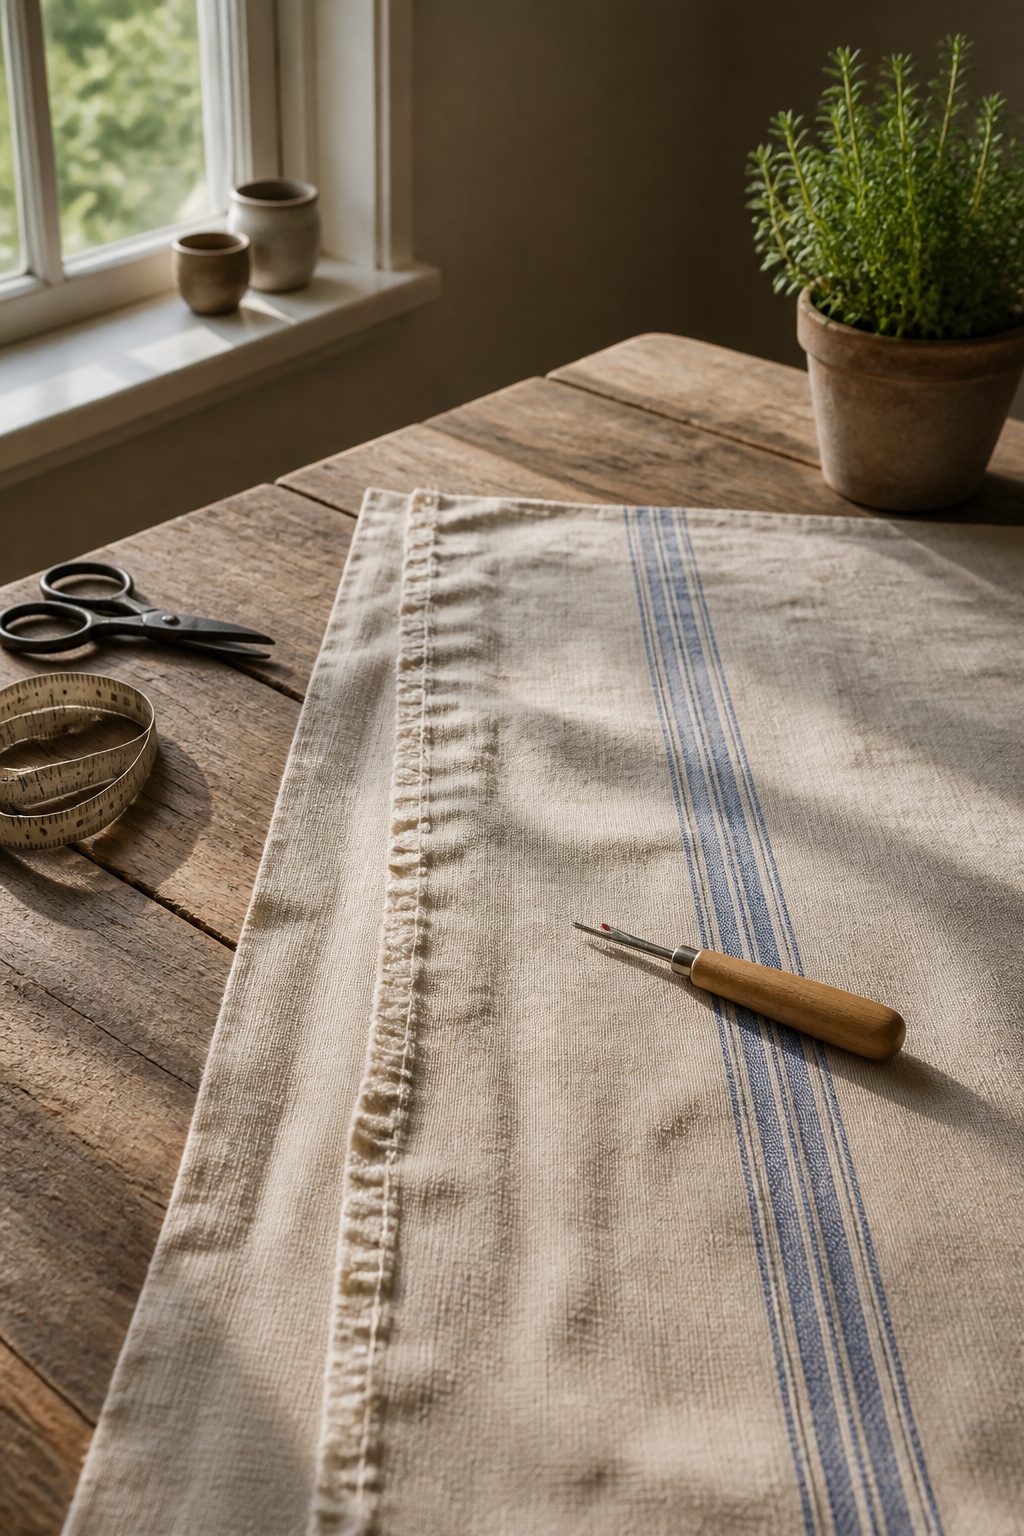
The seam is where your runner starts or falls apart, so five minutes of study here saves an hour of patching later. Spread the sack flat and find the widest opening at a seam, because that gap is where your scissors or seam ripper first bite in.
Hand-stitched seams look irregular up close: the thread wanders slightly, the spacing varies, and the stitches themselves sit proud of the fabric rather than sinking in. Machine-sewn seams run like a zipper, even and tight, with the thread almost buried in the linen. The difference matters for your first cut. A hand-stitched seam usually has a little more give between the stitches; you can often slide a seam ripper under a single thread and lift it free. Machine seams fight back, so you cut more and pull less.
Either way, work from the widest point you can find. Narrow openings force the tool in at an angle and the linen frays where it pinches. If both side seams look equally tight, check the bottom hem instead; sacks were sometimes closed last at the base, and that stitching can be looser from the start.
Make Your First Cut
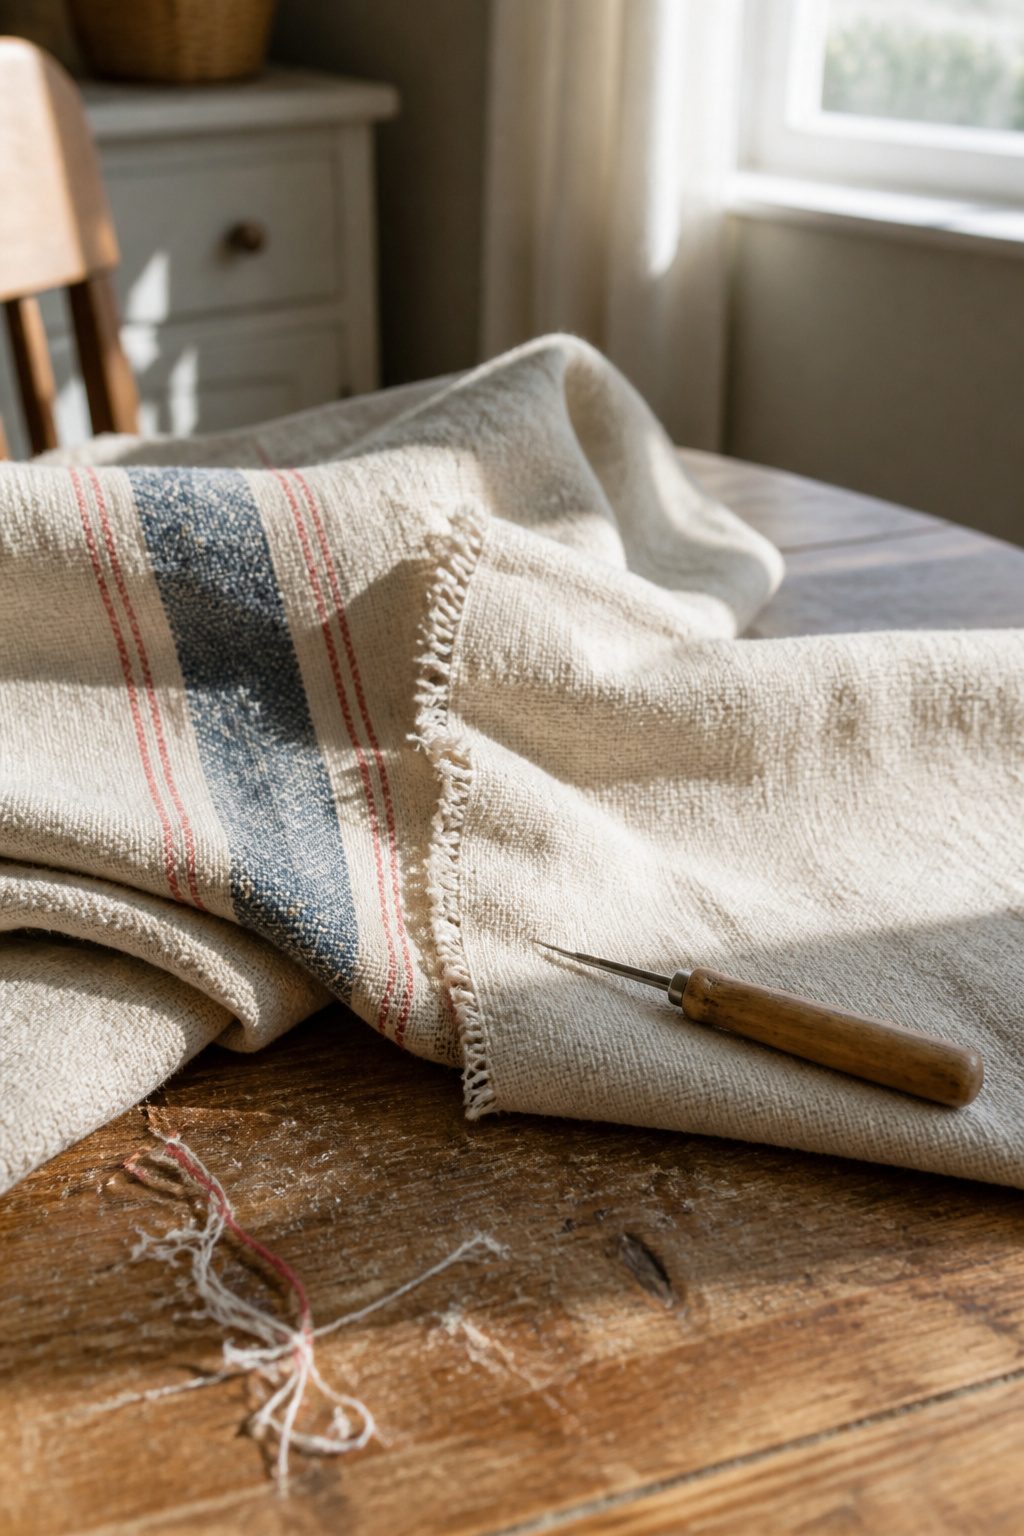
A seam ripper is the cleaner choice for opening a grain sack, but a small pair of detail sewing scissors will do the job if that is what you have on hand. The seam ripper is smaller and easier to work with, especially when you are trying to cut only the thread and not the fabric itself. The first cut is the scariest part, so look closely and make sure you are cutting into the seam, not the grain sack material. An antique grain sack measured 52 inches before deconstruction, so one mistake at this stage costs real length. Once the first thread is cut, pull both sides of the sack away from the seam to loosen the next threads. That tension makes the remaining stitches visible, and visibility is what keeps the next cut accurate. Work slowly. The fabric has already lasted a century; it can survive another few minutes of your attention.
Continue Cutting
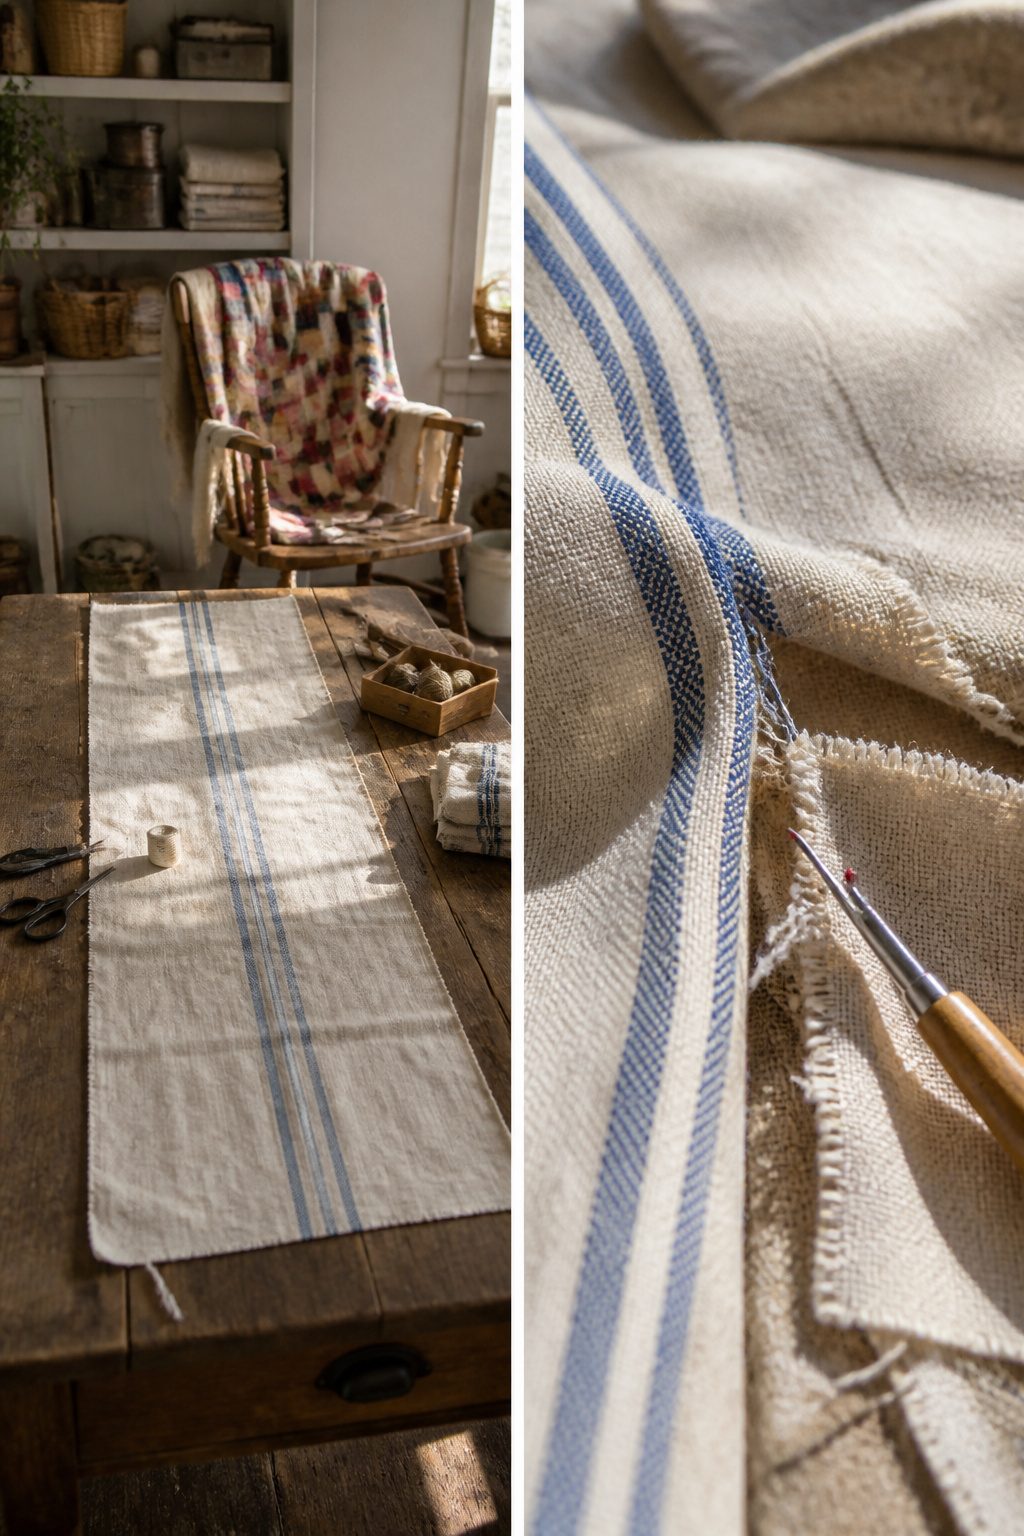
The grain sack fabric does not open all at once. After that first cut, pull both sides away from the seam until you feel the next thread resist. The weave loosens just enough to show you where to cut next. Cut only the joining thread, not the fabric itself, then pull again. The motion is cut, pull, cut, pull, with your hands working opposite each other. Some threads come free in a single tug; others need two or three passes before the seam gives. The fabric will tell you when you are rushing it: threads bunch or the weave snags if you yank instead of easing the tension. Keep working the same seam edge all the way down one side of the sack, then turn it and start back on the other. The whole seam lifts away as a ragged line of broken threads once you have picked through both edges.
Remove Loose Threads
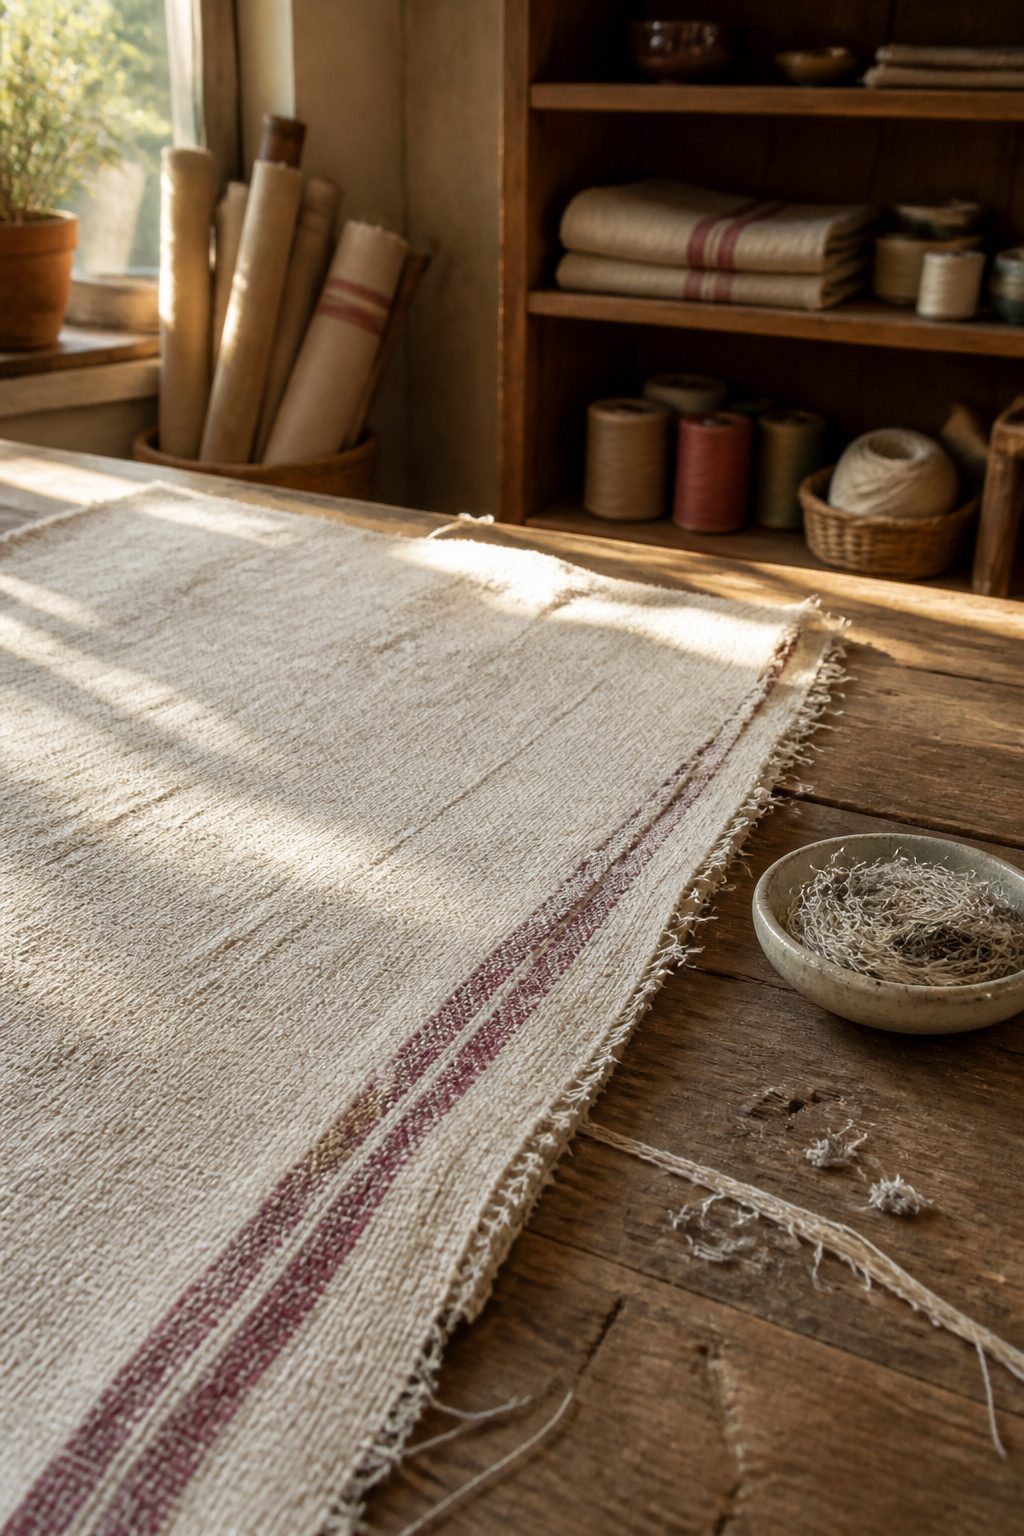
Shake the grain sack outside before you do anything else. A good hard shake sends the short, cut threads flying, and you’ll see why that matters once you lay the finished runner on a table.
The remaining loose pieces sit along the seam edges where the original stitching came out. Pull these out by hand, one at a time. It is tedious, but threads left behind will catch light differently than the woven surface, creating faint vertical lines that read as shadow rather than texture. On a runner meant to lie flat and quiet across a table, that unevenness ruins the drape you cut the sack for in the first place.
Work in daylight if you can. A thread you miss under a lamp will announce itself the first time the afternoon sun hits the dining table.
Measure and Cut to Size
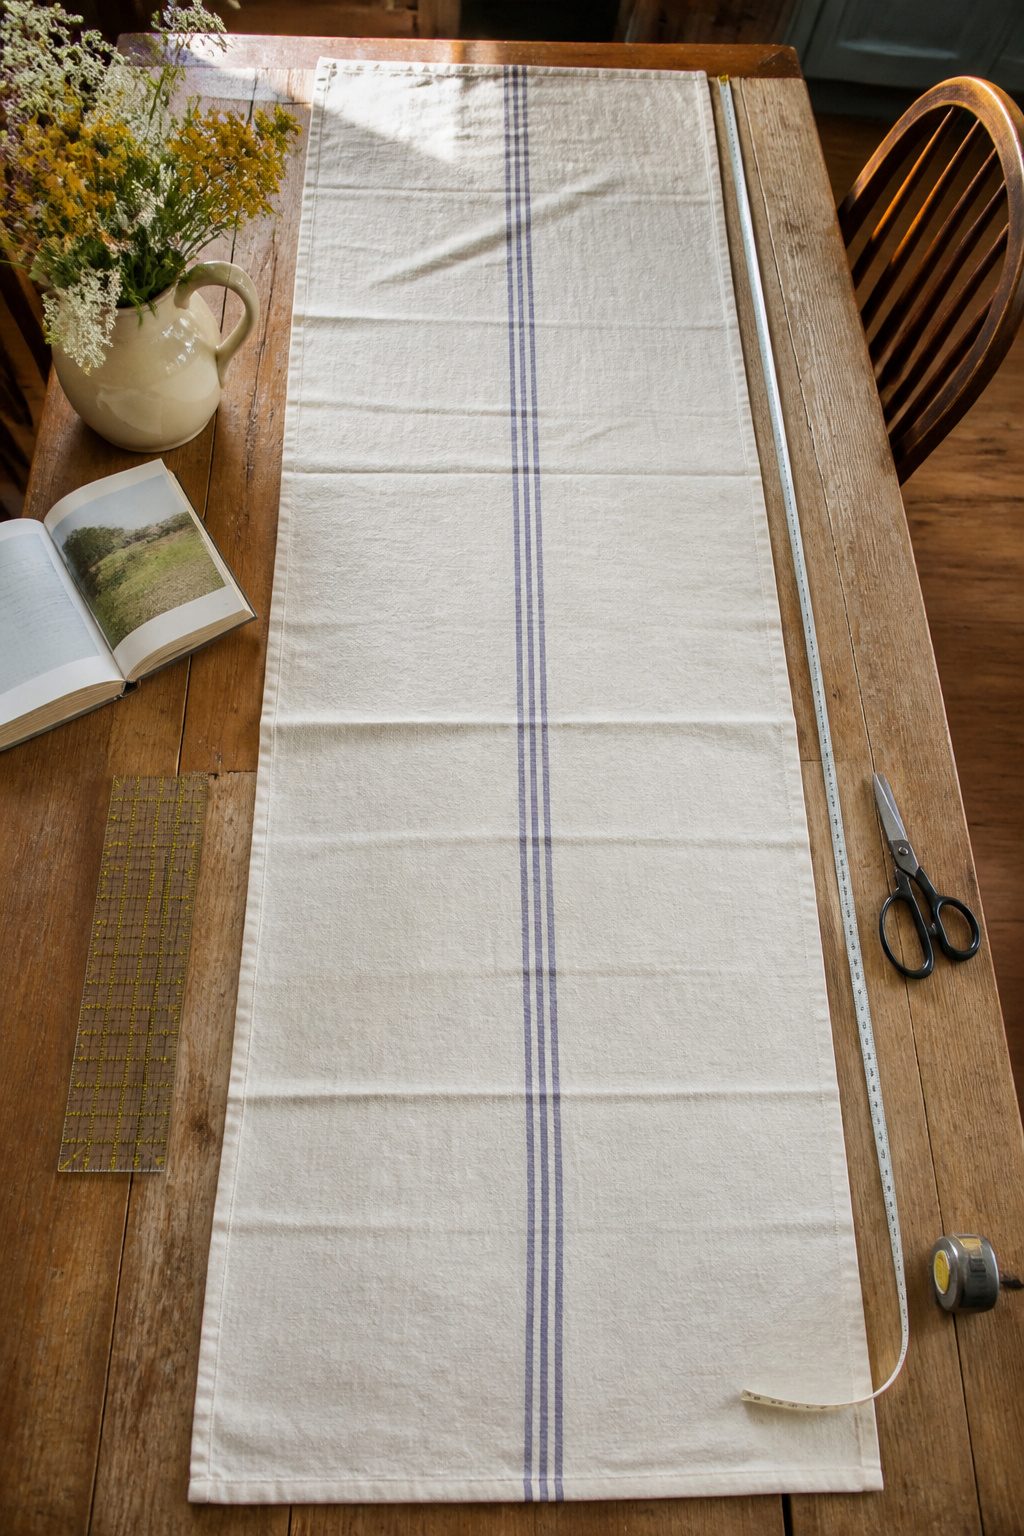
The grain sack started out at 52 inches, which sounds short for a table runner until you realize the side seams are holding it in half. Pick those apart and the fabric opens to 104 inches, a length that lands neatly on an 86-inch table with about 9 inches of overhang at each end. That overhang is enough to look intentional without dangling into anyone’s lap.
Before you touch a seam ripper, lay the opened sack on your table and step back. The 104-inch yield is fixed; your table is not. A shorter table means more overhang, which can work if you like the drape, but much longer and the runner starts to look like a scarf. Measure the table, picture the 9-inch drop on each side, and decide if the proportion suits the room. The numbers are simple, but the eye has to agree.
Antique Grain Sack
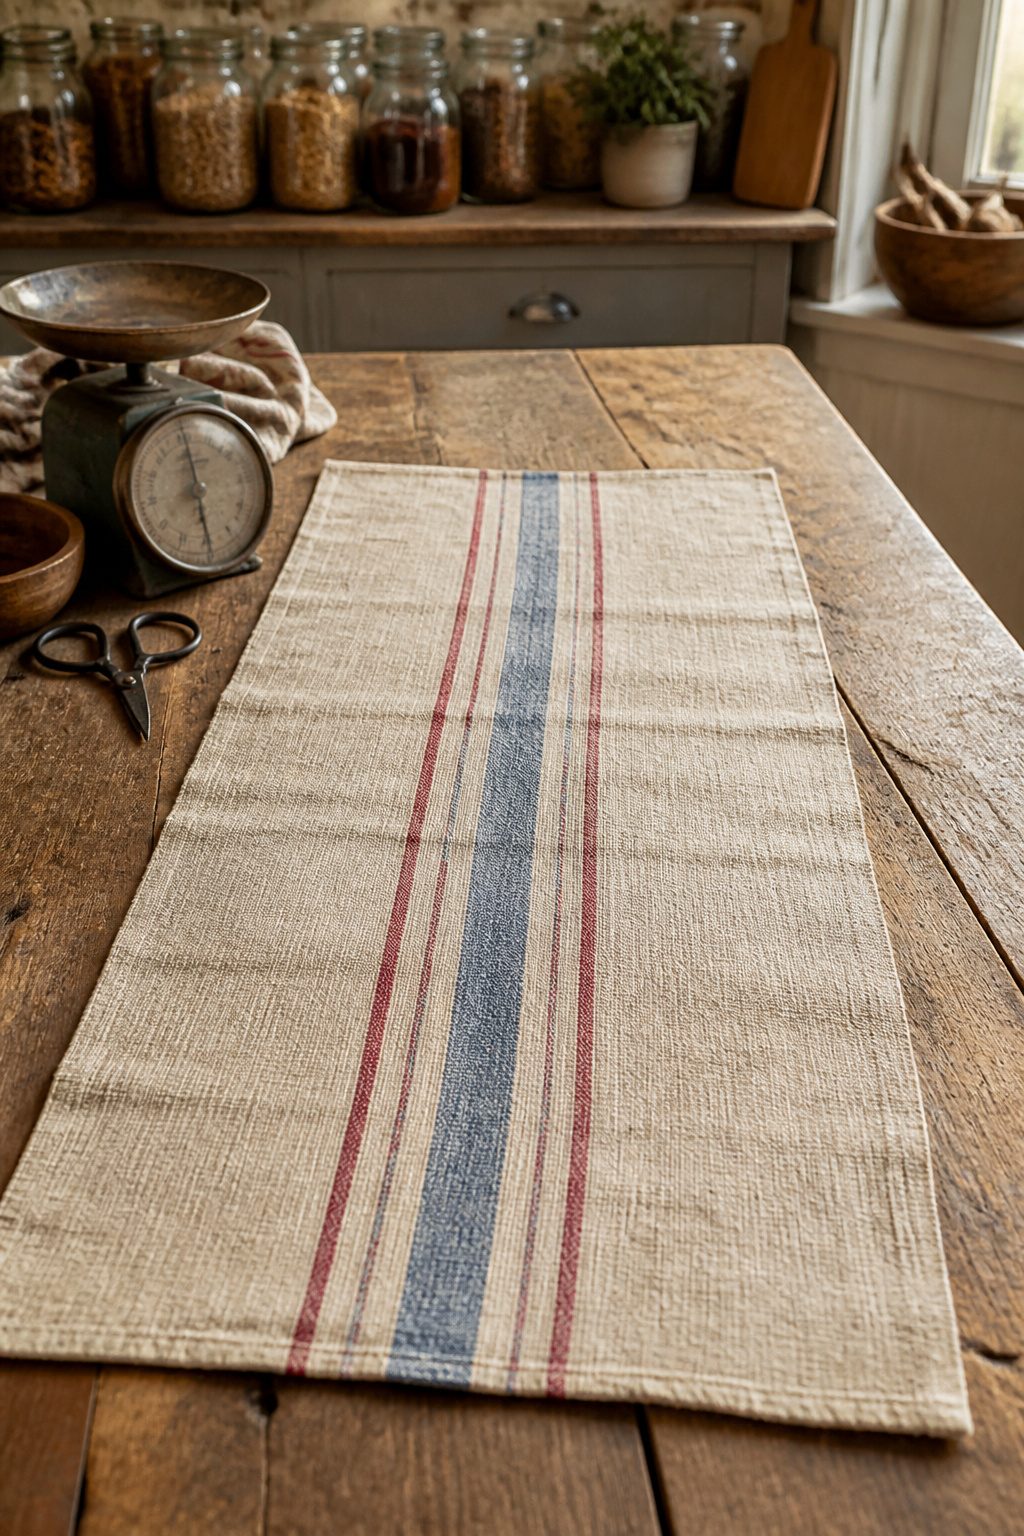
An antique grain sack is a heavy, handwoven linen or hemp bag that once held grain at a mill, and the stripes running down each sack were the farmer’s own signature so his property could be told apart from everyone else’s. That practical mark is what gives the fabric its visual character now: blue, red, and tan stripes turn up most often, though plenty of other colors exist, and the variety means no two pieces read quite the same.
These sacks were woven in long bolts, cut and sewn to size, and the cloth was built to survive rough handling and repeated washing. A bolt from the early 1800s to the early 1900s took about one evening’s work to weave roughly 24 inches of length, so the material in your hands represents serious labor. European examples cost more than American ones, which are easier to find, but either origin gives you a fabric that is both washable and durable enough for daily use on a table.
Canvas Drop Cloth
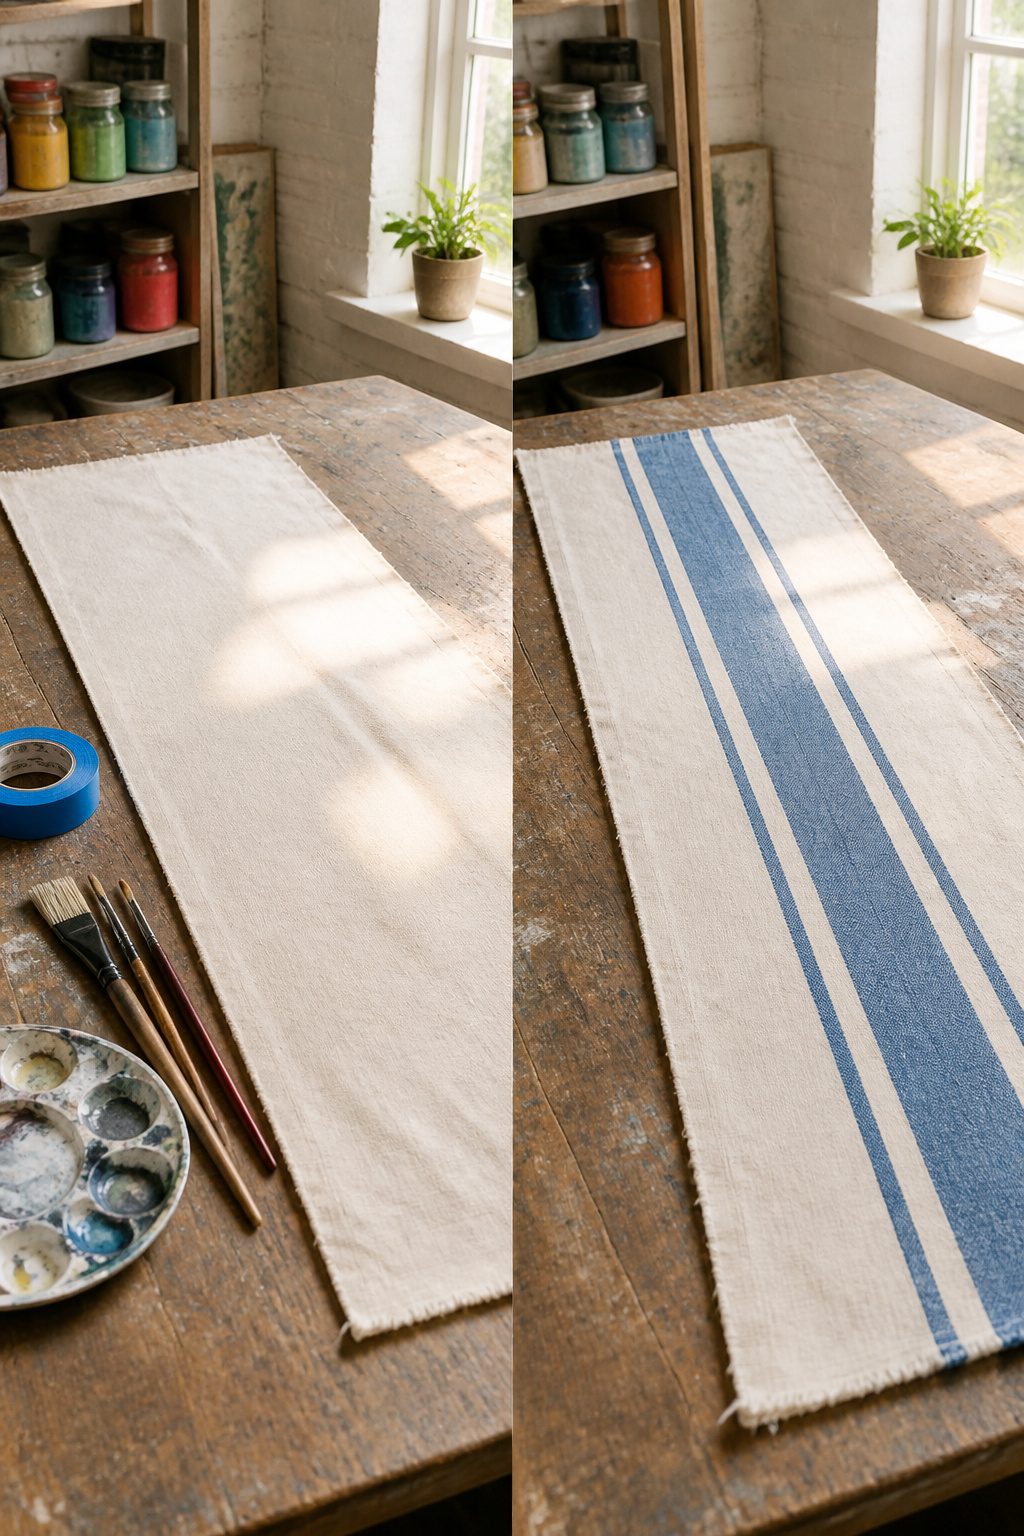
A canvas drop cloth is the cheapest honest substitute for an actual grain sack, and the texture is already halfway there. The usual painter’s drop cloth runs wide, so cutting it down to about 18 inches gives you a runner proportion that hangs properly over a standard table without pooling on the floor. Washing it once before you start keeps later shrinkage from warping your stripes.
The fringe comes from pulling threads off the ripped edges, which saves you from hemming and reads as the worn selvedge of real sack cloth. For the stripe pattern, painter’s tape sets the width: one thick band flanked by two narrow ones, eyeballing the spacing. Mixing red and brown paint with a little water dials the color back toward maroon so it reads like woven thread rather than a painted stripe. Water also keeps the application slightly imperfect, which is the whole point. Paint straight over the fringe so the "thread" color carries to the edge.
I like the runner plain too, all four sides fringed and no stripes at all. The grain sack look is one option; a heavy, washed canvas runner is another, and it costs a fraction of either antique yardage or the printed reproductions sold online.
Fabric Paint
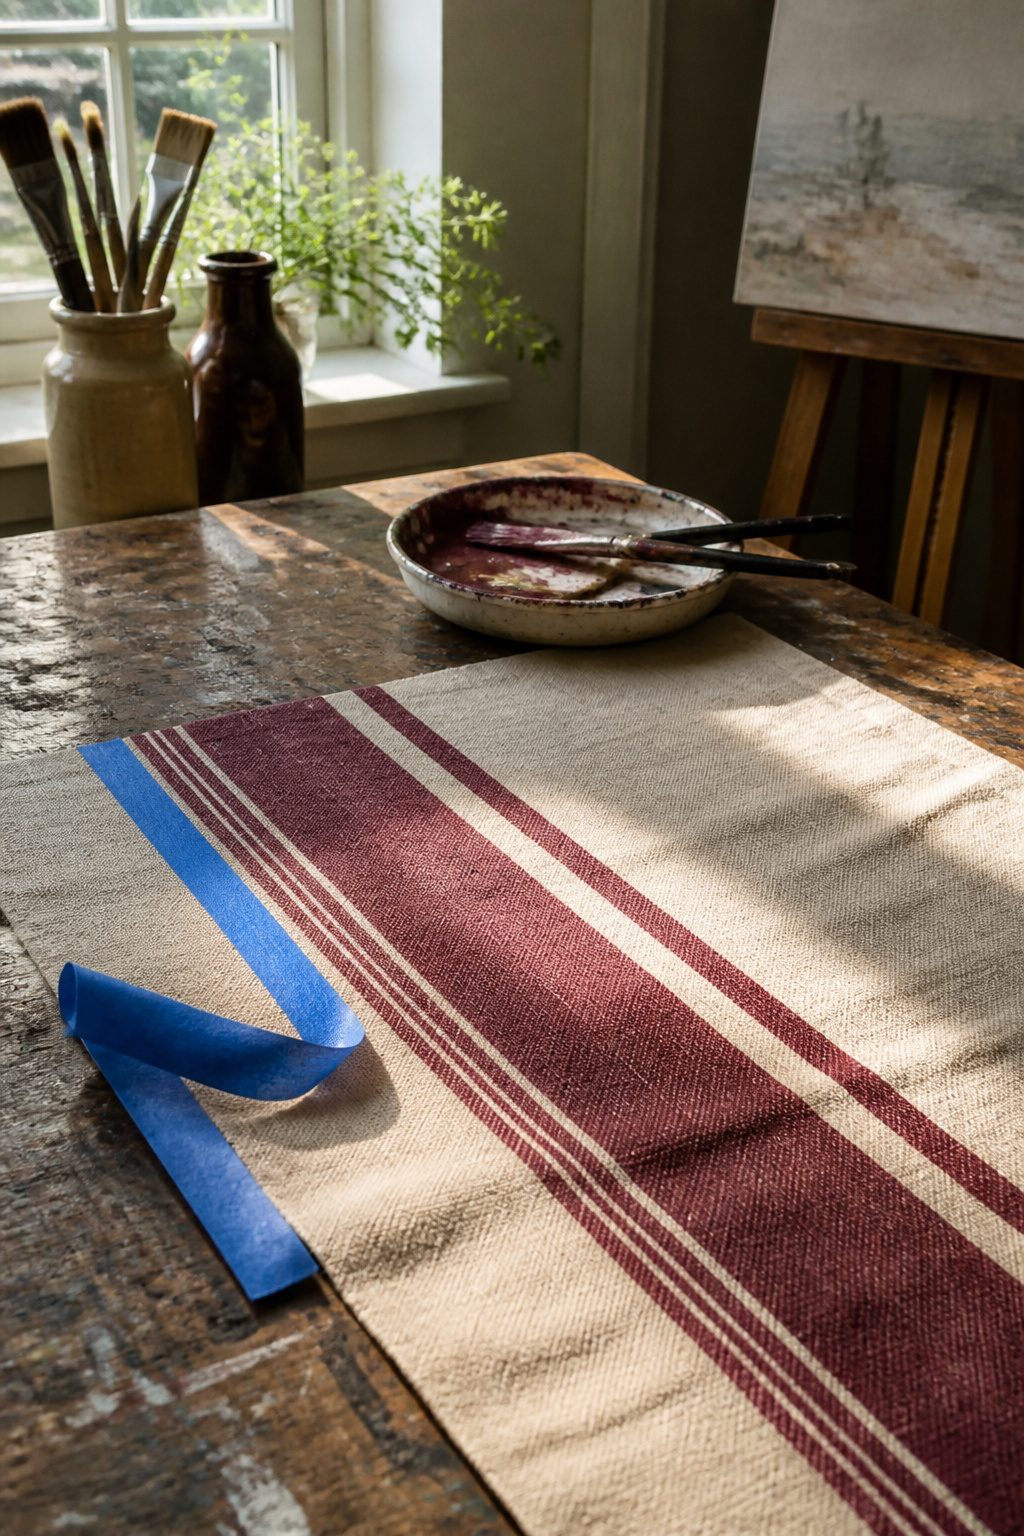
Fabric paint turns a plain drop cloth into something that reads like a real grain sack, but the finish only survives washing if you set it properly. One pass through the laundry without following the bottle directions, and the stripes fade into a blotchy pink you can’t undo. The directions usually call for ironing or steaming the painted area after it dries; some brands want heat, others want time. Check before you start, because the tape is already down and the brush is already loaded.
For the stripes themselves, painter’s tape gives you clean edges without sewing. A foam brush works best dry-brushed: load it, rub most of the paint onto a paper towel, then work the pointed edge up and down the stripe until the color looks like faded threading rather than hardware-store red. Water thins the paint and adds imperfection, which is the whole point of this look. Pull the tape off immediately after painting, while the edges are still wet, or it lifts the finish with it. Iron to set the color before the first wash, whatever the bottle says, and the runner survives the table setting after setting.
Seam Ripper
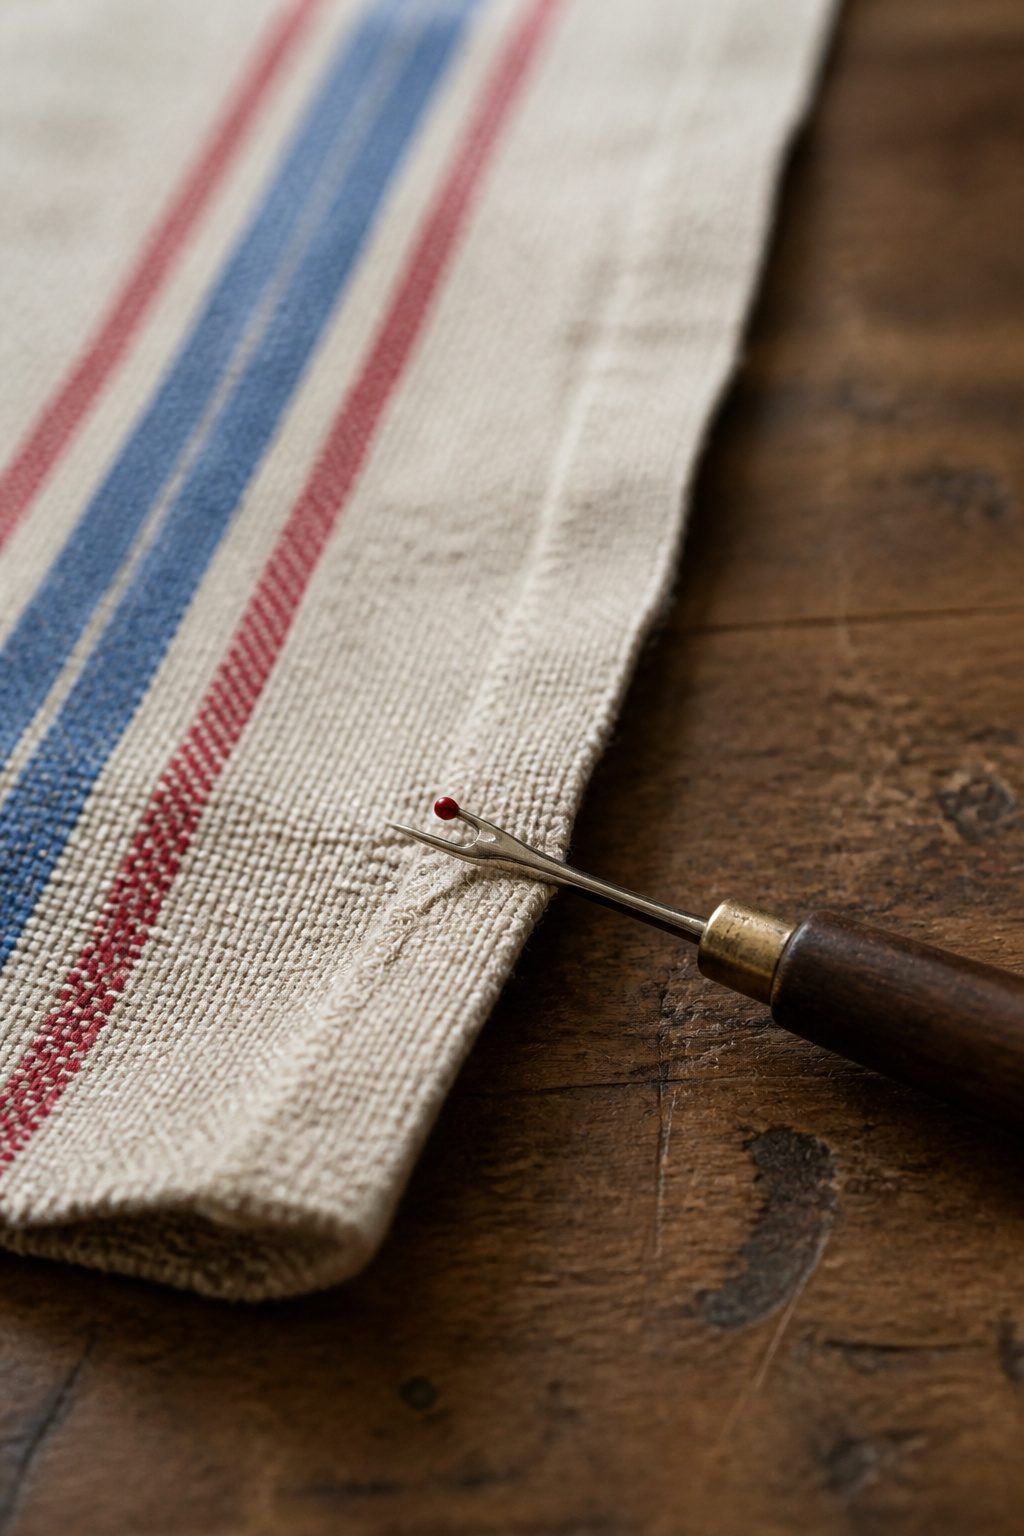
A seam ripper handles the flat-felled seams of old grain sacks better than scissors because it lifts one stitch at a time without slicing the fabric underneath. Those seams are folded twice and stitched through four layers, so cutting straight across risks nicking the sack cloth you are trying to save. The ripper’s curved blade slips under a single thread, and a quick pull every third or fourth stitch opens the seam clean.
The tool matters most when the sack is printed and you want the full width intact. Scissors force you to work from the edge inward, and one angled cut can shorten your runner by inches. With the ripper, you start anywhere along the seam line, even mid-panel, and work backward. The small red ball on the opposite end keeps the point from punching through the weave if your hand slips.
I have torn a printed stripe with scissors rushing a seam that looked already loose. The ripper takes longer, but the grain sack cloth is too coarse to forgive a quick mistake.
Sewing Scissors
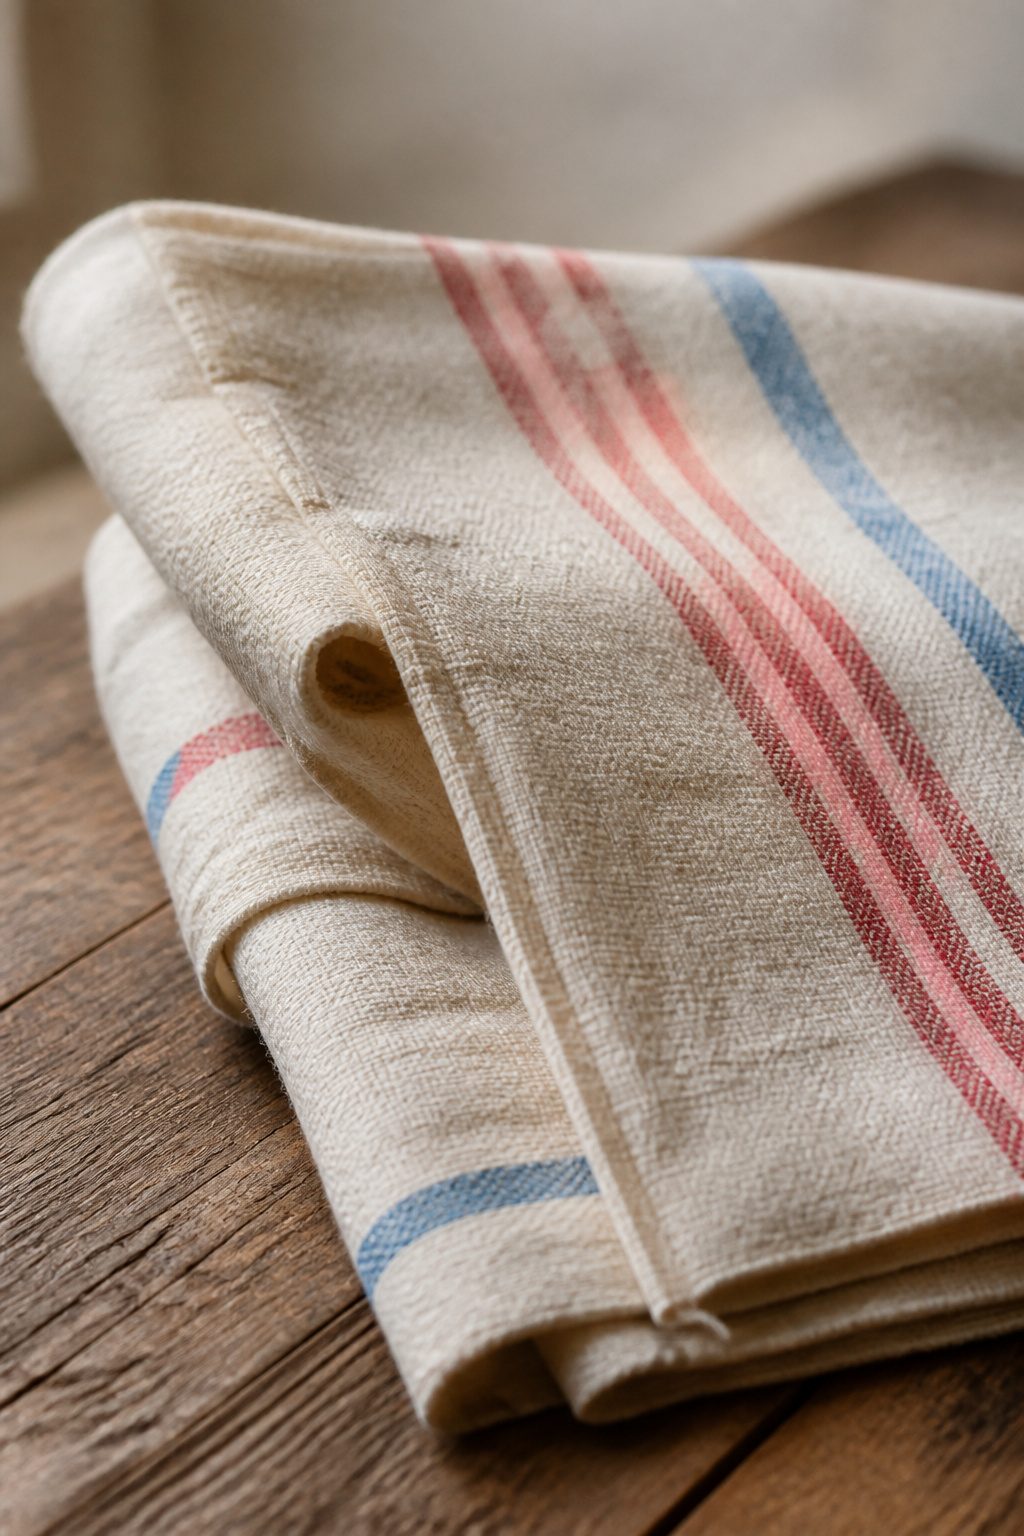
A seam ripper has its place when you need to save every thread, but sharp sewing scissors are faster when the seam is already damaged or the grain sack is too brittle to pick apart cleanly. The fabric on these old sacks often frays the moment you look at it, and a ripper can turn a small opening into a shredded edge if the weave starts to give way.
I keep a pair of long-bladed dressmaker’s shears for this exact situation. One clean snip along the seam line removes the stitching without the back-and-forth that weakens fragile cloth. The trick is cutting only the thread, not the fabric itself, which takes a steady hand and a blade you can see all the way to the tip. Dull scissors will chew through the grain sack instead of slicing, so the sharpness matters more than the size.
For a sack that’s been washed soft and has a standard straight seam, the ripper usually wins. But when the seam is packed tight with old cotton thread or the cloth around it has gone thin, scissors let you control the damage and move on to measuring sooner.
Where to Find Antique Grain Sacks
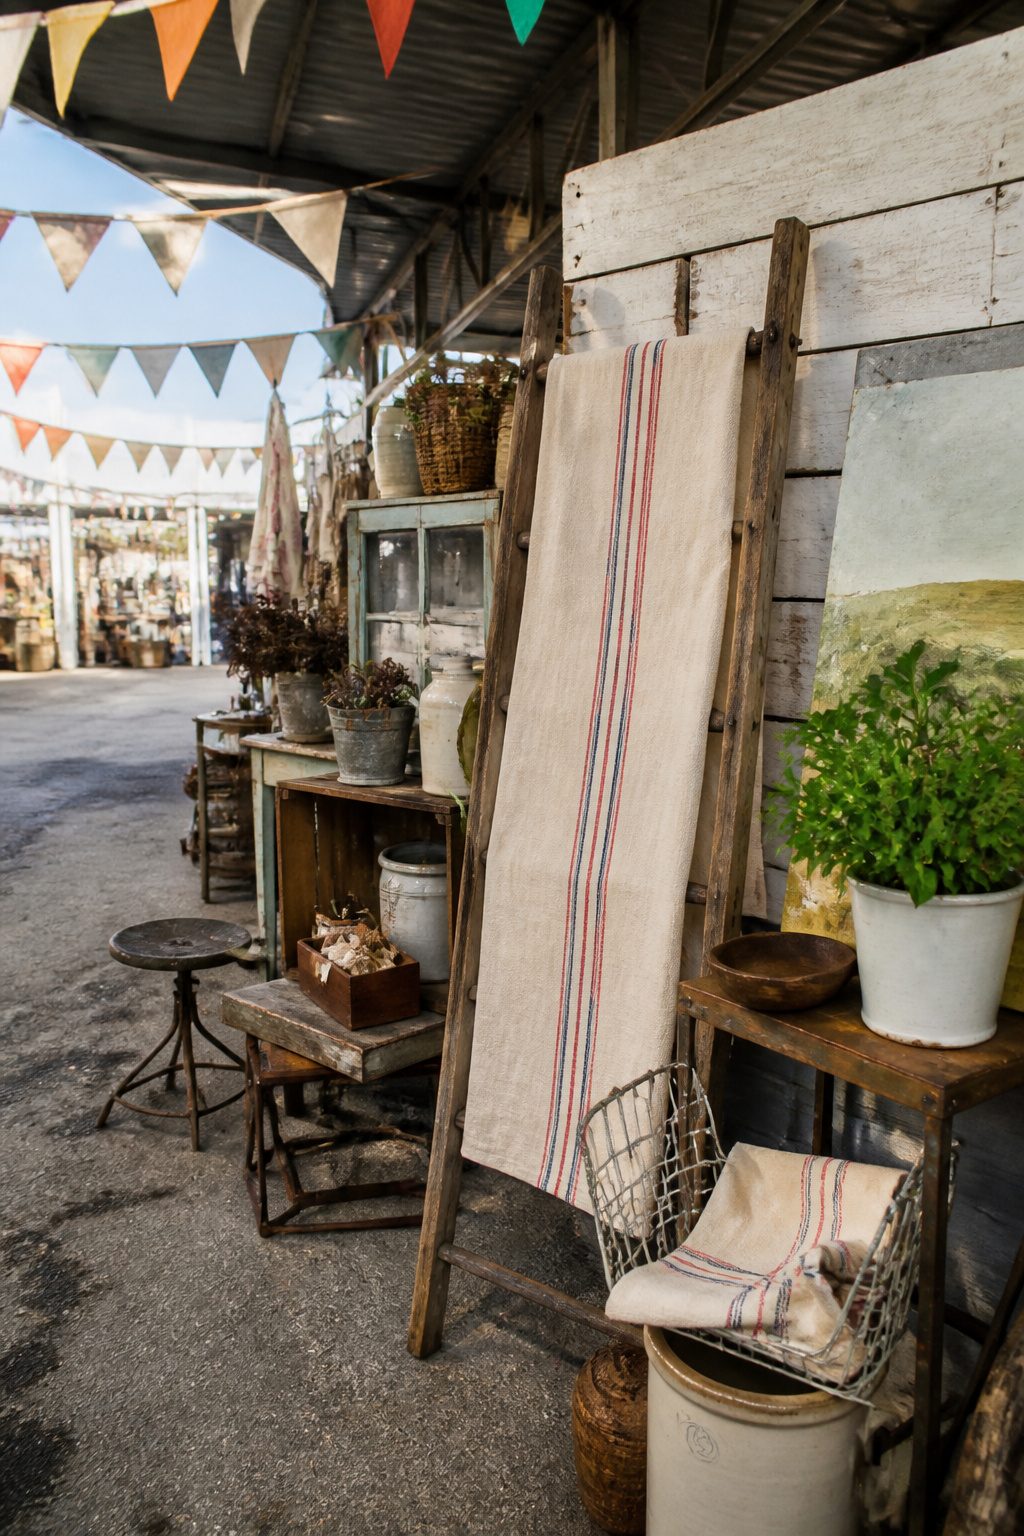
Antique grain sacks surface in places that reward patience more than deep pockets. The Liberty Antique Festival moves through the Midwest with regularity, and vendors there often price linen bolts lower than online sellers because the fabric still smells faintly of a barn and shoppers hesitate. Flea markets follow the same logic: a heavy hemp sack with faded blue stripes might sit untouched for hours while buyers hunt for smaller, cleaner objects. The stripes matter more than condition at first glance. Each pattern once identified a farmer at the mill, so the variety is genuine, not manufactured, and a sack with unusual banding justifies a higher ask even when the edges fray.
Online, eBay and Etsy list sacks from European sellers who have already done the barn-to-basement sorting. Expect to pay for that convenience. Facebook Marketplace occasionally yields local estate sales with grain sacks buried in textile lots, though the hunt requires filtering through listings that mislabel them as "vintage linen" or "old feed bags." The 19th-century bolts, handwoven at roughly 24 inches per night of work, carry the most historical weight, but even early 20th-century examples outlast most modern decorator fabric by decades.
Other Uses for Grain Sack Fabric
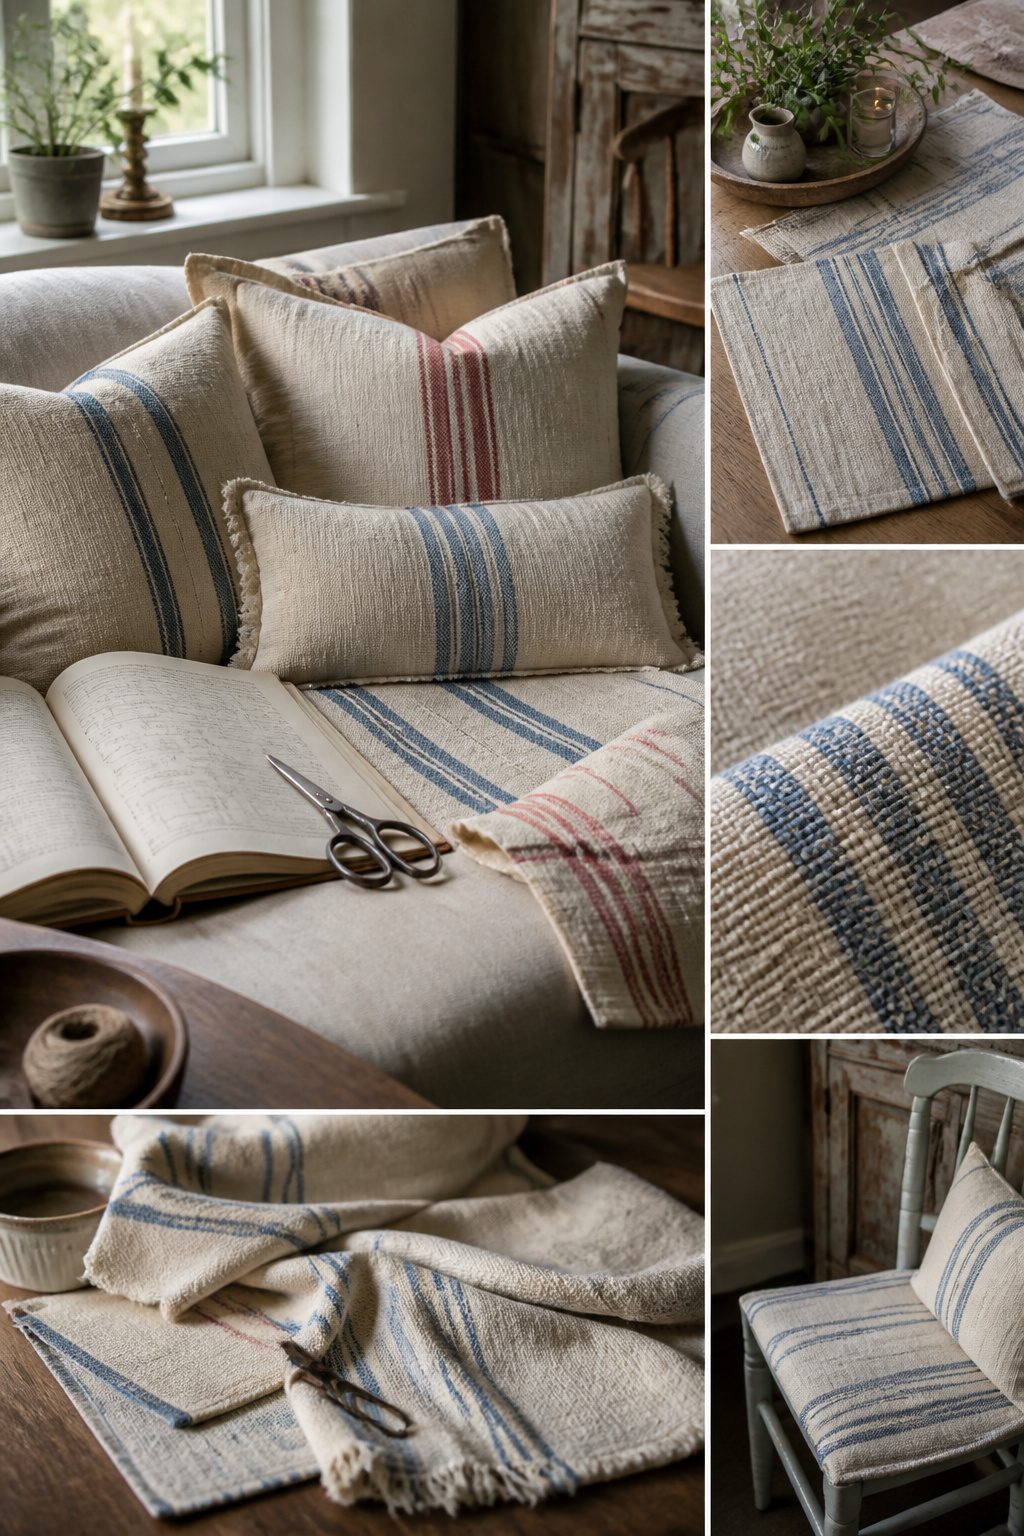
A single vintage grain sack rarely yields just one runner, and the leftover fabric has too much character to waste. Heavy linen or burlap that survives decades of grain weight holds up well to daily use in other forms.
- Pillows are the obvious next step. The same stripes or stenciled numbers that read well down a table center also work on a sofa or bed. European sacks run pricier than American ones for this, but either gives you a cover that is washable and wears in rather than out.
- Placemats suit smaller fragments. One sack cut into four or six pieces, edges finished or left raw depending on your tolerance for fraying, gives a matching set without the hunt for multiple identical sacks.
- Upholstery is where the durability pays off. Chairs recovered in grain sack fabric turn up regularly from makers like Miss Mustard Seed and Chair Whimsy; the fabric takes seat weight and repeated washing better than most decorator linens. A long runner project that leaves you with a narrow strip might be just enough for a chair back or stool top.
Hall and stair runners, even area rugs pieced from longer lengths, sit further out on the same spectrum: more sewing, more sacks, but the same logic of using a fabric already proven against hard wear.
Grain Sack History
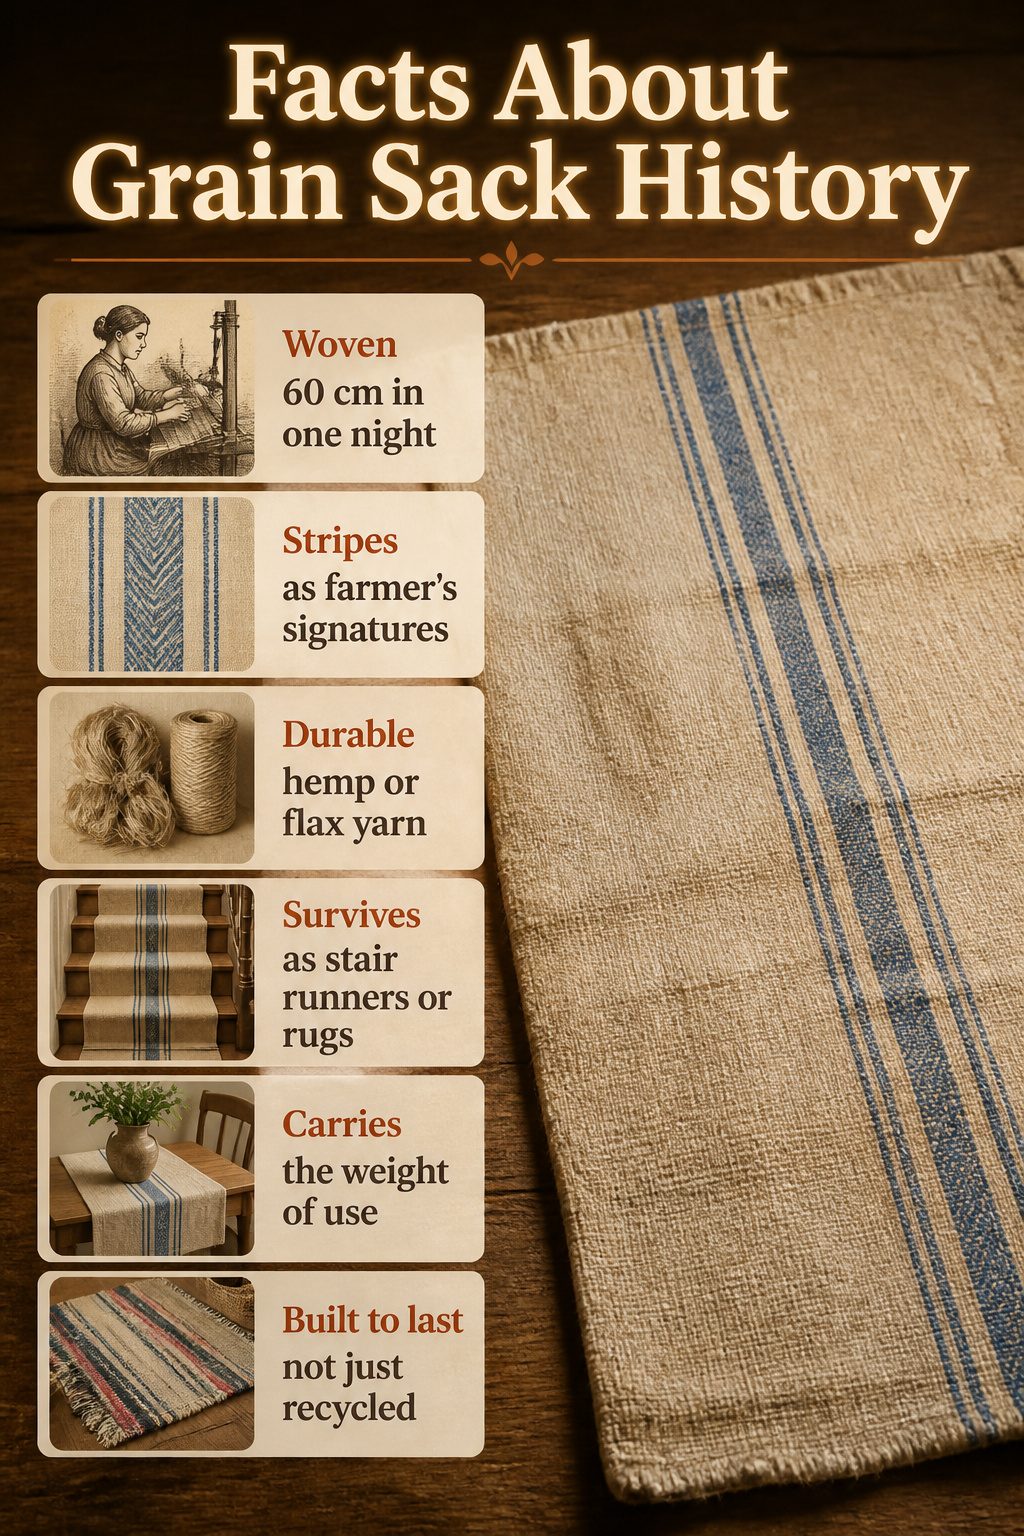
Heavy linen bolts from the early 19th to early 20th century were handwoven into long lengths for grain sacks, and the work moved slowly. The average person could weave 60 centimeters (24 inches) in one night, so a single bolt represented weeks of evening labor after the day’s farm work ended. That pace is why surviving pieces feel substantial; the fabric was never rushed.
The stripes were not decorative first. They functioned as the farmer’s signature, a way to distinguish one sack from another when grain reached the mill. Because each farm needed its own pattern, the stripe combinations vary widely, which is part of what makes authentic grain sack fabric identifiable today. Hemp or flax yarn gave the cloth its durability, heavy enough that the same bolts now survive as stair runners or rugs without falling apart.
Rag rugs woven from worn clothing and bedding were the other end of the same recycling instinct, but the grain sacks themselves were built to last from the start. A table runner cut from this material carries that weight of use, literal and otherwise.
Frequently Asked Questions
How do I make a grain sack table runner?
Wash the sack first on a delicate cycle with a color catcher to set the weave and test for dye bleeding. Then inspect the seam, find its widest opening, and use a seam ripper or sharp scissors to cut only the joining threads while pulling the fabric apart to expose each next stitch. Remove all loose threads by hand so they do not catch light and ruin the drape.
Where can I find antique grain sacks?
Try the Liberty Antique Festival in the Midwest, flea markets, and estate sales where heavy sacks with barn smells get passed over. Online, eBay and Etsy list pre-sorted European and American sacks, while Facebook Marketplace occasionally yields local estate lots mislabeled as vintage linen or old feed bags.
What materials do I need to make a grain sack table runner?
Start with an antique grain sack or a canvas drop cloth as your base fabric. For deconstruction, use a seam ripper or sharp sewing scissors. If you are painting stripes on a drop cloth, add painter’s tape, fabric paint, and a foam brush, and follow the paint manufacturer’s setting instructions before washing.