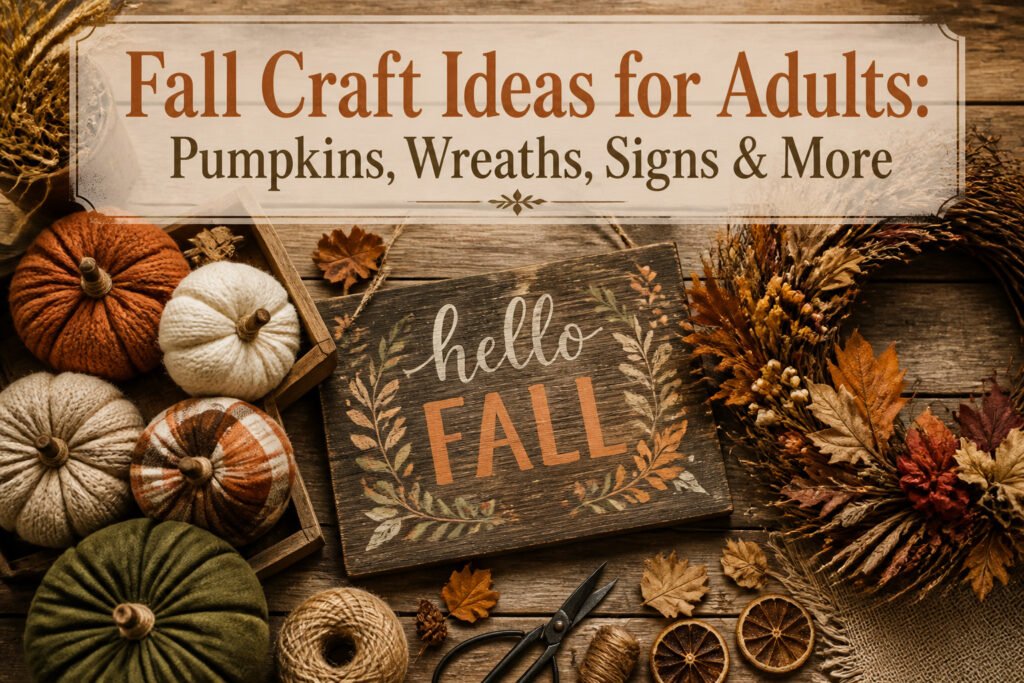
The right fall craft idea depends on how long you need it to last. Real pumpkins rot within two weeks, while a faux pumpkin vase or fabric pumpkin from old flannel survives the season and stores flat until next October.
Most projects here stay under $5 per piece if you already keep Mod Podge, acrylic paint, and a glue gun on hand.
1. DIY Pumpkin Vase
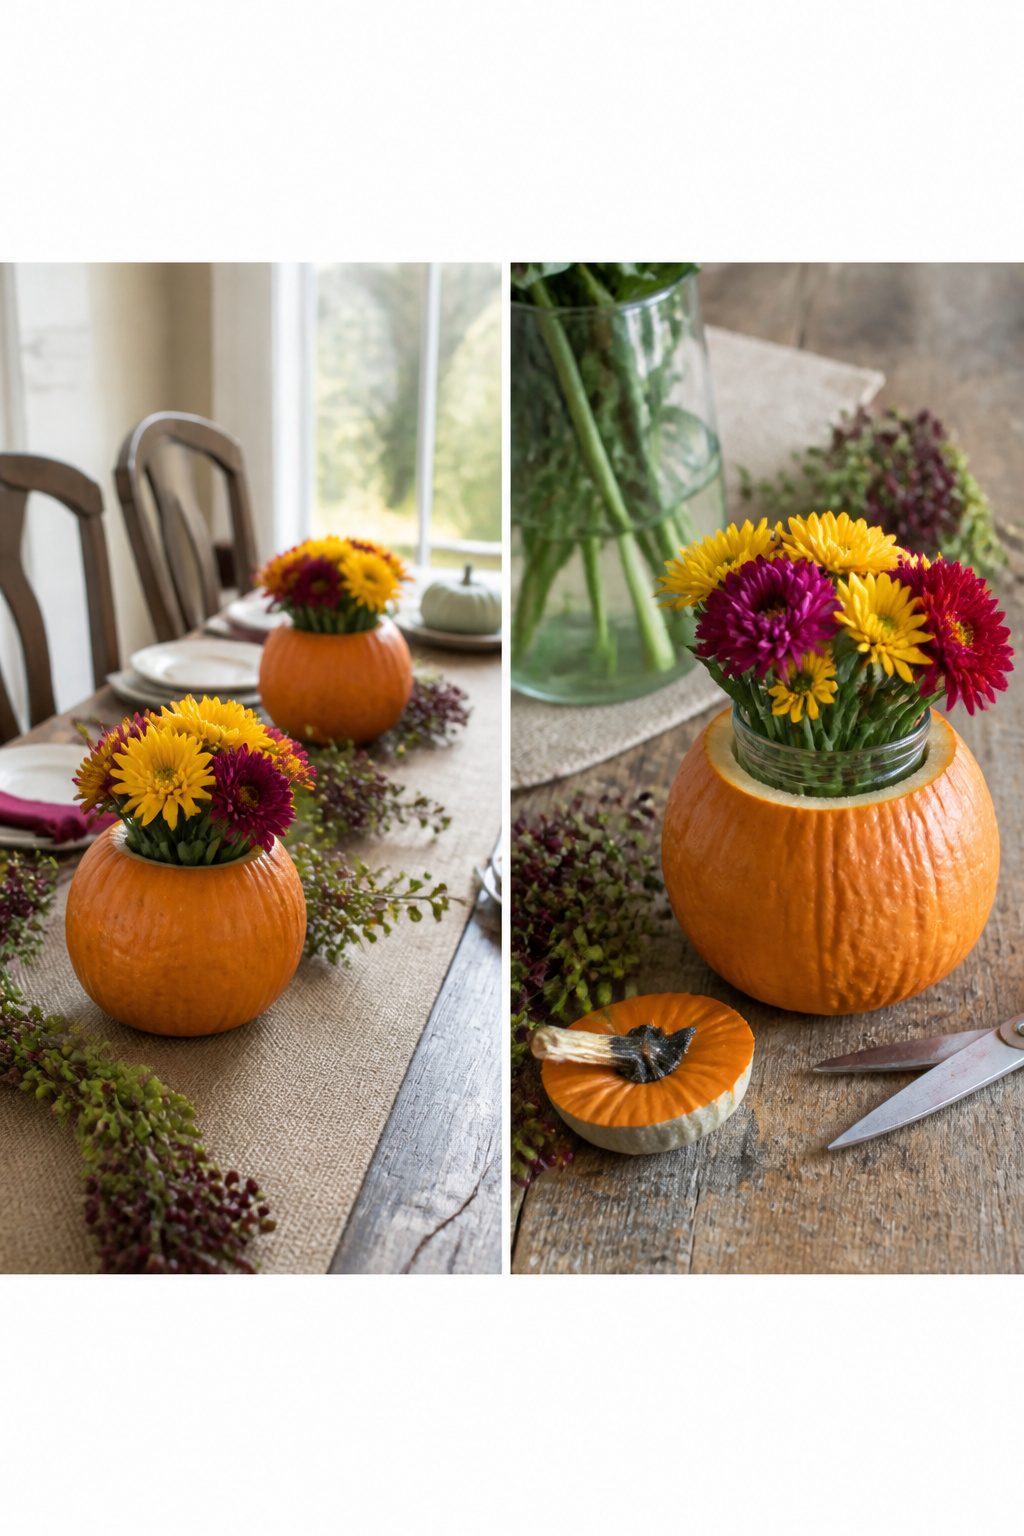
A pumpkin vase is one of those fall craft ideas for adults that looks harder than it is.
You cut the top off a small pumpkin, scoop out the seeds if it is real, and drop in a glass or a block of floral foam to hold your stems.
The sources describe mini pumpkin flower arrangements filled with mums, greenery, and berries, and grouping a few together turns any table into a centerpiece without much planning.
Real pumpkins last a weekend or two before they soften; faux pumpkins let you store the whole piece and bring it back next October. The same choice applies to the flowers.
Fresh stems give you that full, just-cut look for a dinner party, but high-quality faux stems from the craft store work if you want the arrangement to survive the whole season without water changes.
Either way, the pumpkin does the heavy lifting. It is already the shape and color of fall, so you do not need to paint, carve, or Mod Podge anything unless you want to.
What convinced me, reading through the tutorials, is how this scales. One small pumpkin with a single stem works at a place setting.
A cluster of three or five, mixed heights, carries a whole mantel. The only real judgment call is whether to hollow the pumpkin deep enough for a real water source or shallow enough that a hidden glass fits flush.
For a one-night gathering, a real pumpkin with fresh water and a tight cut flower lasts fine. For something you set and forget, faux on faux wins for endurance.
2. Fabric Pumpkins
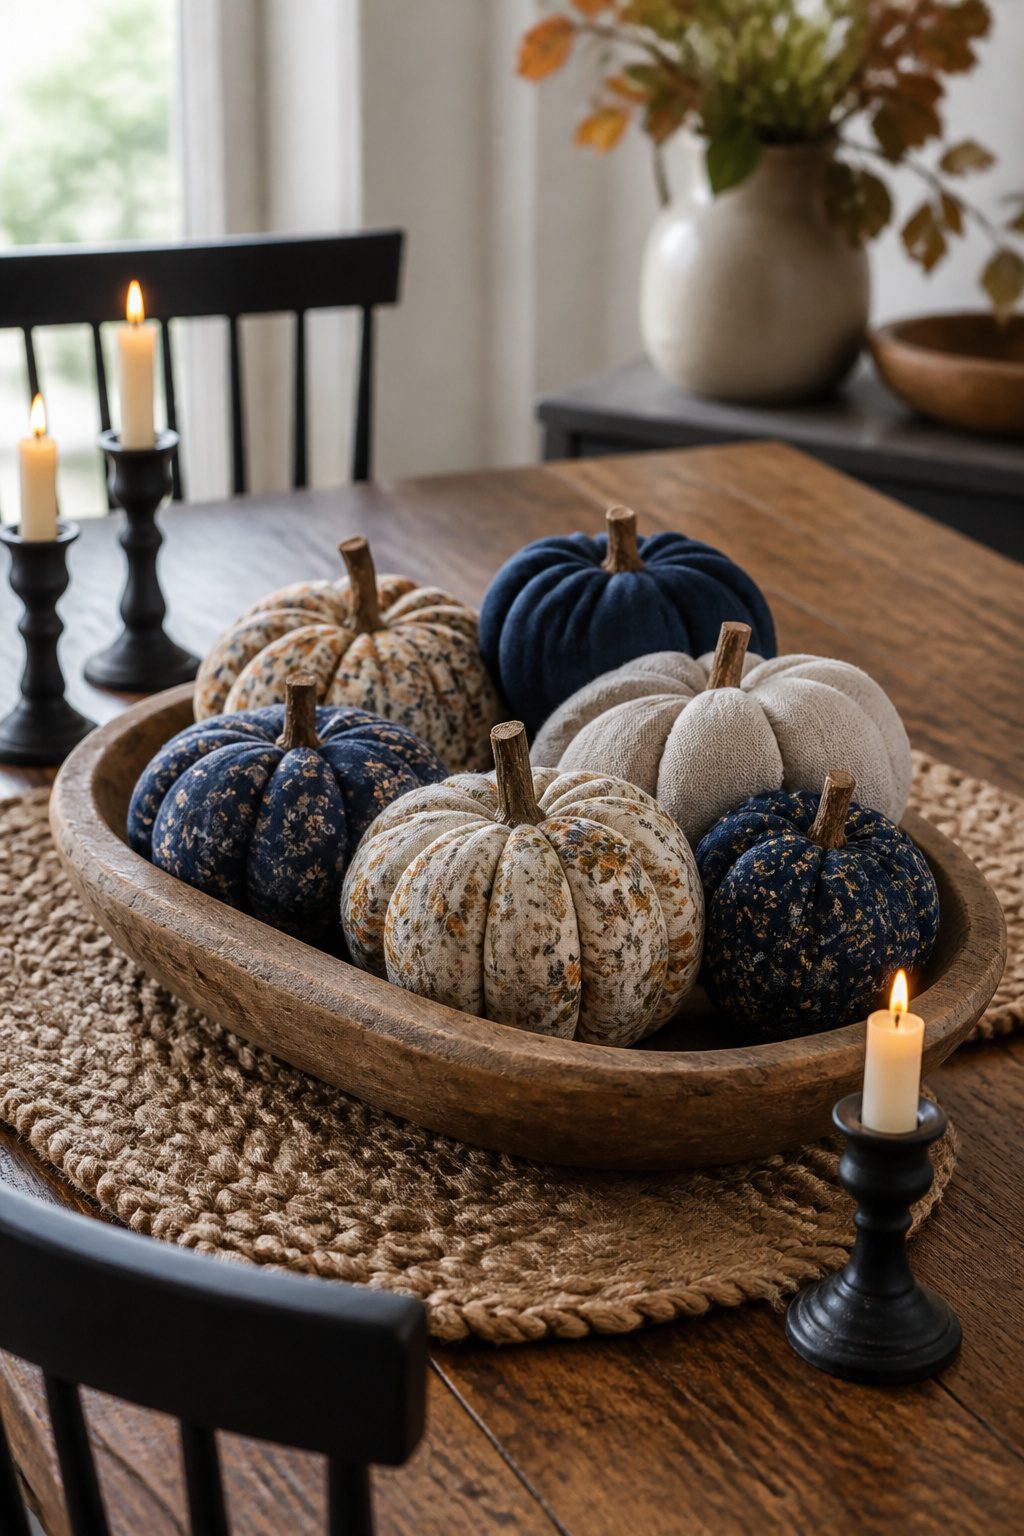
Fabric pumpkins solve the one problem real pumpkins never do: they do not rot while you wait for the weather to turn.
A flannel shirt that shrank in the dryer, a velvet skirt from a phase you moved past, or even a stack of bandanas from a summer project all become fair game.
The shape is forgiving, so mismatched scraps read as patchwork charm rather than mistake.
Most versions need no sewing at all. You cut a rectangle, run a gathering stitch around the edge, pull it tight around a ball of stuffing or plastic bags, and cinch it.
A stick from the yard, a cinnamon stick, or a rolled piece of the same fabric becomes a stem. The whole thing takes under twenty minutes once the fabric is chosen, which is usually the longest part.
What makes these worth doing over paper or painted options is the weight. They sit on a shelf without tipping, stack in a bowl, and survive being knocked by a sleeve or a cat.
I keep a set in navy and white floral that reads as fall without defaulting to orange, and another in old oatmeal sweater knit that looks like something from a farmhouse catalog until you recognize the cuff seams.
The customizability is the point: your fabric, your size, your stem, no two alike unless you want them to be.
3. Fall Wreaths
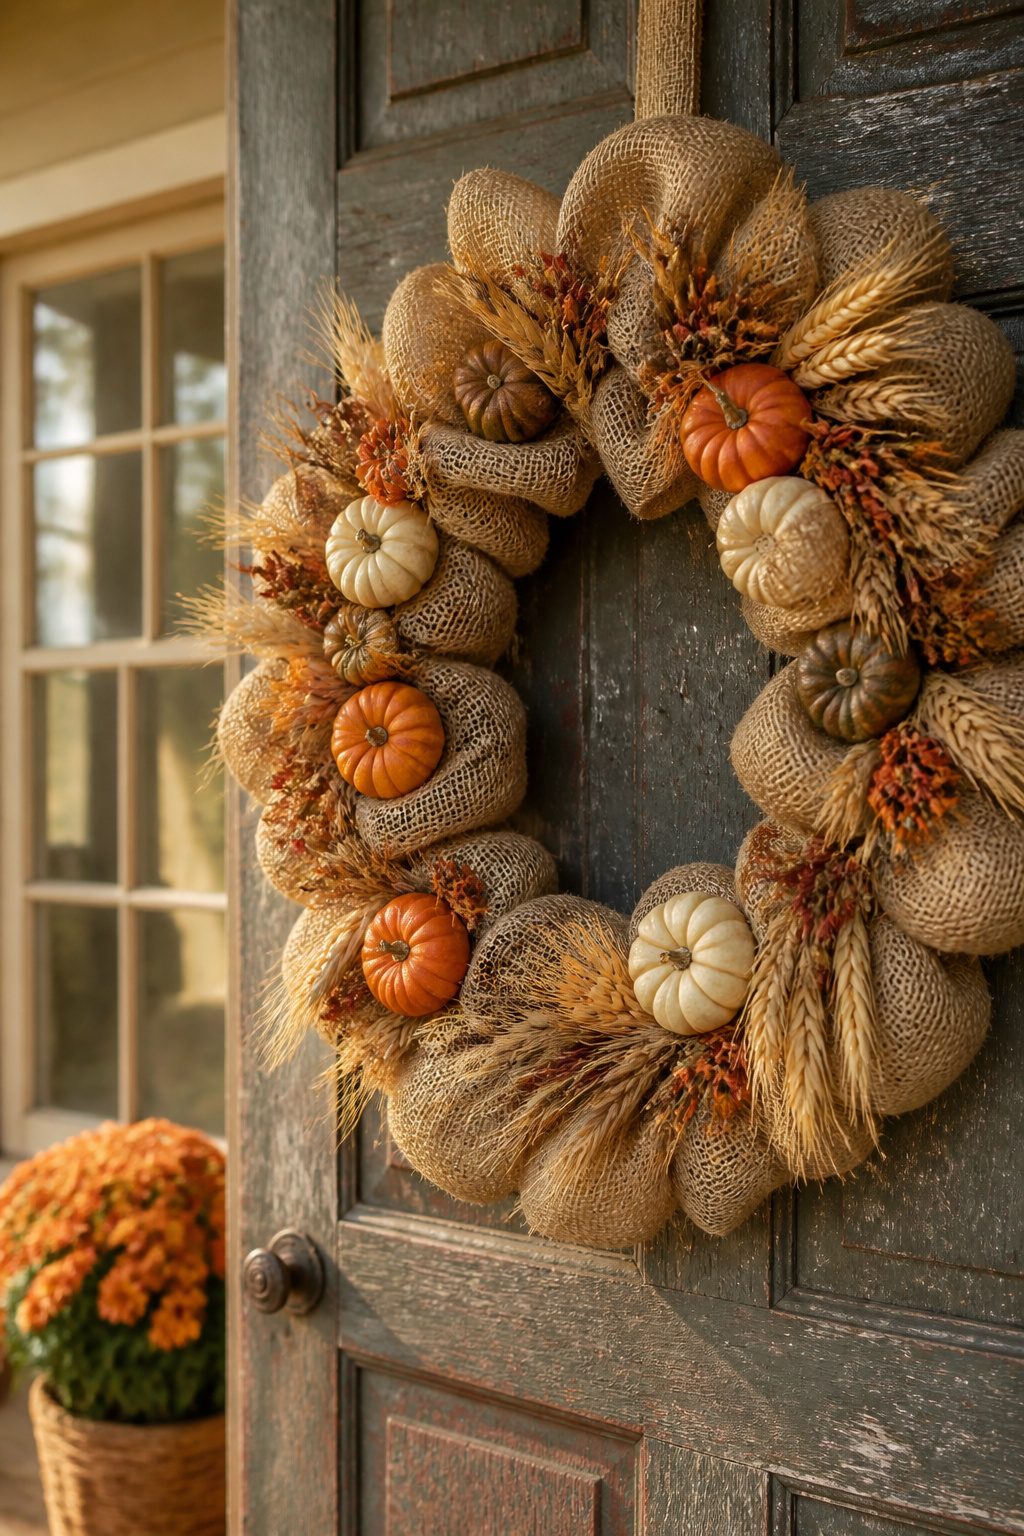
Burlap wreaths land in that sweet spot where a project looks finished but still took under an hour.
Wire wreath forms run a few dollars, and a roll of burlap ribbon from any craft store gives you enough to loop and fluff across the whole frame.
Dollar-store pumpkins wired in at intervals turn the texture into something seasonal without much fuss.
Fabric scraps work the same way. A torn strip knotted around the wire every few inches builds volume fast, and the frayed edges read as rustic rather than sloppy.
For a cleaner look, burlap bouquets fold up neatly: lay stems on a square with the corner pointing up, fold the bottom point over, bring the sides in and tuck the raw edges under, then tie with ribbon or jute twine.
Dried wheat, eucalyptus, or cotton bolls hold their shape through October; fresh flowers need a damp paper towel and plastic wrap at the stems to last the weekend.
Split wood beads strung in clusters add weight and a little modern geometry if the farmhouse feel starts to feel overdone. The trick is keeping the palette limited.
Three materials on one wreath reads intentional; five starts to look like everything left on the craft table got glued on. A finished wreath should look welcoming from the sidewalk, not demand a closer inspection.
4. Painted Pumpkins
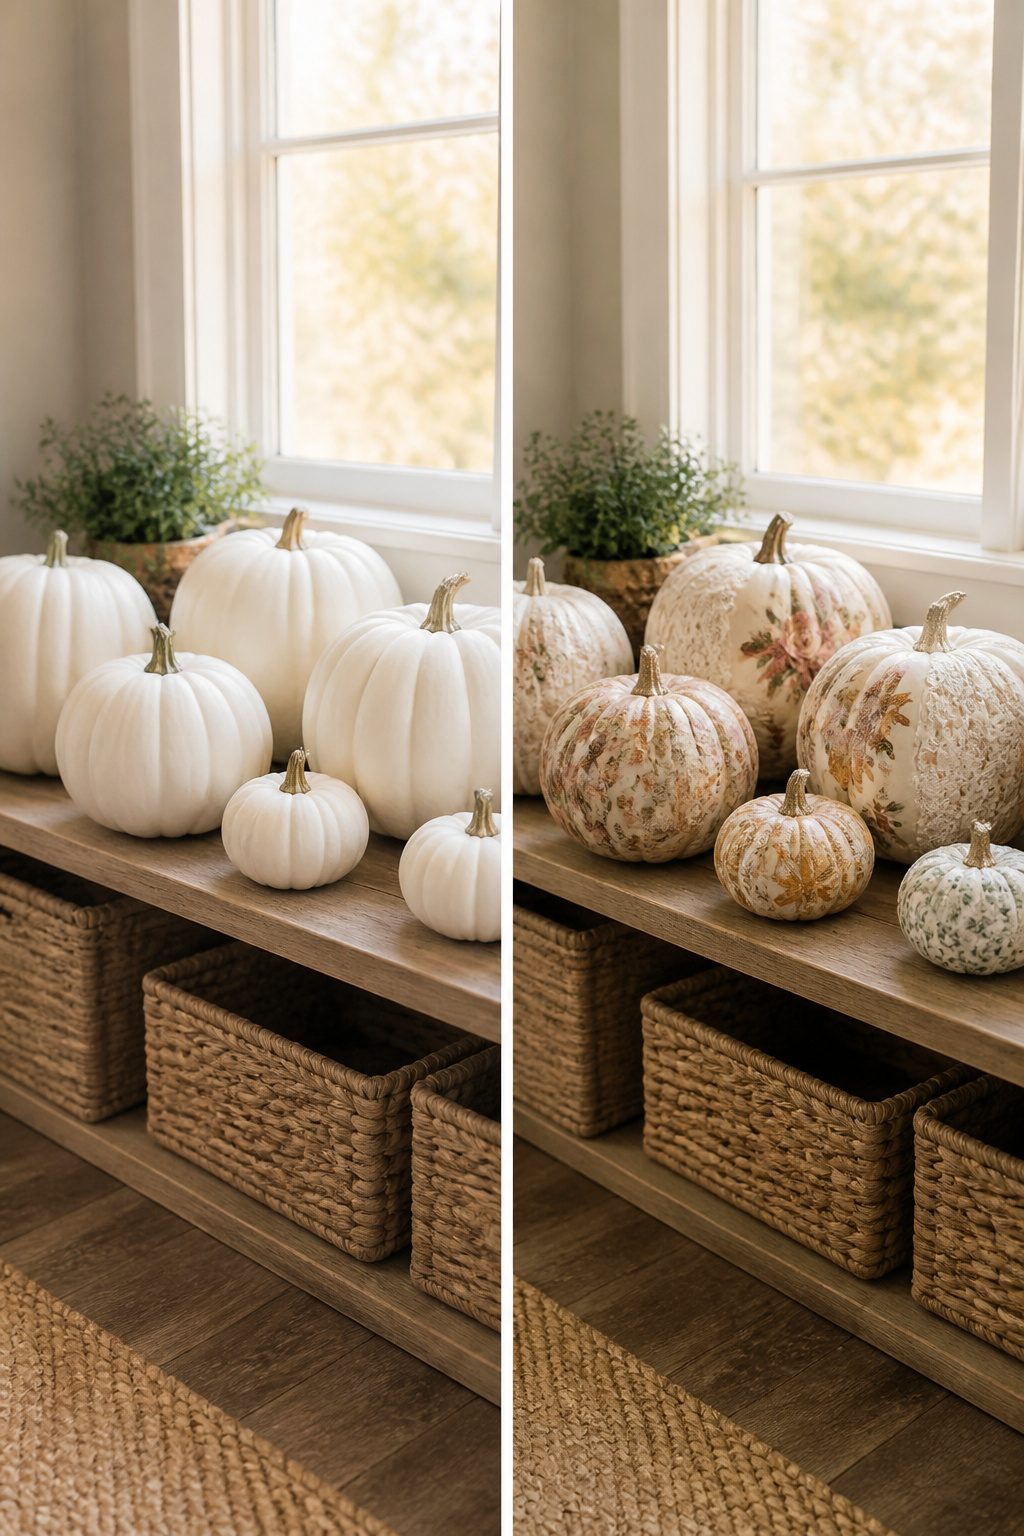
Plain white pumpkins, real or faux, take paint better than the orange ones from the grocery store.
A solid base coat in acrylic craft paint gives you a clean field to work on, and from there the techniques split in two directions.
For a soft, dressed-up look, Mod Podge and a paper napkin is the route I keep returning to.
Tear rather than cut the napkin, layer it on with a thin coat, and the printed pattern melts into the pumpkin’s curves without the hard edges that scream decoupage.
A lace doily stretched over a small pumpkin and sealed the same way reads as mantel-worthy rather than craft-table, because the openwork lets the base color show through.
The chalk finish is forgiving on imperfect surfaces, and stenciling over it with a contrasting color gives you hand-lettered looks without steady brushwork.
Diamond dust, brushed on while the sealer is still tacky, catches low evening light in a way matte paint never will.
Clear glass pumpkins from the thrift store respond to the same treatments, and the translucency turns magical once a candle goes behind it.
These are no-carve projects, so the finished pieces last the season and store flat for next year.
5. Acorn Crafts
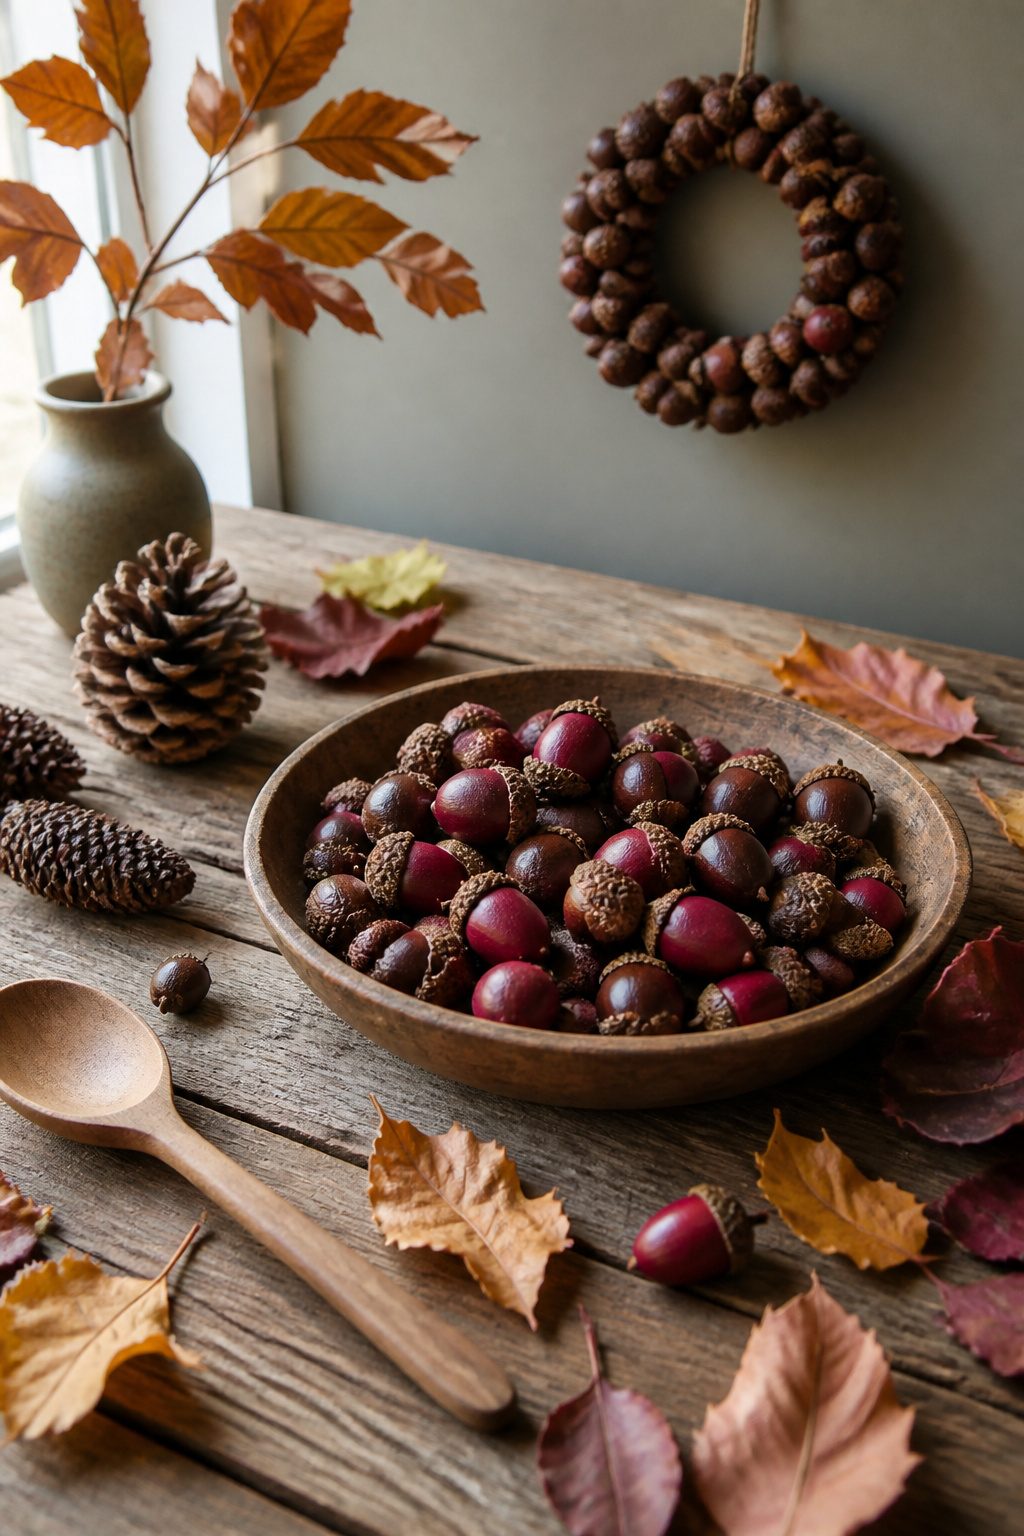
Acorns collect faster than you expect on a dog walk in October, and the pile on my counter always looks smaller than the project list I imagine for it.
The first batch I tried to paint went straight into the garbage: I skipped the boiling step, and tiny beetle larvae hatched in my desk drawer two weeks later.
Boil raw acorns for 15 minutes, then bake them at 200°F until they rattle dry inside the cap. That kills the insects and hardens the nut so paint actually sticks.
Flat acorn caps glued in a tight spiral make a surprisingly sturdy miniature wreath for a cabinet knob or a place-card holder.
The caps take acrylic craft paint well; the nuts themselves look richer with just a wash of watered-down brown or burgundy, letting the natural grain show through.
A handful of painted acorns in a shallow wooden bowl reads as autumn decor without the craft-store price.
For something functional, a pinecone smeared with peanut butter and rolled in birdseed still works, but acorn caps filled with suet and pressed with a sunflower seed each hang neater on a string.
The birds pick them clean, and the caps compost by spring. The whole feeder project costs the price of a single suet cake, split across two dozen caps collected free.
6. Gratitude Tree
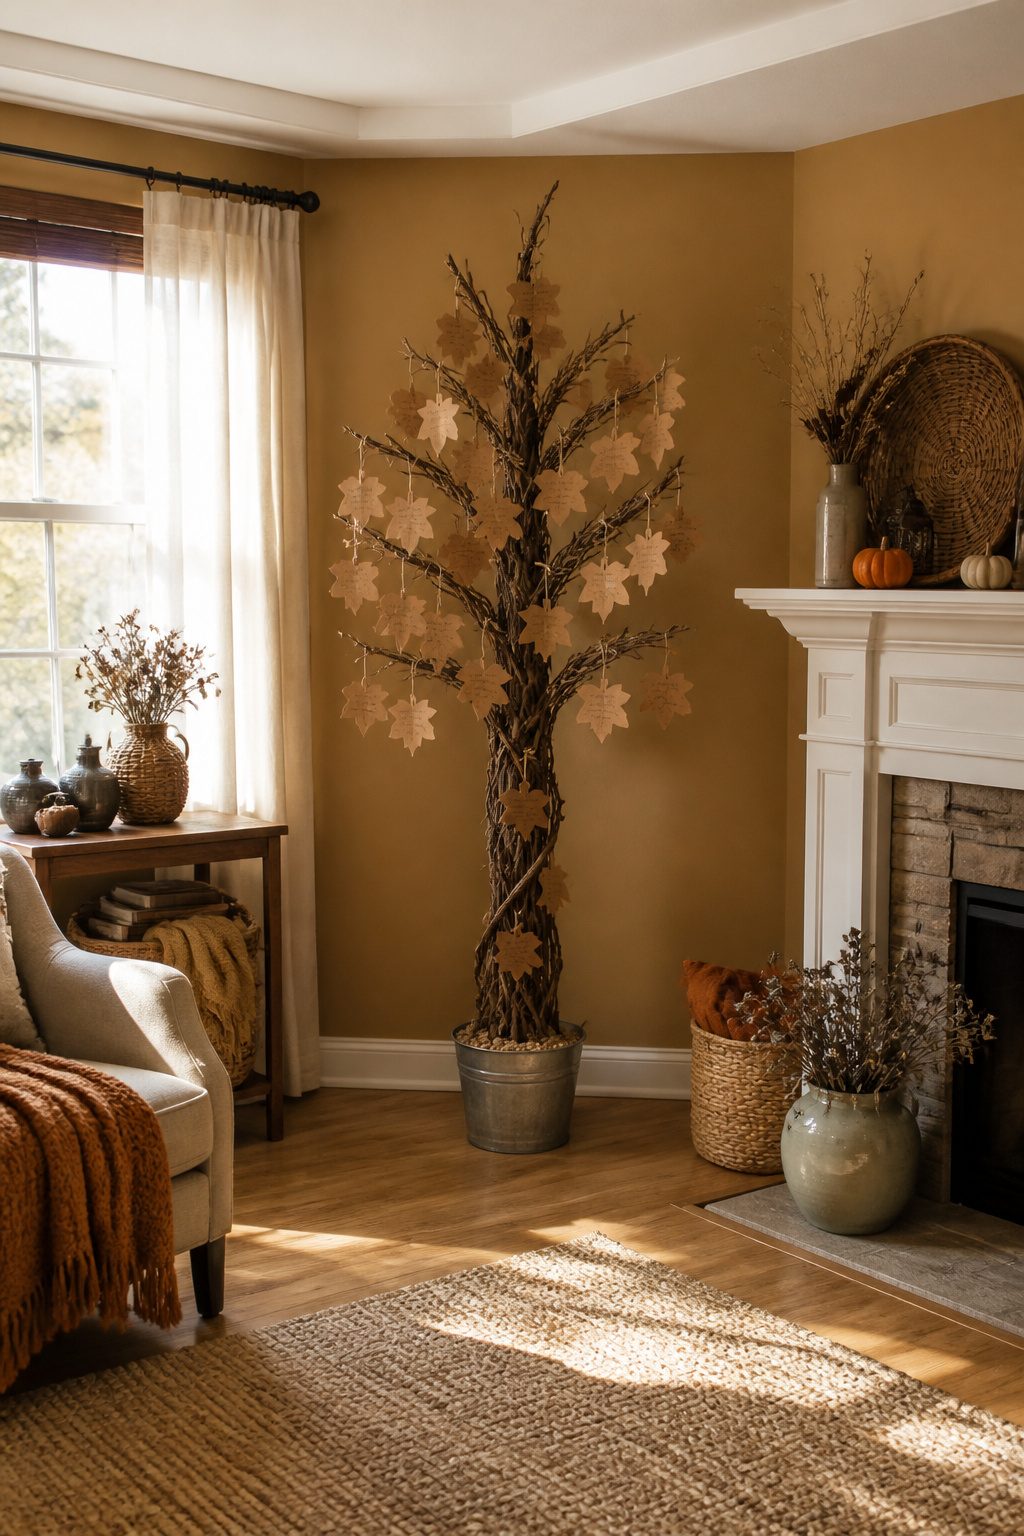
A gratitude tree works best when the materials are cheap enough that guests actually write on them.
I learned this after setting out stiff cardstock leaves that people treated like museum pieces. Brown kraft paper cut into simple leaf shapes gets picked up, folded, written on, and pinned without ceremony.
The trunk poses the only real construction question. A few twisted grapevine wreaths stacked and wired together look organic and stand on their own against a wall.
For a tabletop version, a branch from the yard jammed into a weighted bucket of dried beans does the same job for the cost of the beans.
The meaningful part happens in the setup. Leaving a marker and a single example leaf lowers the barrier; asking everyone to read theirs aloud raises it too high for some crowds.
At my last Thanksgiving, half the leaves went up during the meal itself, between bites, which told me the prompt mattered less than the moment being already social.
For renters, nothing here damages walls.
Clothespins clip leaves to twine strung between removable hooks, or to the grapevine directly. The whole thing folds into a shopping bag by midnight.
7. No-Sew Pumpkin Crafts
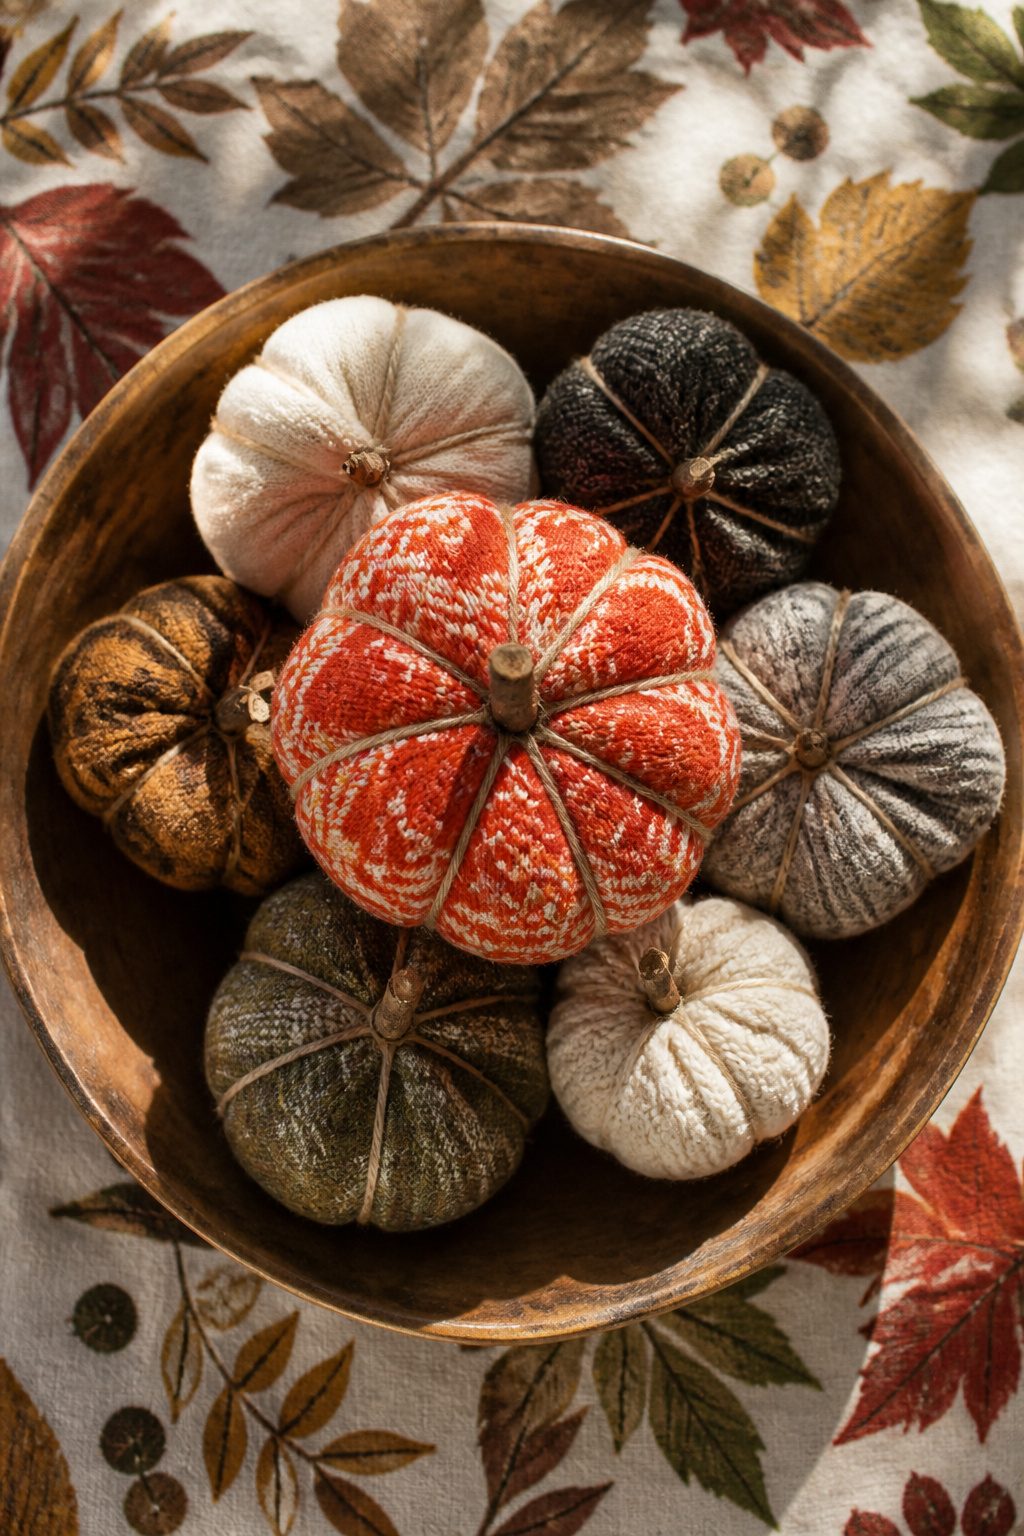
A lonely sock minus its mate becomes something else entirely in about twenty minutes.
Stuff the toe with polyester filling or more sock scraps, cinch the middle with twine or a rubber band to build the pumpkin’s ridges, and the heel naturally rounds the base.
Flannel and old sweaters work better than thin cotton because the loft holds the shape without sagging.
The same logic scales down to fabric scraps. A rectangle roughly twice as long as it is wide, gathered at both ends and pulled tight, makes a miniature version that sits well on a shelf or in a bowl.
Bandanas, velvet remnants, even the sleeves you cut off a thrifted flannel shirt last spring, all of it becomes fair game once you stop thinking like a sewer and start thinking like a bag-tie.
The sources that rank for this craft agree on one practical point: these pumpkins survive warm weather that would rot the real thing on your porch in September.
8. Upcycled Thrift Store Crafts
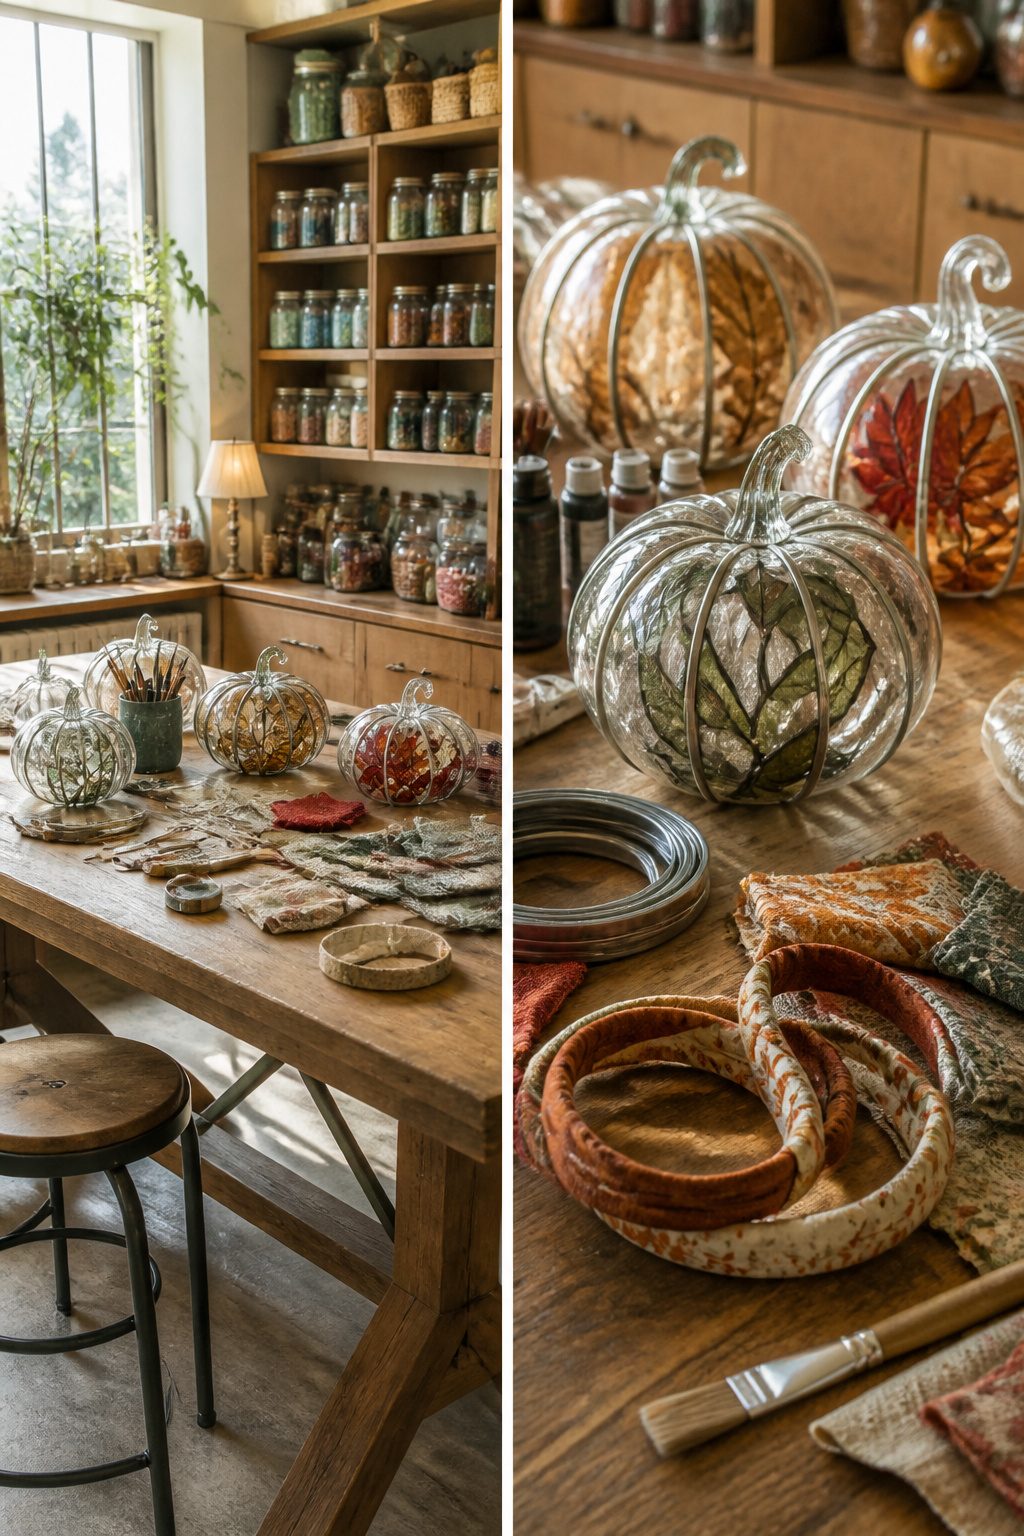
Clear glass pumpkins sit on almost every thrift store shelf come September, and turning them into stained glass pumpkins takes about an hour and a craft-store tube of leading.
The leading traces fake panes onto the glass; fill the gaps with glass paint in amber, ruby, or moss green, and the thing glows once a tea light goes inside.
The original shape costs maybe three dollars, the paint another six, and you have a piece that reads handmade rather than bought.
Embroidery hoops work the same way.
A thrift store rack of old cross-stitch frames, usually under a dollar each, becomes a pumpkin when you wrap three or four hoops in different widths with fall-colored fabric and stack them into a sphere.
The fabric itself can come from a torn plaid shirt or a remnant bin; the point is the mix of pattern, not the match.
What keeps me coming back to this approach is the constraint. A thrift find already has a shape and a limit.
You are not starting from raw lumber and a blank canvas; you are answering the question a discarded object poses. That makes the weekend timeline real and the budget stay in the two-digit range.
9. Candle Crafts
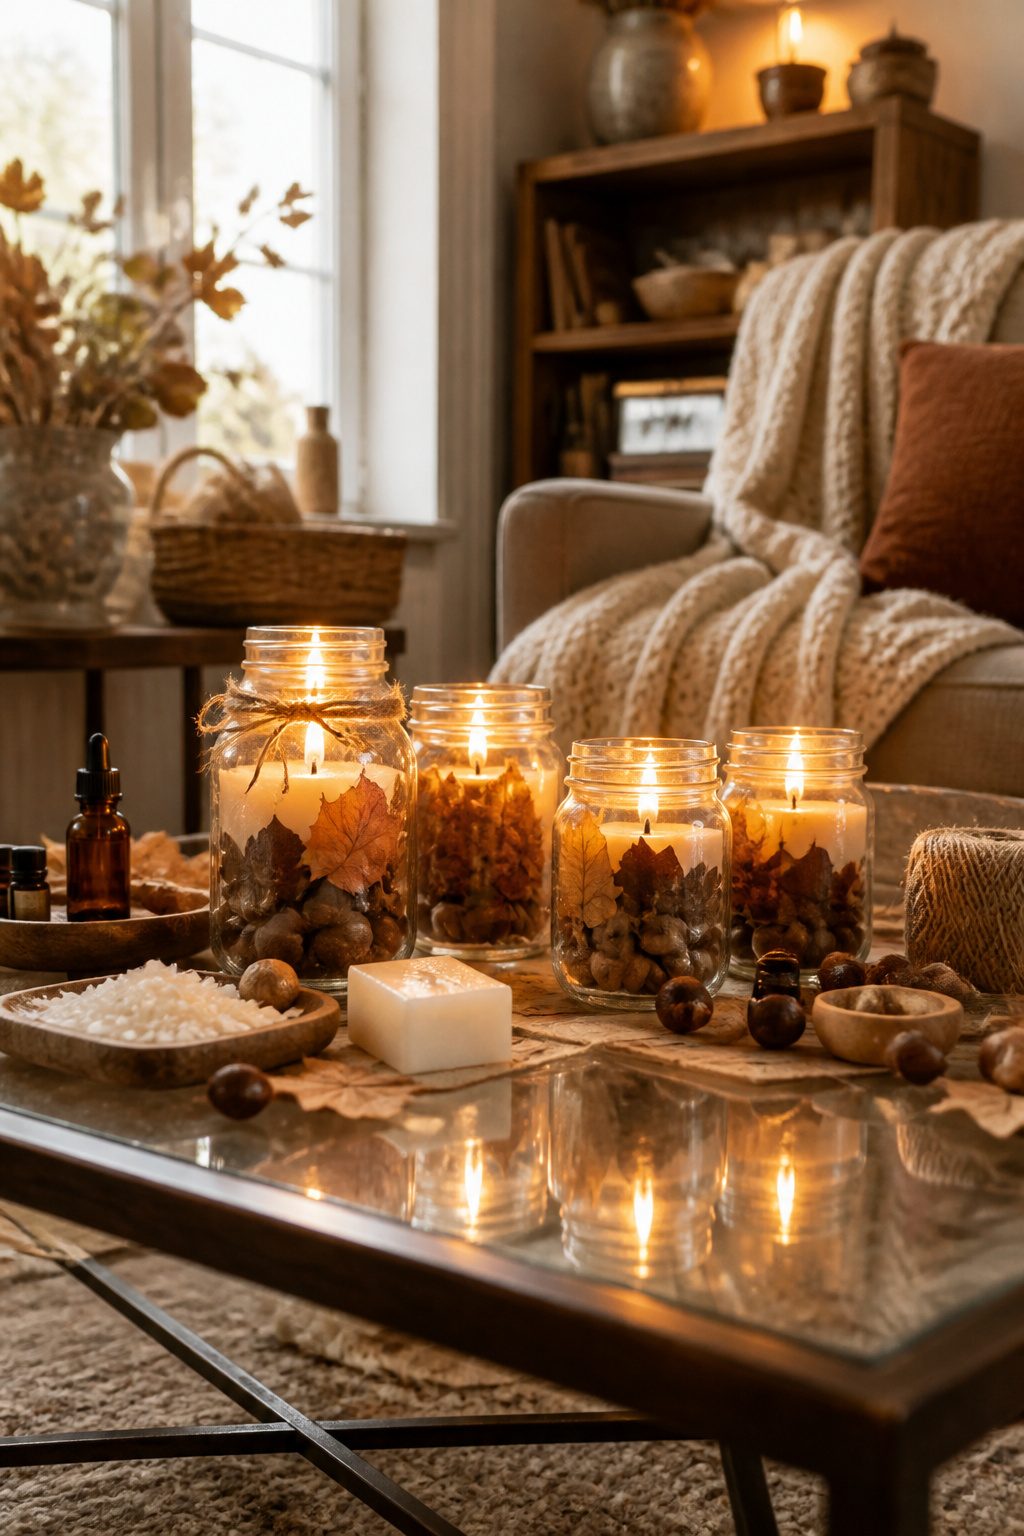
Beeswax and soy both carry fall scents well, but soy is the forgiving choice if you are new to pouring.
A mason jar with a lid keeps the fragrance sealed until you are ready to gift it, and the jar itself becomes the holder so nothing extra needs to fit the budget.
Fillers like popcorn kernels, acorns, or pine cones layer around the outside if you want the look without the burn time, though I would keep anything flammable clear of the wick itself.
The autumn spice blends, apple cinnamon especially, tend to smell stronger in soy than beeswax in my experience; beeswax gives a cleaner, honeyed base that competes less with the oil but asks for more of it.
Plan on about a pound of wax for two 8-ounce jars, and melt in a pot you do not mind dedicating to craft use.
A thermometer helps, but the real test is whether a drop on a cold plate sets smooth and firm in thirty seconds. If it does not, the pour was too hot and the surface will crack as it cools.
10. Leaf Crafts
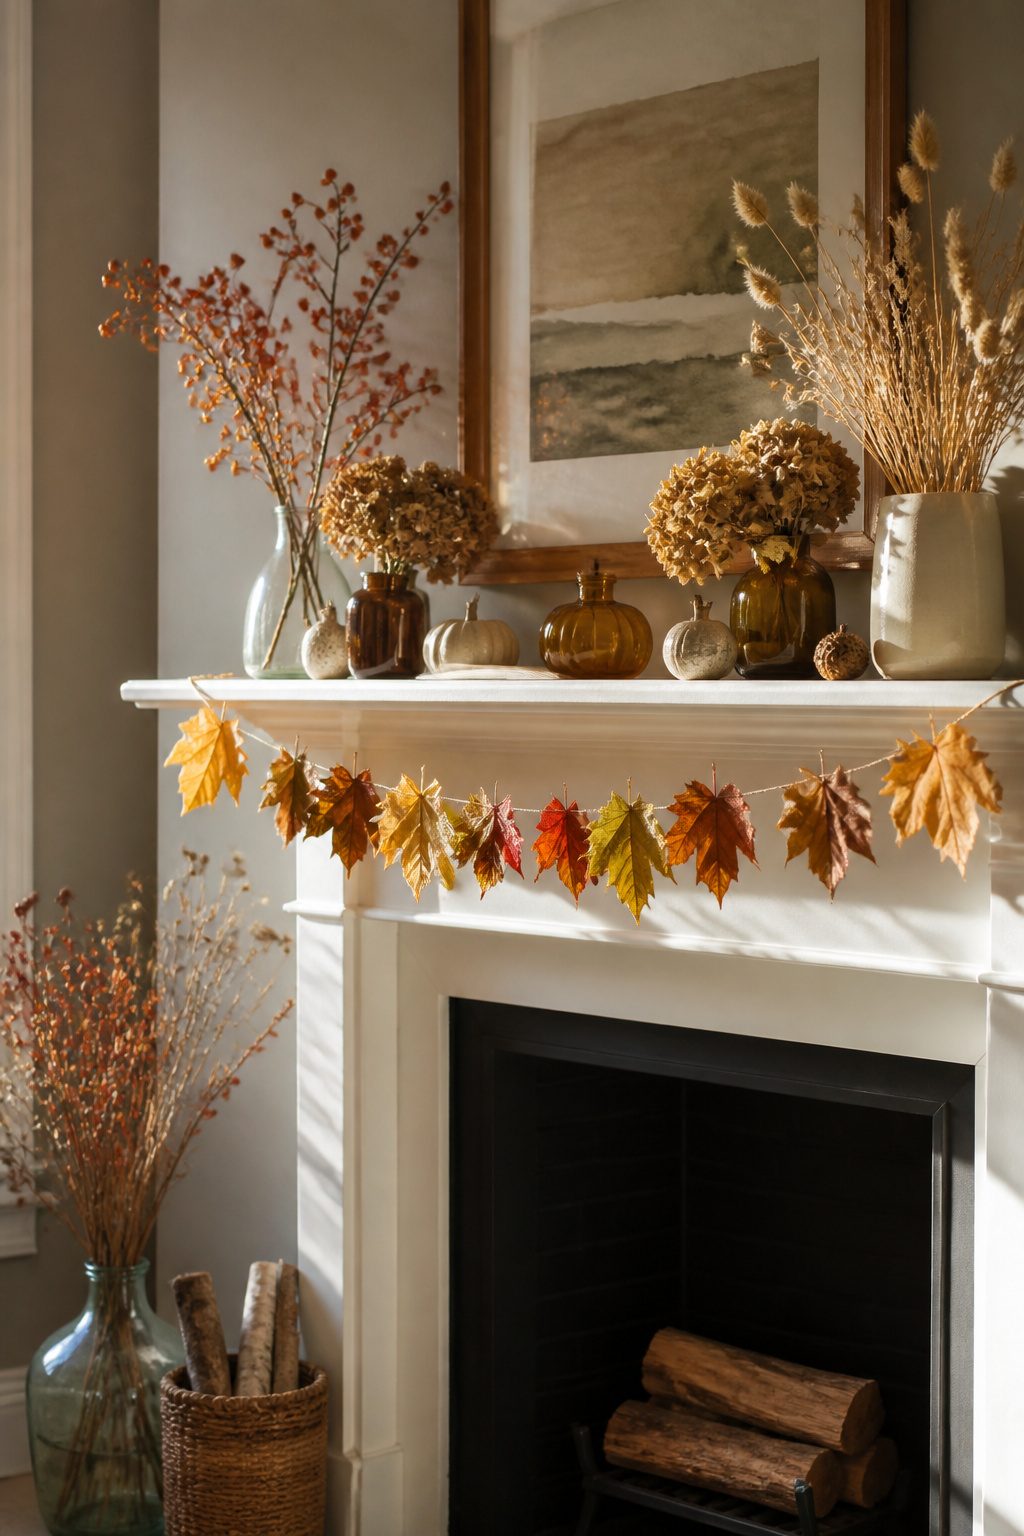
Pressed leaves work best when they dry flat for a week inside a heavy book, then get sealed with two thin coats of Mod Podge rather than one thick one that pools and cracks.
I learned that the hard way on a maple leaf that looked perfect until the second morning, when a milky bubble appeared right across the vein.
The thin coats dry in about twenty minutes and keep the color closer to what you saw outside.
For a wreath, I arrange the preserved leaves on a grapevine base while the glue is still tacky so I can shift them without starting over.
Wire-edged ribbon threaded through the back gives you a loop that holds through the season. A leaf garland for a mantel follows the same principle, just strung along twine with a little spacing so each leaf catches light.
The real limitation is timing.
Leaves picked too late in the season go brown before you get them home, and early leaves curl before they flatten. Mid-October in my area tends to hit the window, though that shifts with the year.
11. DIY Signs
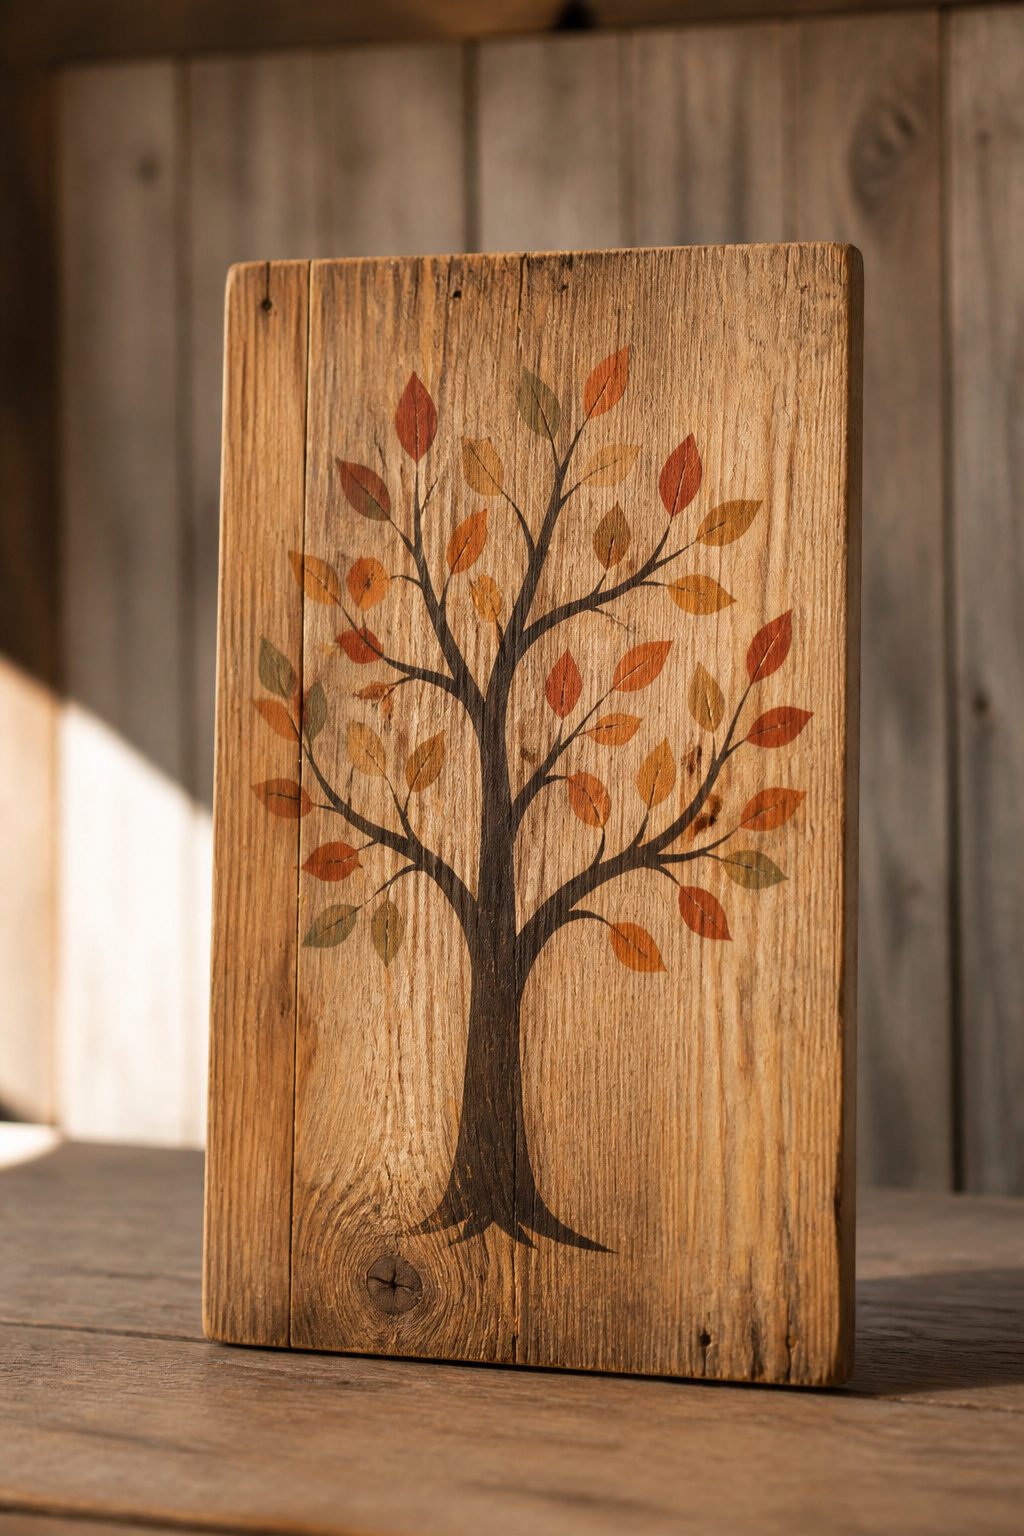
A thrifted cabinet door or bamboo tray from the back shelf at Goodwill makes a better sign than most people expect.
The natural wood already carries that warm, golden tone fall decor wants, and the raised edge of a tray means your paint stays where you put it.
I like the double-duty angle: the piece still works as a tray if you keep the surface flat, or hangs on a wall if you add picture wire.
Three steps, about an hour. Sand the surface just enough to take the gloss off, stencil or freehand your quote, seal with a clear coat.
The quote matters more than the lettering skill; "thankful" or a longer harvest saying both read fine from across the room.
Cabinet doors run larger and heavier, so they anchor a mantel or entry table. Trays stay lighter and travel between the kitchen island and the porch.
Paint costs what craft acrylic always costs; the sealant is the step people skip and regret by November when condensation clouds the words. Skip the sealant and you are making next year’s project early.
12. Yarn Crafts
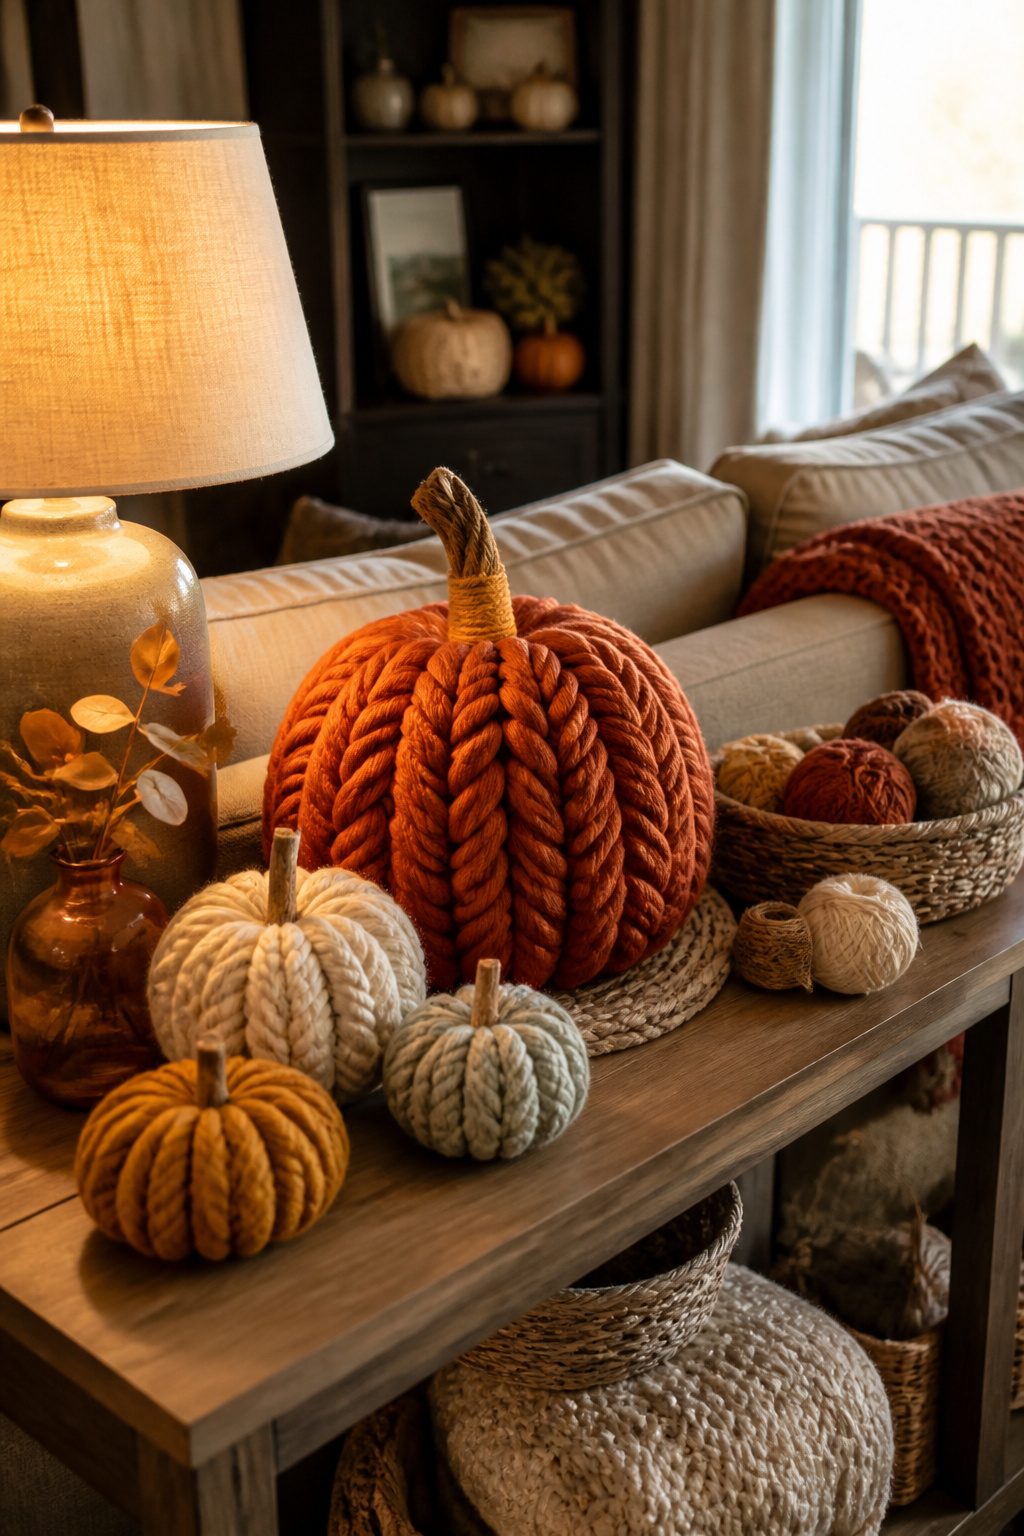
Yarn crafts for fall tend to look either childish or impossibly fussy, but a few projects hit the right balance of texture and restraint.
A chunky braided yarn pumpkin works up fast with thick wool and a simple braid-and-glue method; the result has enough heft to read as seasonal decor rather than craft-fair leftovers.
Loop yarn, the kind with pre-formed loops that finger-knit together, makes an even quicker pumpkin that adds real dimension to a mantel without the learning curve of traditional knitting.
The wreath route offers more staying power. A soft yarn wreath in autumn tones layers different weights and weaves, and the texture reads as cozy from the sidewalk.
One approach wraps a foam form with roving-style yarn, then adds a second layer in a contrasting fiber so the surface looks lived-in rather than uniform.
Leftover yarn balls, the kind most of us accumulate in a shoebox, finally earn their keep with a pom pom pillow.
A pom pom maker speeds the work considerably; crank out a pile in burnt orange, mustard, and cream while something undemanding plays in the background, then attach them to a plain pillow cover with a needle and strong thread.
The trick is spacing them densely enough to look intentional but not so close that the pillow becomes unwieldy to lean against.
Solid orange pom poms read as abstract pumpkins; mix in a few burgundy or olive ones and the same project stretches from early September through Thanksgiving without feeling tied to Halloween.
13. Paper Crafts
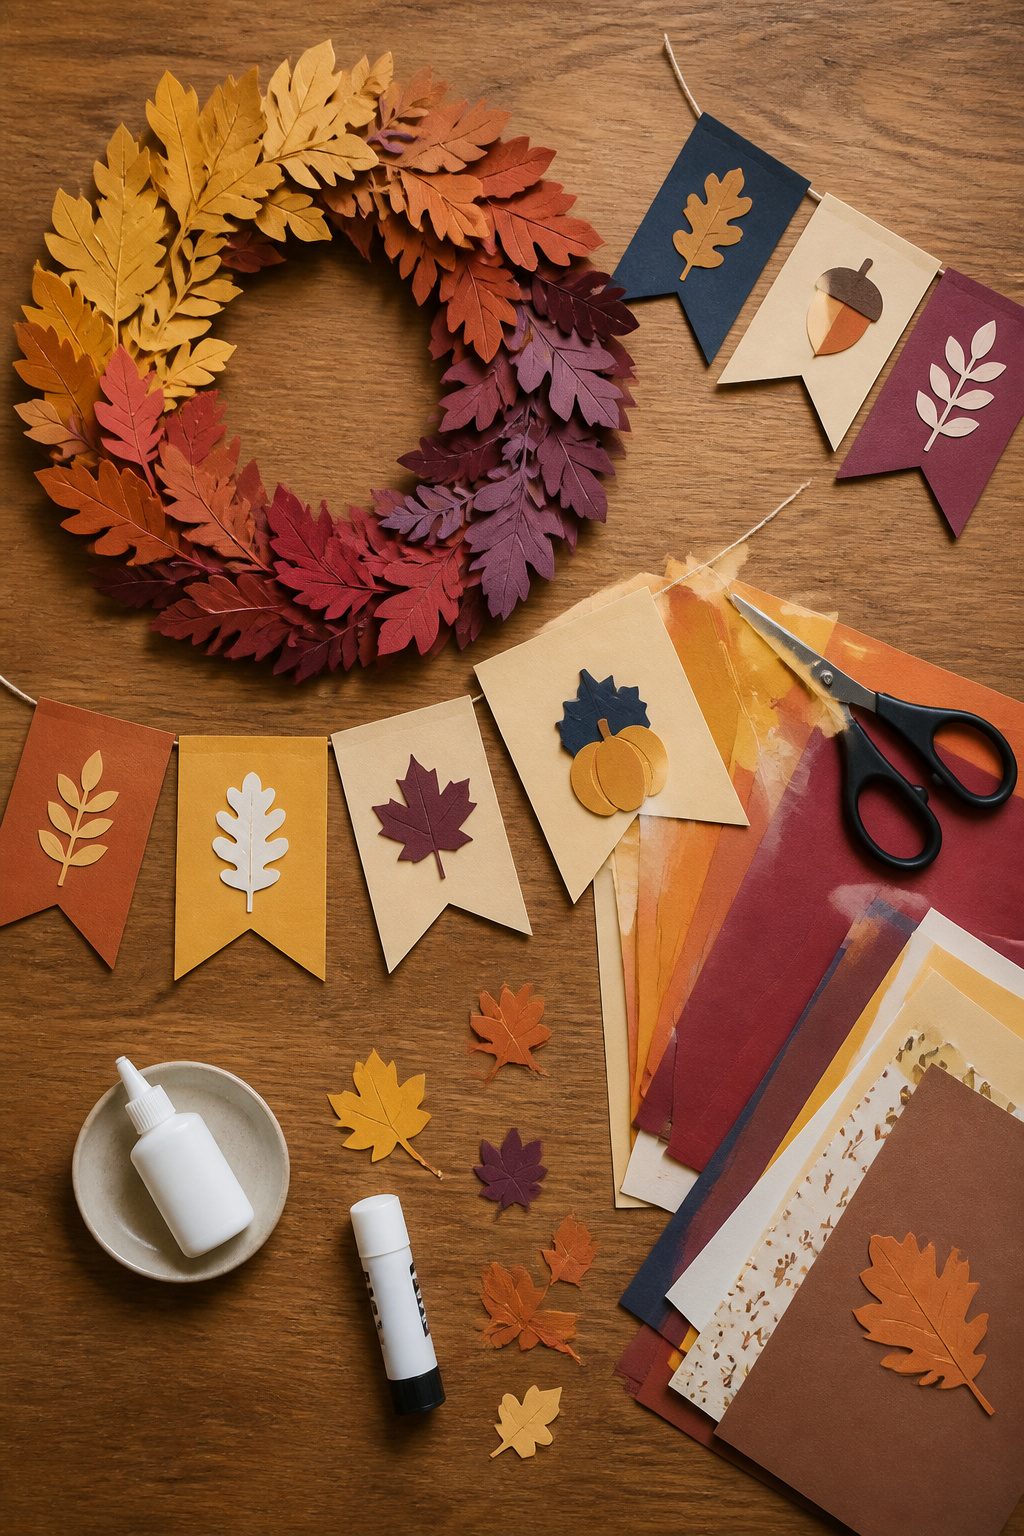
Paper banners and wreaths give the fastest payoff for a Saturday afternoon, and the materials cost almost nothing if you already keep a basic craft drawer.
A simple paper leaf wreath in ombre shades needs only paper, glue, and a ring base, and you can shift the palette from rust and gold to deep plum without buying a single new tool.
I like this approach because the mistakes are cheap: a leaf that tears or a color that clashes gets tossed and replaced in under two minutes, which is not true of anything involving paint drying time.
For banners, scrapbook paper or even book pages work better than construction paper, which fades and wrinkles before Thanksgiving.
The book page pumpkin idea translates straight to triangular pennants: tear or cut vintage text into rough leaf shapes, layer them on twine with a little spacing, and the whole strand reads as intentional rather than thrifted.
Dollar store frames, the kind with decent cardboard backing, can hold individual leaves or small acorn clusters as shelf accents that take up almost no storage box space later.
The felt leaf wreath ranks high on my list of projects I actually finish, because precut felt leaves remove the cutting stage that kills momentum.
Stack them in color blocks or scatter them random; either way the texture reads richer than flat paper from across a room.
Pinecone wreaths add more dimension but demand hot glue patience, so I save those for years when I have an extra hour and a podcast queue.
14. Luminaries
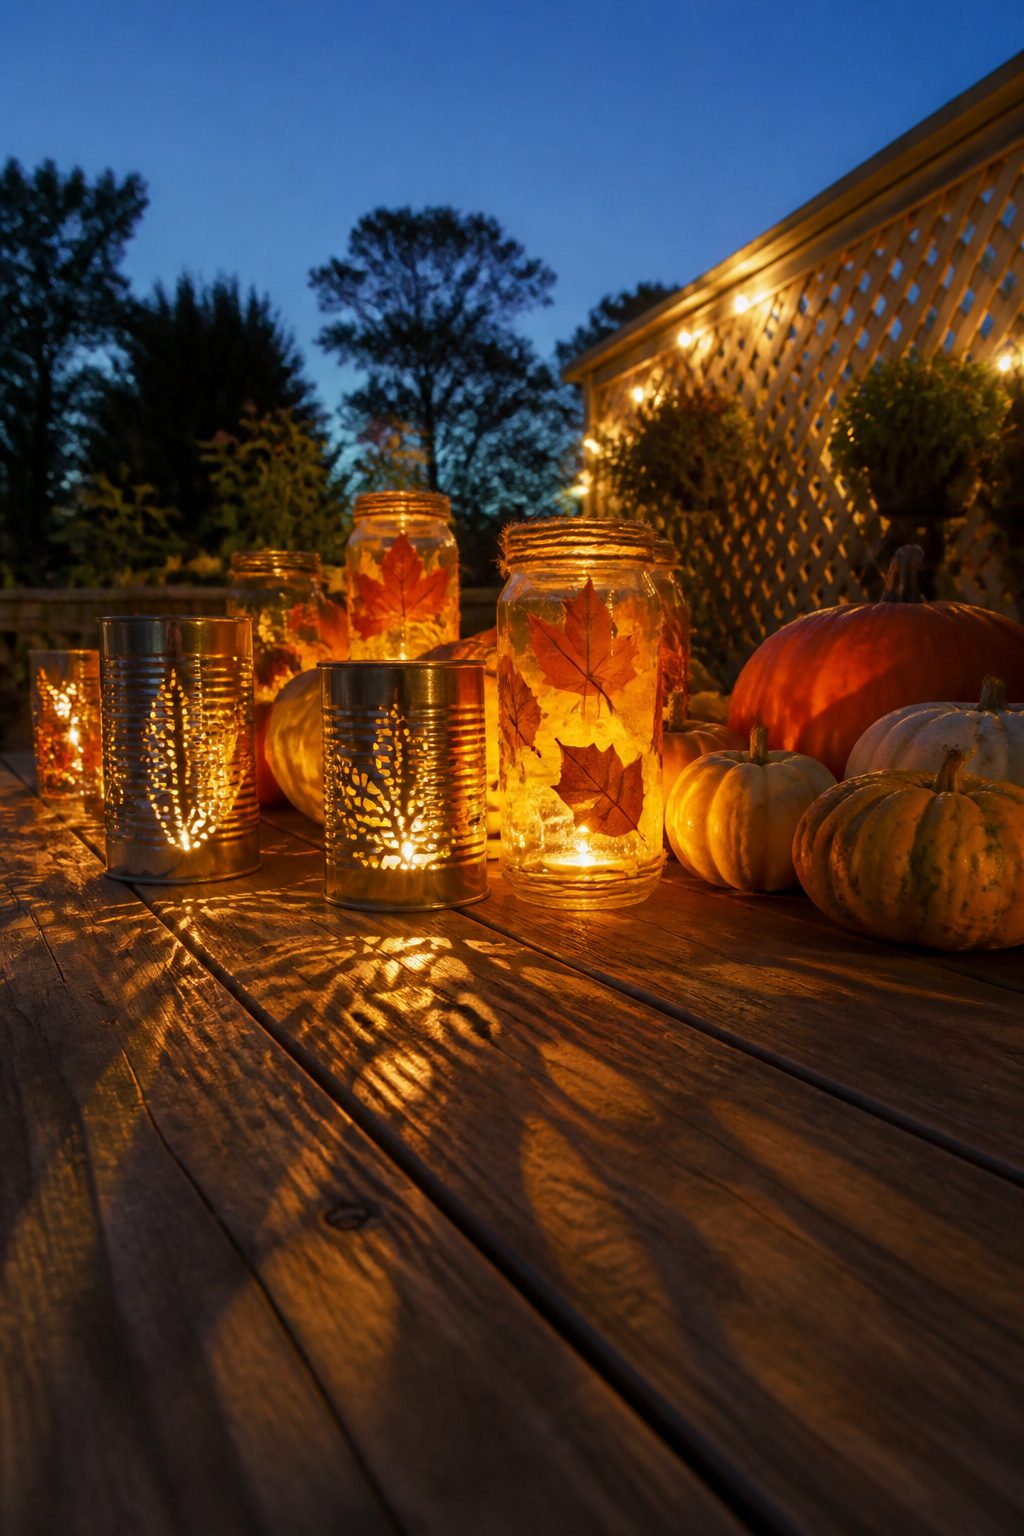
A tin can punched with a leaf pattern makes a luminary for less than $5, and the same logic works with jars or anything hollow you already have.
I punched my first set from soup cans rinsed and stripped of labels, a nail and hammer for the pattern, and a coat of matte spray paint left over from another project.
Battery-powered candles go inside; real flames heat the metal and scorch whatever sits beneath.
Paper pumpkins folded from cardstock become luminaries the same way, with a battery-powered candle slipped through a slot cut in the base.
The glow through paper is softer than through metal, and the shape reads as pumpkin without any orange paint required.
For a different route, decoupaged glass jars with tissue or thin fabric let light through in patches.
The glue dries clear, so the pattern stays readable only when lit from within. I have used leaves pressed flat, though they brown eventually; tissue in amber and rust lasts the season.
The common mistake is sizing the opening wrong. A candle too tall bows the paper or crowds the can, and one too small leaves dead spots in the pattern.
Tea lights and votives in the battery-powered variety are easy to find and swap, and they remove the question of whether the porch railing can take a heat source.
15. Seasonal Banners
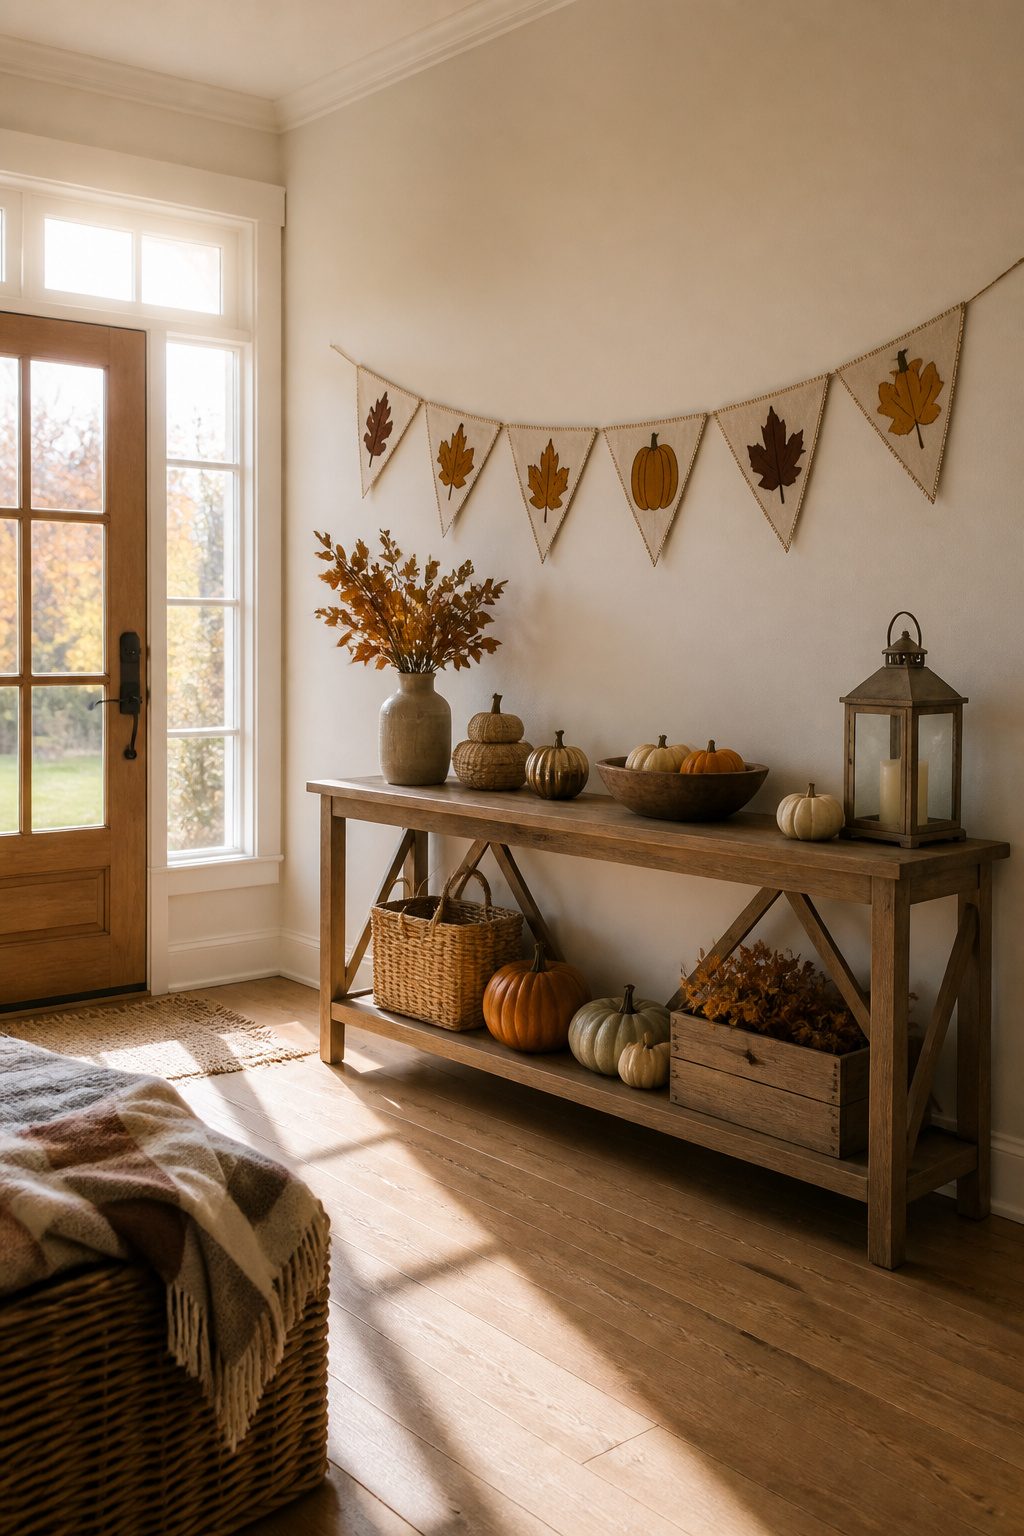
Felt banners hang flat against a wall or across a mantel without the bulk of a wreath, which matters when you rent and every nail hole counts.
I like the mini size for tight spaces: a string of five or six triangles, each maybe six inches across, spells out "FALL" or "GATHER" without shouting.
Construction is straightforward. Cut the triangles from stiff felt or heavy cardstock, punch holes in the corners, and thread them onto twine or thin ribbon with a needle.
Fraying edges on paper versions can be slowed with a quick line of glue along the cut edge before you string them.
The felt ones I have seen hold up for several seasons if you store them flat; paper creases if you cram it into a bin.
Color is where you get to make a call. Orange and brown read traditional; mustard and rust feel current without trying too hard.
One approach I liked from the projects I sorted through: keep the banner itself neutral, cream or oatmeal, and let the letters carry the season in a darker felt. It reads as intentional rather than leftover.
Cost stays low either way.
A sheet of craft felt runs under a dollar, and a paper version uses scraps you likely have from other fall projects. The whole thing takes an evening, start to finish, and packs down to nothing when November ends.
What I Buy First
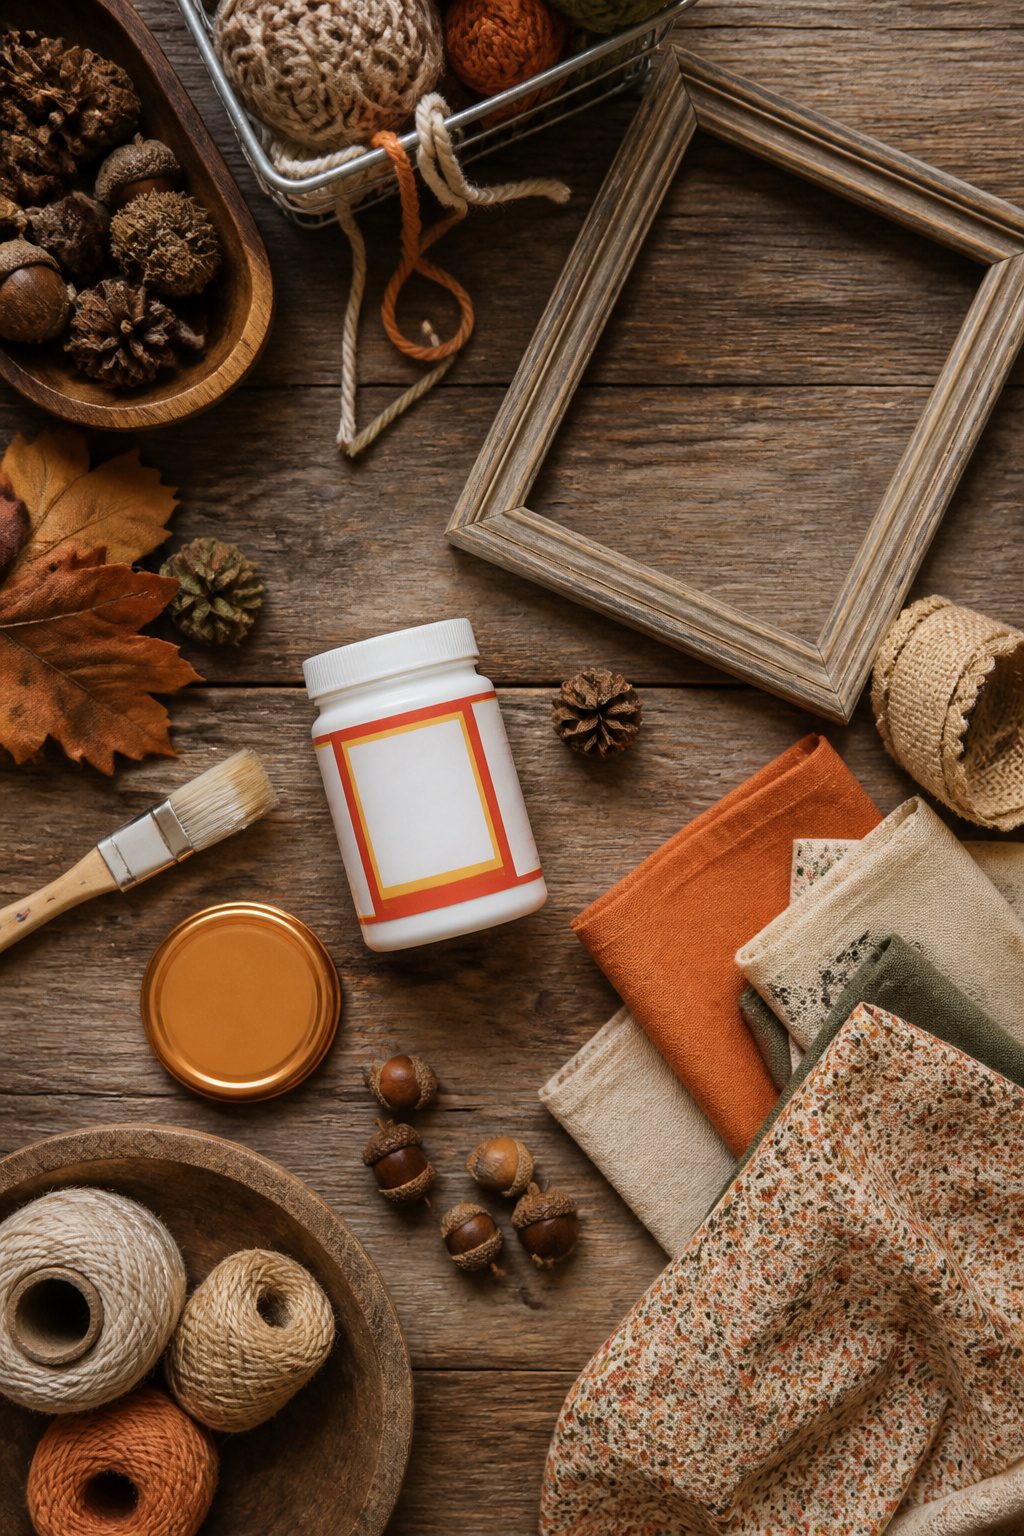
Walking into a craft store without a plan in October is a quick way to spend forty dollars on glitter you will not touch.
The projects that actually get finished, the pumpkin garlands and felt banners and acorn frames, pull from the same small pile of supplies.
Mod Podge is the one bottle that crosses into almost every category: preserving leaves, sealing paper-mache, attaching scrapbook paper to wood signs. A matte finish hides more mistakes than glossy.
Fabric stiffener turns dollar-store fabric into bowls that hold their shape. Felt works for banners and gnomes and button letters without a sewing machine.
Mason jar lid rings spray-paint into pumpkins; whole jars become pumpkin vases or candle holders. Chalk paint covers real pumpkins or fake ones, and a small bottle goes further than expected.
Natural elements are free if you collect before they dry.
Acorns need a quick bake to kill any passengers. Leaves stay vivid with Mod Podge but not forever; plan to use them within the season.
The tools are minimal: hot glue, scissors, a cheap foam brush you will throw away.
A thrift store frame beats a craft store frame for signs and leaf displays both. Check your own closet first; leftover yarn, scrap wood, or book pages you already own will carry a weekend project without another trip.
How I Budget a Weekend of Crafting
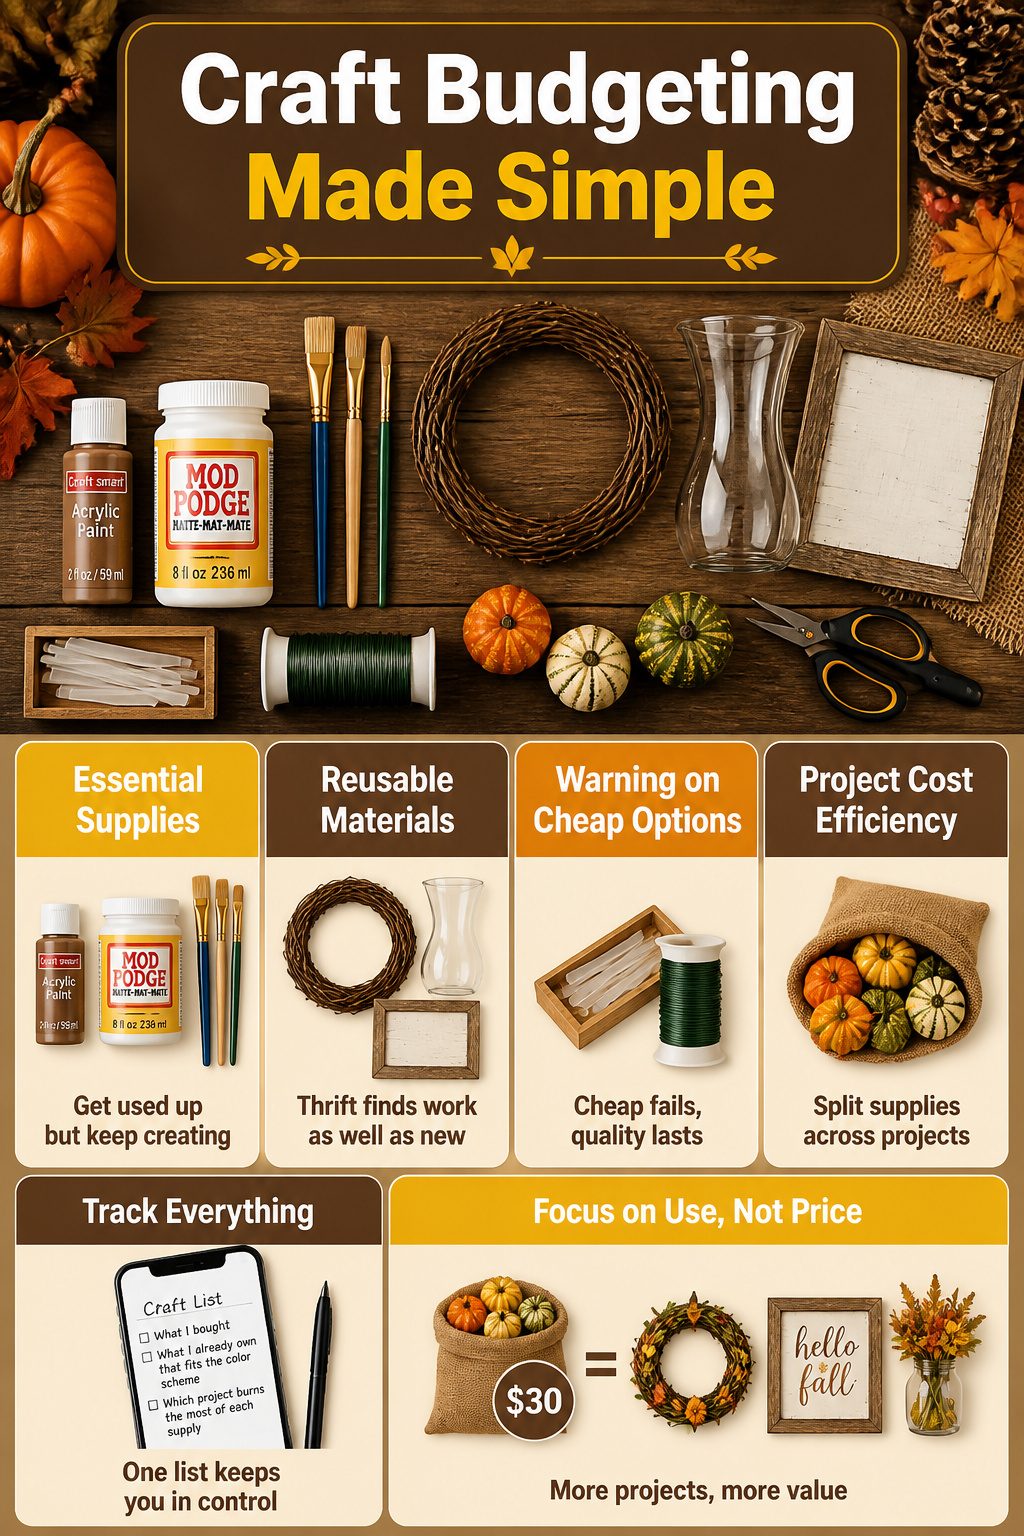
A few hundred dollars disappears fast when you walk into a craft store in October, so I split mine by what gets used up versus what lasts.
Paint, Mod Podge, and basic brushes carry from pumpkins to signs to wreaths; spending on those first means the second project costs half as much.
Wire wreath forms and glass vases from thrift stores work as well as new ones, and a slightly bent frame adds character to a rustic sign.
Hot glue sticks and floral wire are the places where cheap fails, because a wreath dropping pinecones on your porch in November teaches a lesson you pay for twice.
I keep one running list on my phone: what I bought, what I already own that fits the color scheme, and which project burns the most of each supply.
That last part matters more than the per-item price. A thirty-dollar bag of faux gourds split across three crafts is easier to justify than one centerpiece that uses them all.
Three Crafts I Skip and Why
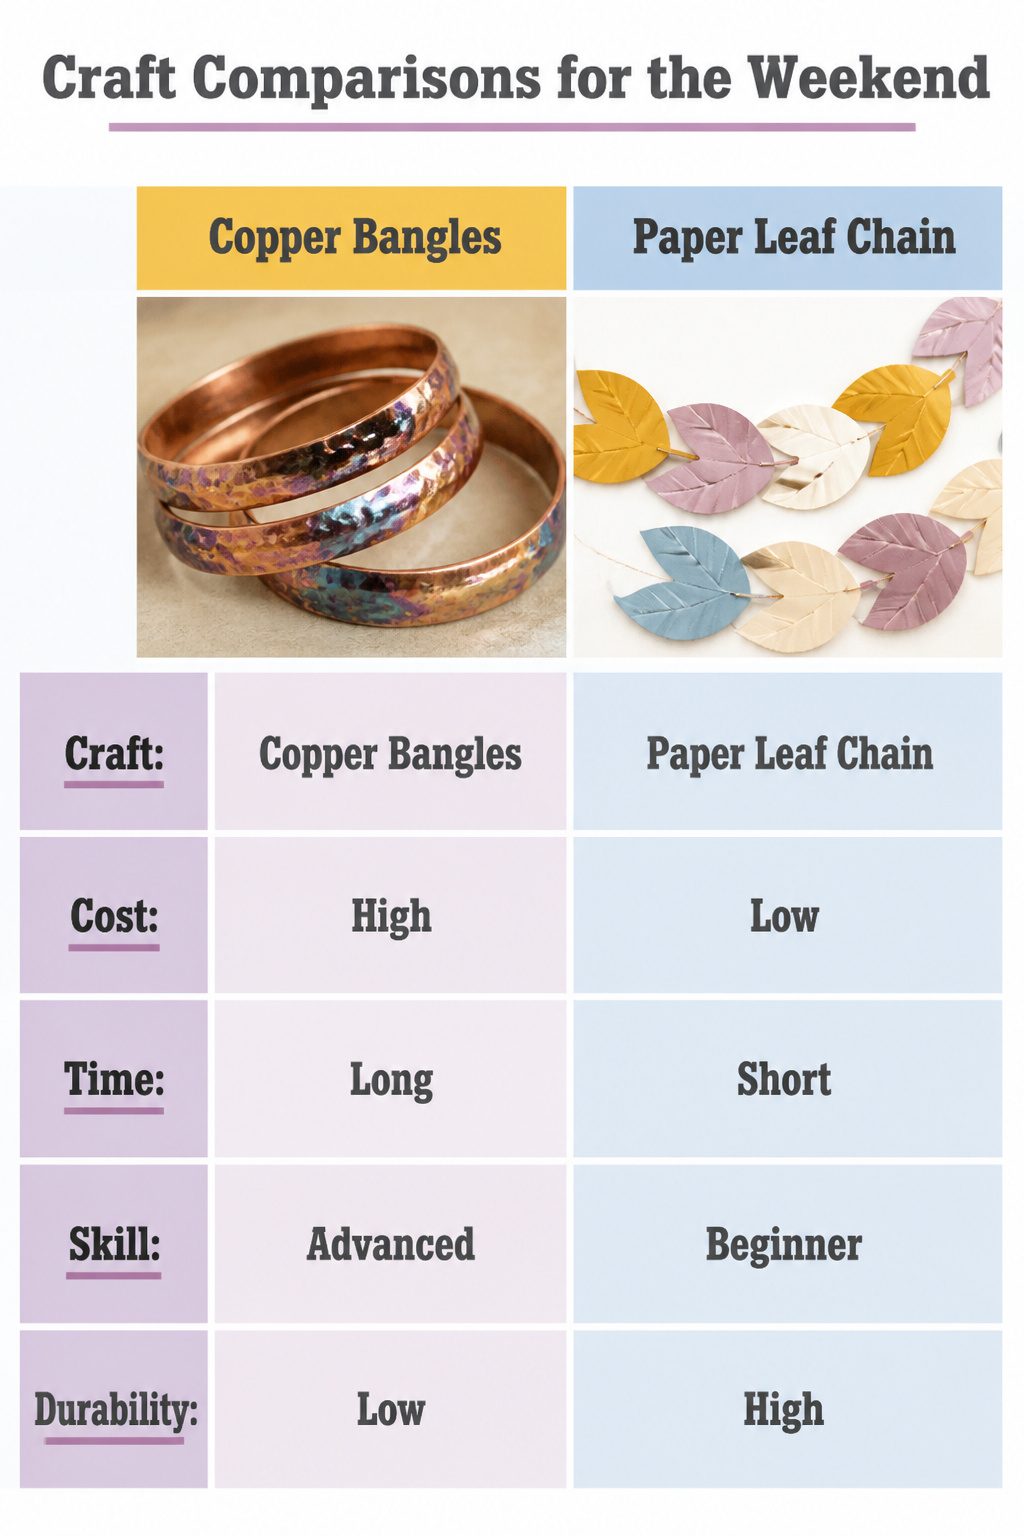
Fire-painted copper bangles look stunning in the finished photos, but the torch work pushes this well past a casual weekend.
The base metal alone runs higher than my whole craft budget, and the color-shifting chemistry takes practice most of us do not have time to build.
A renter’s kitchen table is not the place for open flame and ventilation worries anyway.
Dried orange garland seems simpler until you count the oven hours. Slicing, dehydrating, flipping, and stringing eats most of a Saturday for a single mantel length.
The citrus oils also leave a residue on baking sheets that takes real scrubbing, and the garland itself lasts one season before it turns dusty and brittle.
For the time, I get more visual payoff from a paper leaf chain or a thrifted fabric scrap banner.
Macrame leaf earrings sit at an awkward intersection: small enough to feel quick, yet finicky enough to demand the micro-cord and tiny scissors most of us do not own.
The knot density for leaf shaping strains the fingers, and one miscounted half-hitch unravels the whole shape. I have watched friends abandon half-finished pairs in their craft bags for months.
When I Start and When I Stop
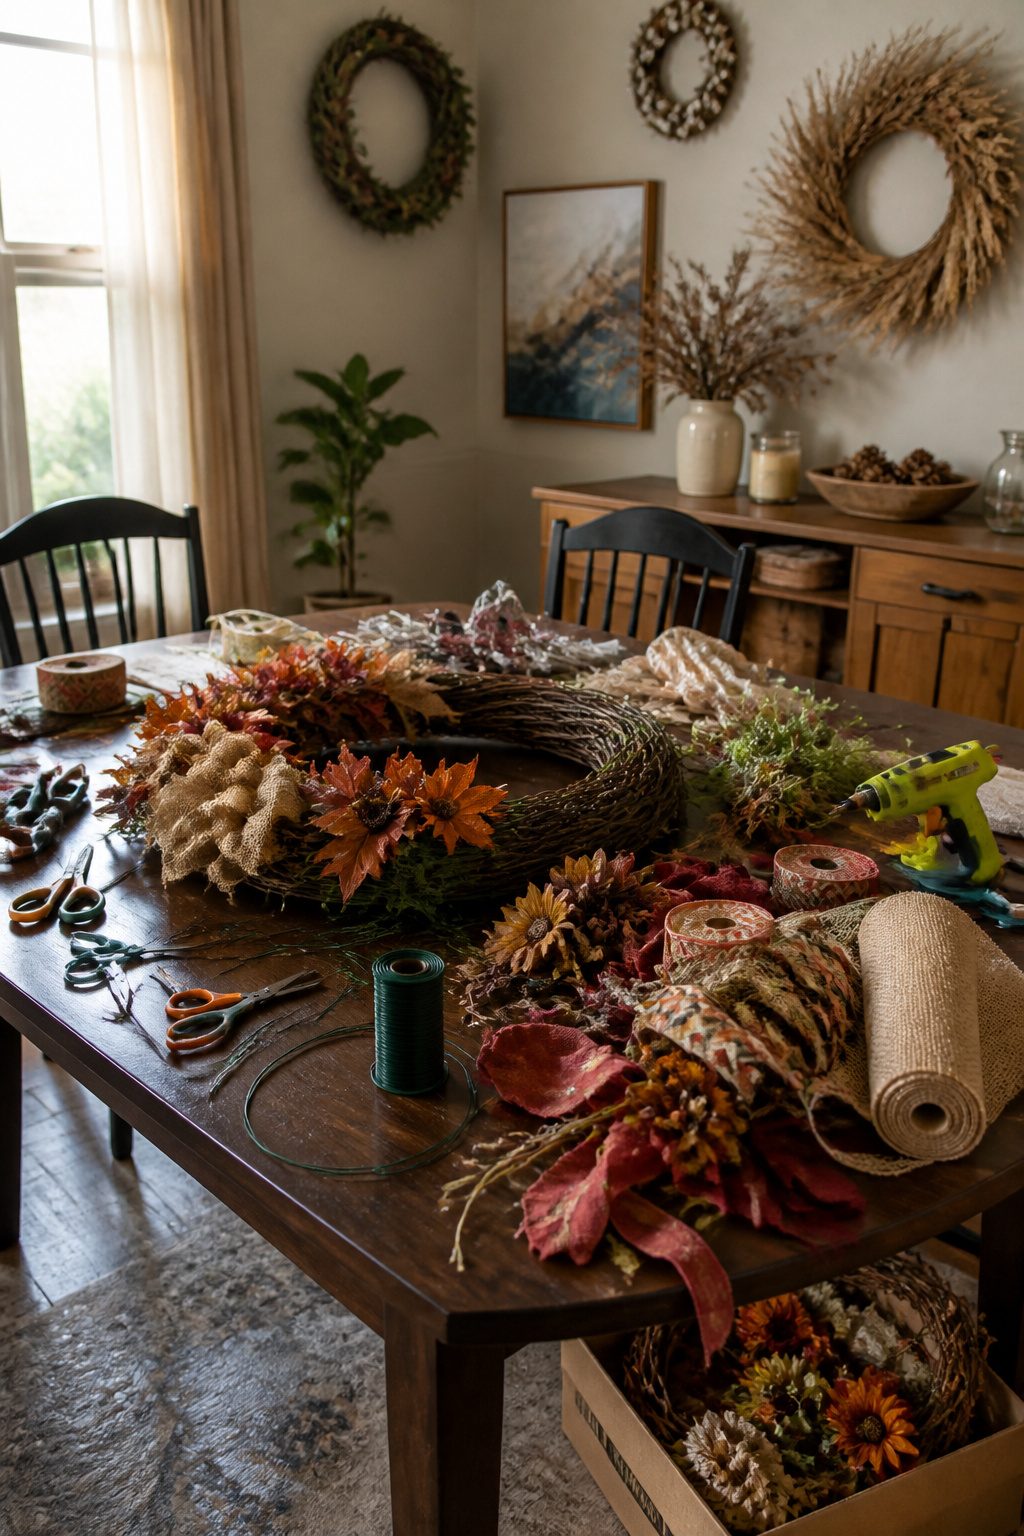
The first cool Saturday in September still tricks me into thinking I can knock out three projects before dinner.
By four o’clock the glue on the wreath form is barely tacky, the dining table is buried, and I’ve got nothing finished for the effort.
One hour is the honest ceiling for a single fall craft if you want it actually done, not just started.
I learned to set a hard stop at ninety minutes, cleanup included. The half-finished pile, that cardboard box of "almost dones" shoved behind the washer, comes from pushing past that window.
When the timer sounds, the project goes back to its bin or the trash goes out, no exceptions. Two finished pumpkins on the mantel beat four wreaths in limbo every time.
An afternoon can hold two one-hour projects if you pick ones that share supplies, but the second always runs longer than the first. Budget for that.
The Mistake I Make Every Year
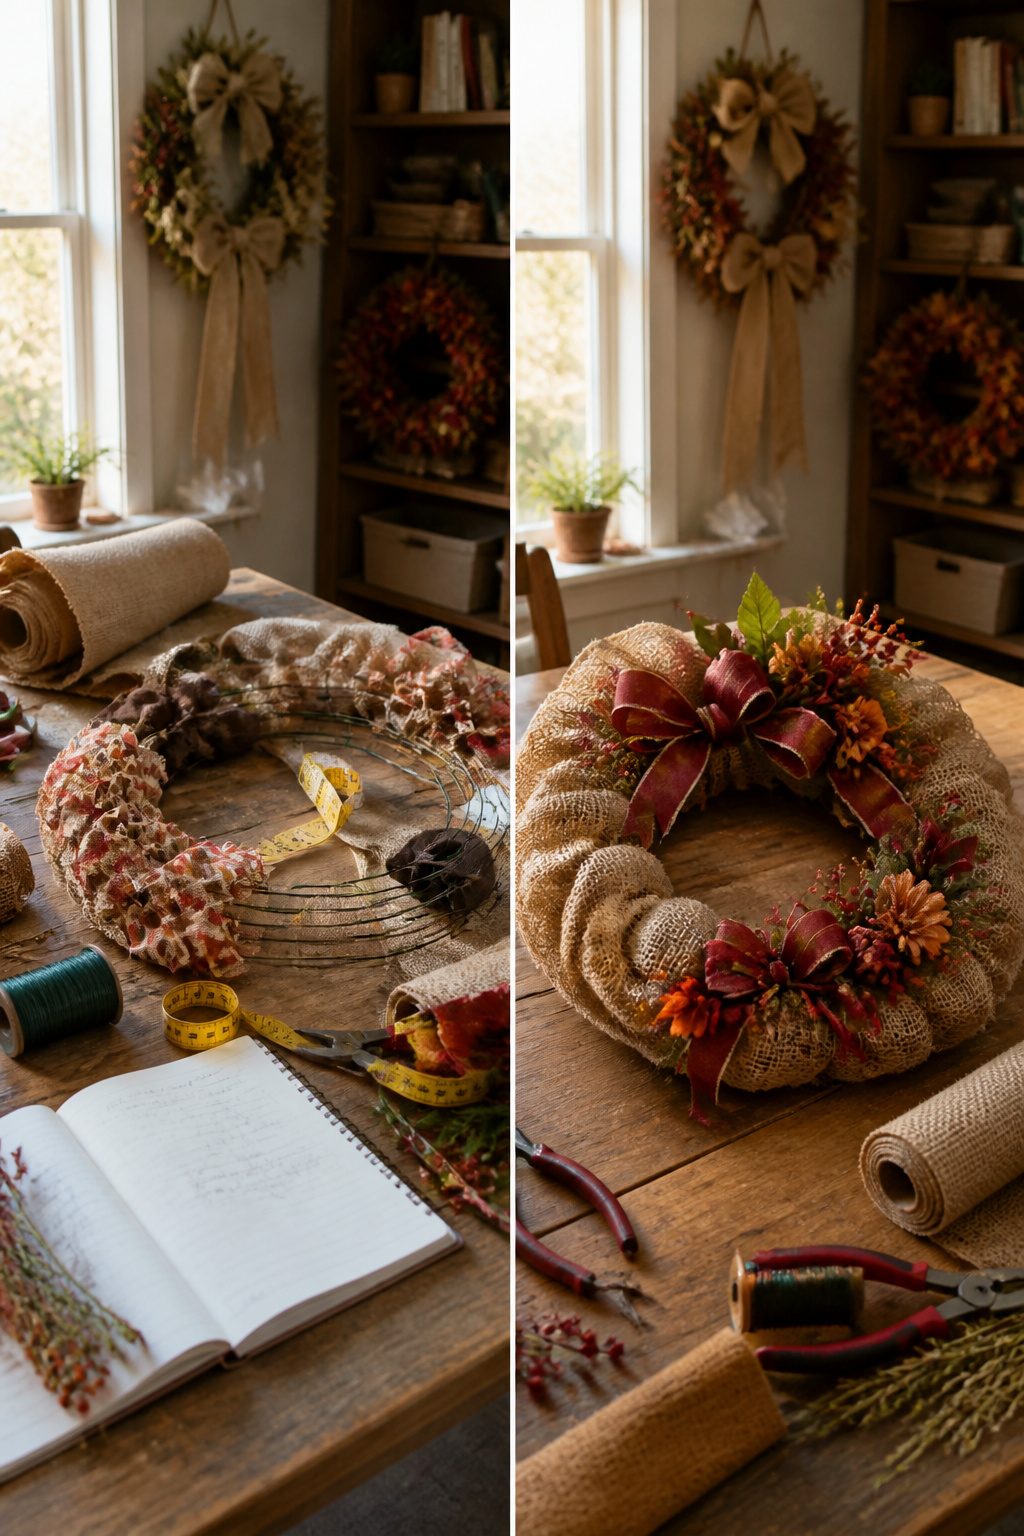
Every October I walk out of the craft store with armfuls of burlap, wire frames, and those cinnamon-scented pinecones that spill everywhere in the car.
The plan never survives. I get home, dump the bags on the table, and realize I bought three wreath forms for a door that fits one, plus ribbon in a width that does not match any of them.
The mistake is buying for mood, not for measurement. Now I keep a folded index card in my wallet with the actual dimensions of our mantel, the front door, and the narrow shelf above the kitchen cabinets.
That card has stopped more impulse purchases than any budget spreadsheet. Last fall I made one wreath that fit, one garland that spanned the mantel without draping onto the stovetop, and still had Sunday afternoon left to actually enjoy it.
How I Store These Until Next October
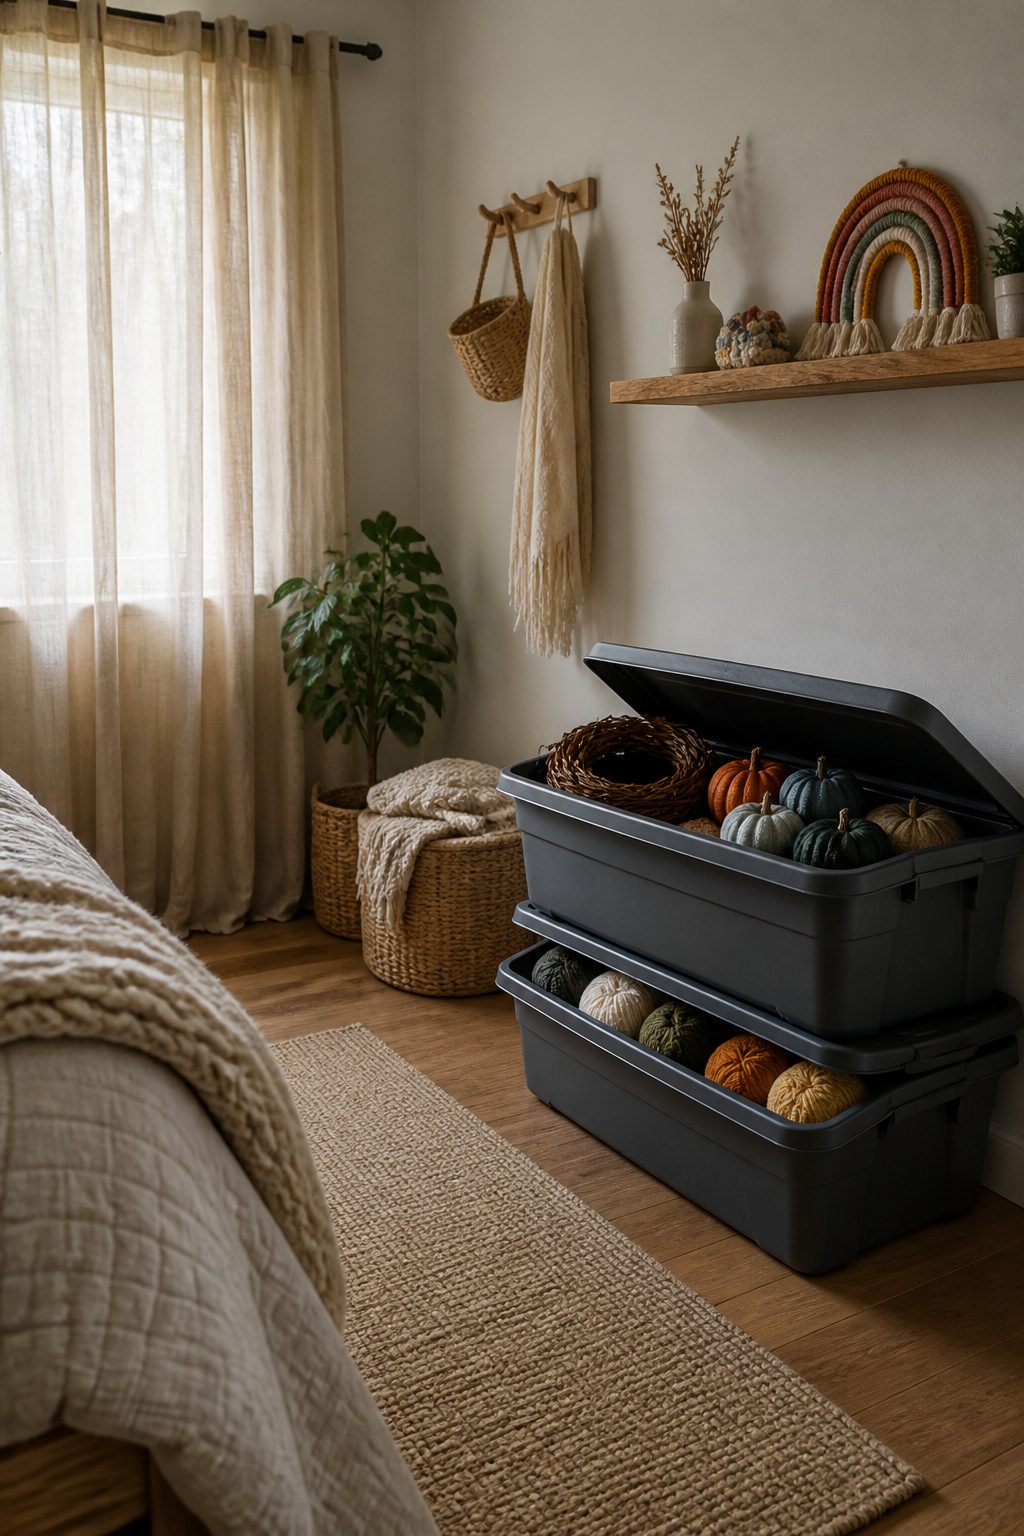
Paper pumpkins and Mod Podge pumpkins both survive a year if you keep them dry, but anything with real plant matter, the dried hydrangea wreath or that orange slice garland, will crumble no matter how careful you are.
I learned this after trying to save a dried gourd centerpiece in a closet that turned out to have a moisture problem. The gourds grew a fine white fuzz by February.
Under-bed bins with tight lids are the best defense in a rental without attic space. I stack my grapevine wreath flat so it keeps its shape, never hung on a hook in storage.
For the yarn wreath and the loop yarn pumpkin, a bin also keeps dust from settling into fibers that you cannot really wash.
The terra cotta painted pumpkins and the nailhead trim pumpkins go in last, on top, since hard shells protect whatever is beneath them.
What I do not bother saving: the succulent pumpkins, which are compost by design, and any fresh flower arrangement. The beaded corn cobs and the pompom coasters fit in a shoebox and take almost no room, so they stay.
The macrame rainbow and the yarn wreath compress more than you would expect if you do not pack them too tight.
Where Pinterest Leads Me Astray
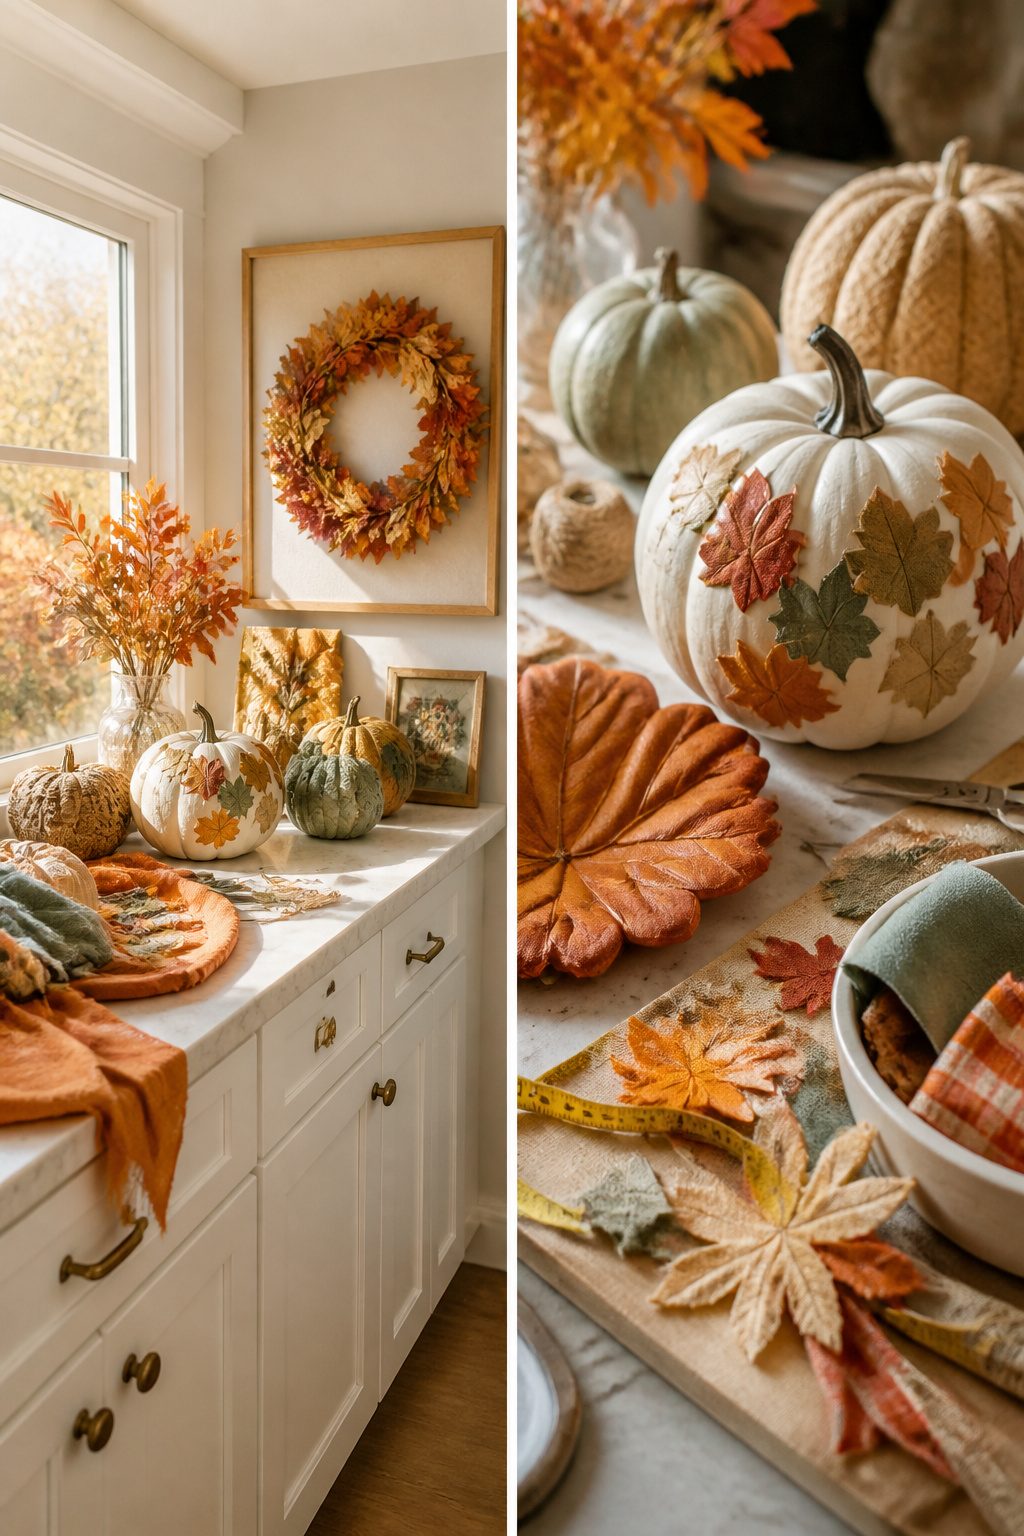
Pinterest boards full of fall crafts all share the same soft window light, the same 12-foot mantel, the same antique dough bowl that somehow holds forty mini pumpkins without a single one rolling.
Your rental probably has overhead fluorescents, a narrow shelf from Target, and a cat who knocks things flat. The gap between those photos and your Sunday afternoon matters because it changes what you should even attempt.
Lighting is the biggest trick. Those amber-gold shots are taken at 4 p.m. in a farmhouse with southern exposure.
My apartment faces a brick wall and gets maybe two hours of usable daylight. A craft that reads "warm and rustic" in a pin looks "muddy and dim" under my kitchen LEDs.
I have learned to stage my finished pieces on the one windowsill that gets morning sun, or to photograph them outside on the fire escape.
The craft itself did not change. The documentation did.
Scale is the second distortion. Wreaths photographed on a grand front door shrink down to sad little circlets on a standard apartment entry.
A 16-inch wreath needs at least 24 inches of visual breathing room on each side to look intentional, not orphaned. I measure my available wall or door space before I buy grapevine forms now, not after I am hot-gluing.
The props do the heavy lifting. Weathered barn wood, heirloom quilts, copper kettles: these are not the craft, but they sell the craft.
I stopped buying distressed wood backdrops when I realized I was spending more on photography surfaces than on supplies. A clean countertop and honest light shows me whether the project is worth keeping, not just worth pinning.
Frequently Asked Questions
What are some easy fall crafts for adults?
Fabric pumpkins, painted pumpkins, gratitude trees, and no-sew sock pumpkins all come together in under an hour.
Most use supplies you already have, like old sweaters, Mod Podge, or leaves from the yard. The projects scale from place settings to mantelpieces without much extra effort.
How do I make a DIY pumpkin vase?
Cut the top off a small pumpkin, scoop out the seeds if it is real, and drop in a glass or floral foam to hold your stems.
Group a few together at mixed heights for a centerpiece. Faux pumpkins let you store the whole piece and reuse it next October.
What materials do I need for fall crafts?
Mod Podge, acrylic craft paint, fabric scraps, and natural elements like acorns and leaves cover most projects.
Hot glue, scissors, and a foam brush handle the assembly. Thrift store frames and jars keep costs down compared to buying new bases.