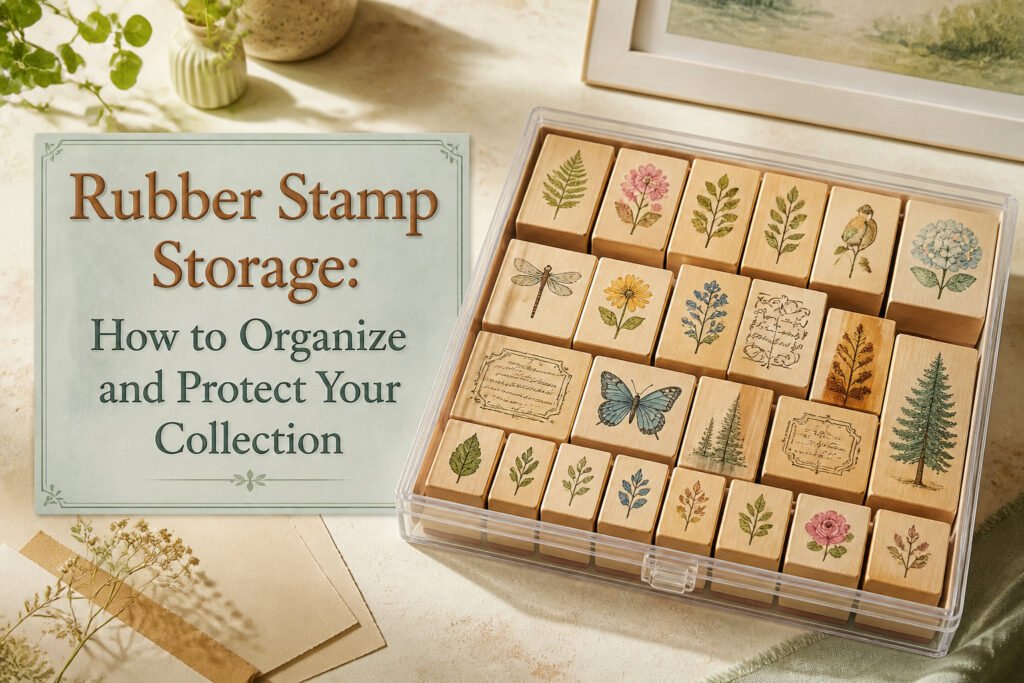
Rubber stamp storage is the practice of keeping wood-mounted, cling, and photopolymer stamps organized and protected so they stay usable for years. The challenge is that most collections outgrow their first drawer fast, and the wrong container hides stamps so well you forget you own them. A slim case that sits almost flush on a shelf, letting you flip through stamps image-side up without unstacking anything, solves both problems at once.
Slim Storage Cases
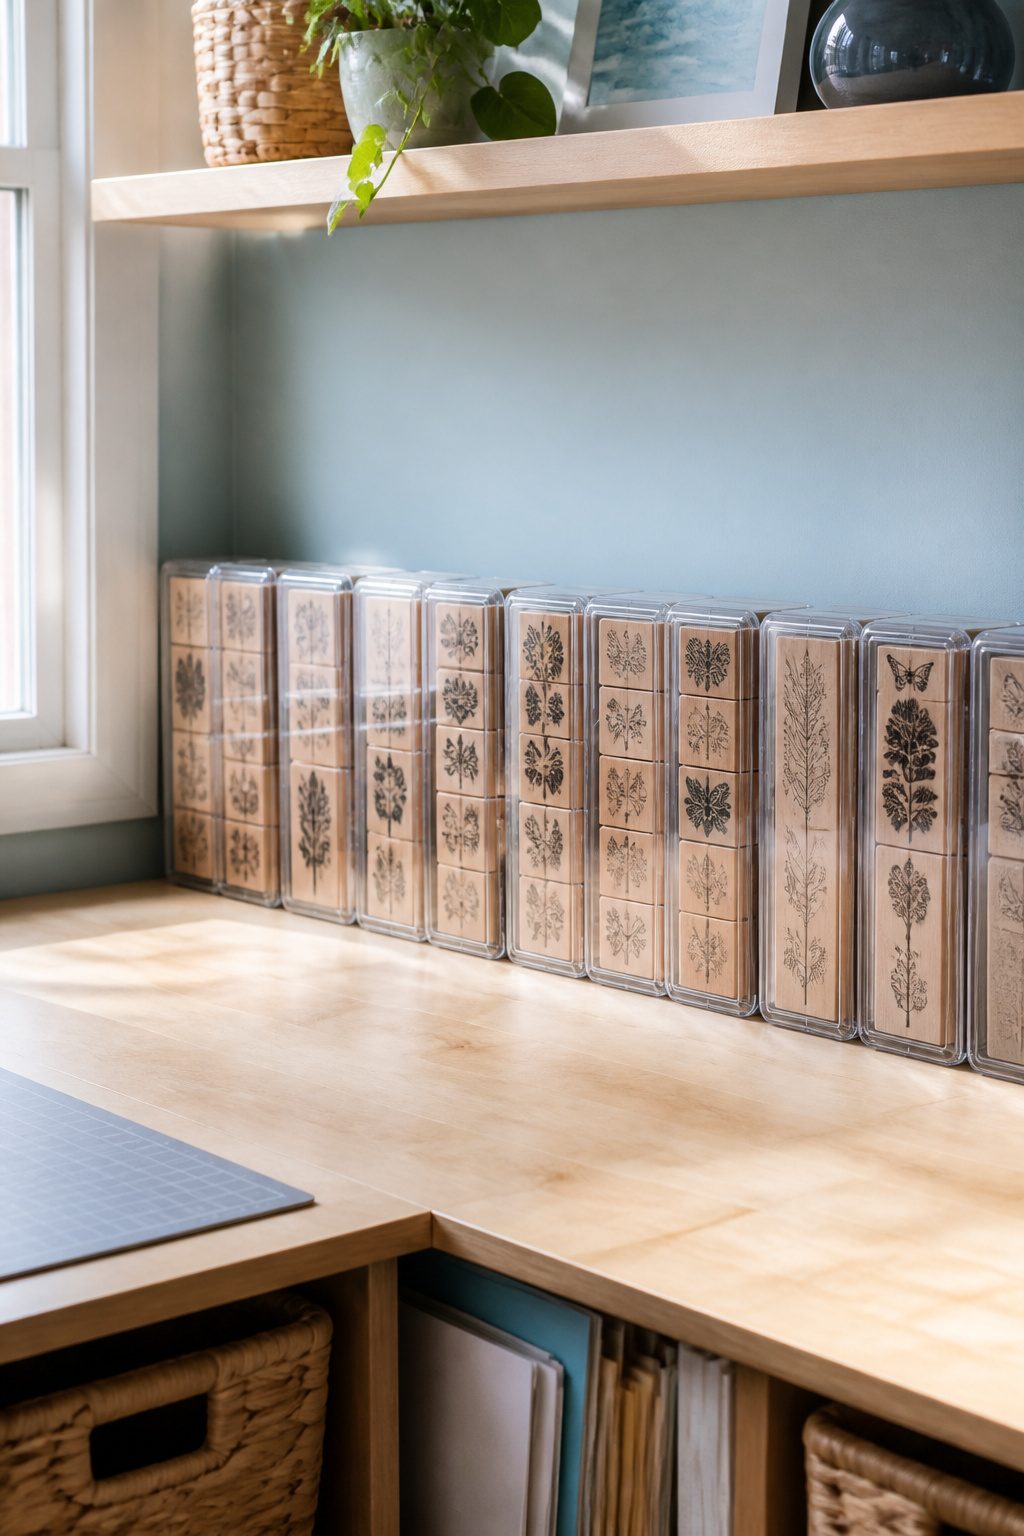
Slim storage cases sit almost flush against each other on a shelf, which matters more than I expected once my stamp collection outgrew its first drawer. The shallow depth keeps wood-mounted stamps in a single layer, image side up or down, so you can flip through without unstacking anything. That visibility is the real payoff: you see the full design at a glance instead of reading a label or guessing which stamp hides where.
The compact profile slides into gaps that bulkier bins waste. Tight craft rooms, the kind carved from a closet corner or a desk’s return, still fit a row of these along the back edge. I found mine during a half-off sale at a big-box craft store, though stock runs unpredictable enough that online ordering with Prime shipping became my fallback. The one catch is the lid: it needs to sit just above the handle height, so measuring your tallest stamp before buying saves the return trip.
Photo Storage Boxes
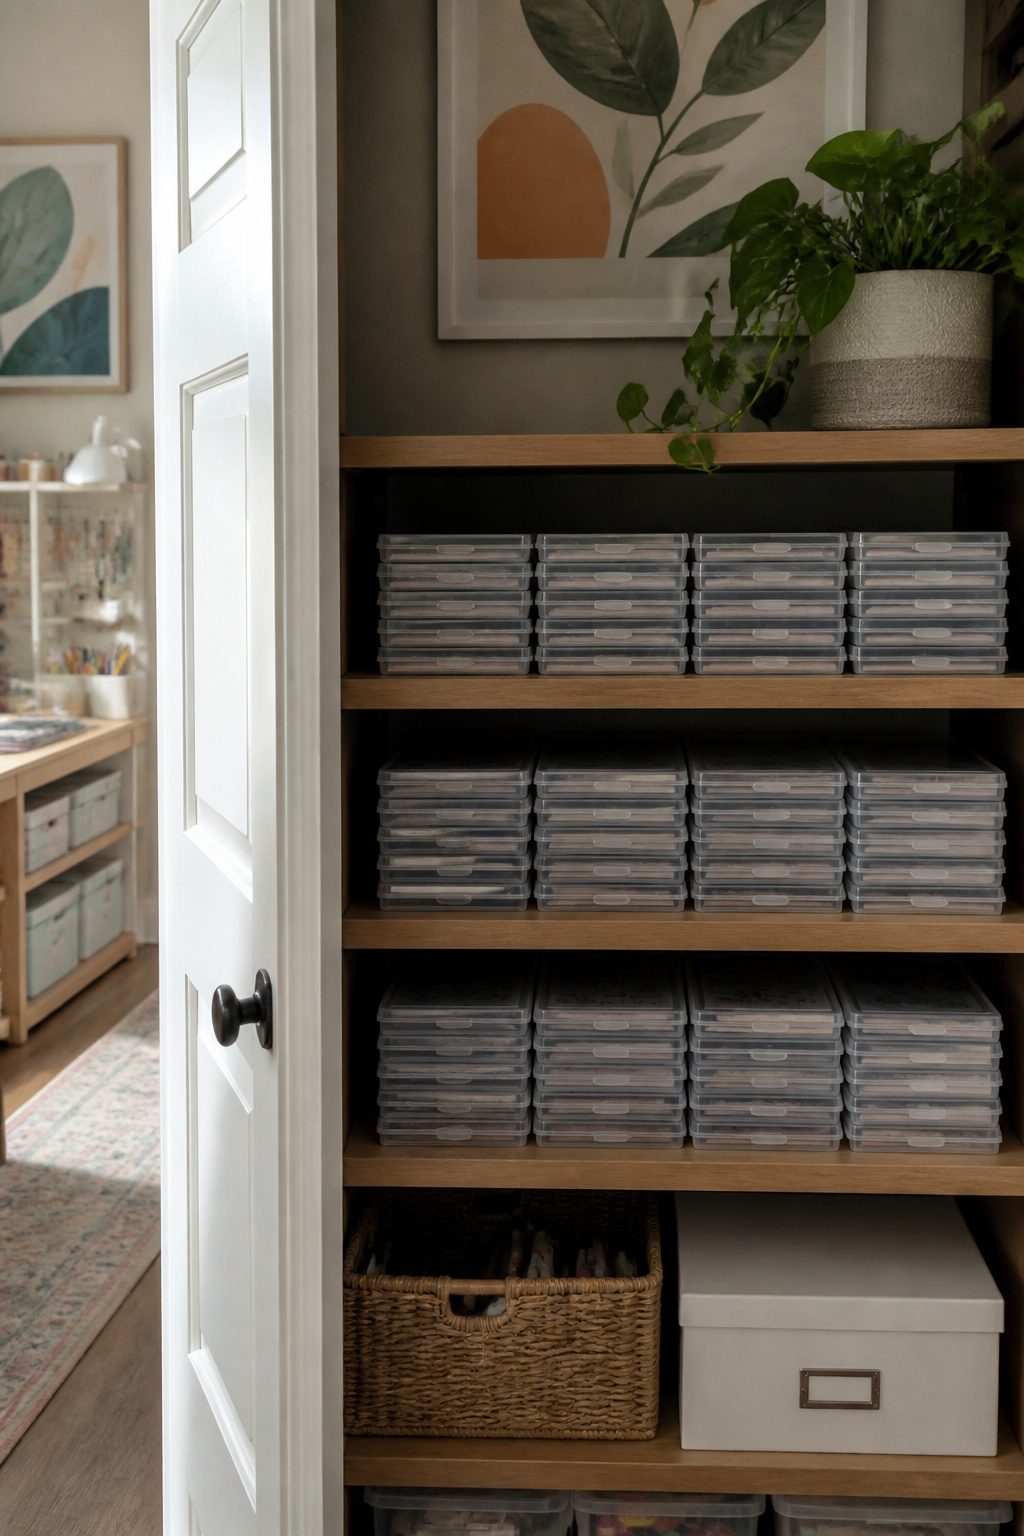
Photo storage boxes stack neatly on closet shelves and keep rubber stamps sorted by theme without the visual noise of open racks. Each 4×6 inch case measures just 1.23 inches tall, which forces a single layer and eliminates the dead air that bulkier containers leave above smaller stamps. I like that limitation: it keeps a birthday-stamp set from swallowing a whole drawer and makes the box labeled "florals" actually contain only florals.
The fit inside standard closet cubbies is part of what sold me on this route. A reader in the comments noted she has four of these boxes full and still keeps them on a shelf behind a closet door, out of sight but not out of reach. Label both the inner case and the outer spine, because the one time I skipped the spine label I pulled three boxes before I found the Christmas stamps.
Vintage Printer’s Trays
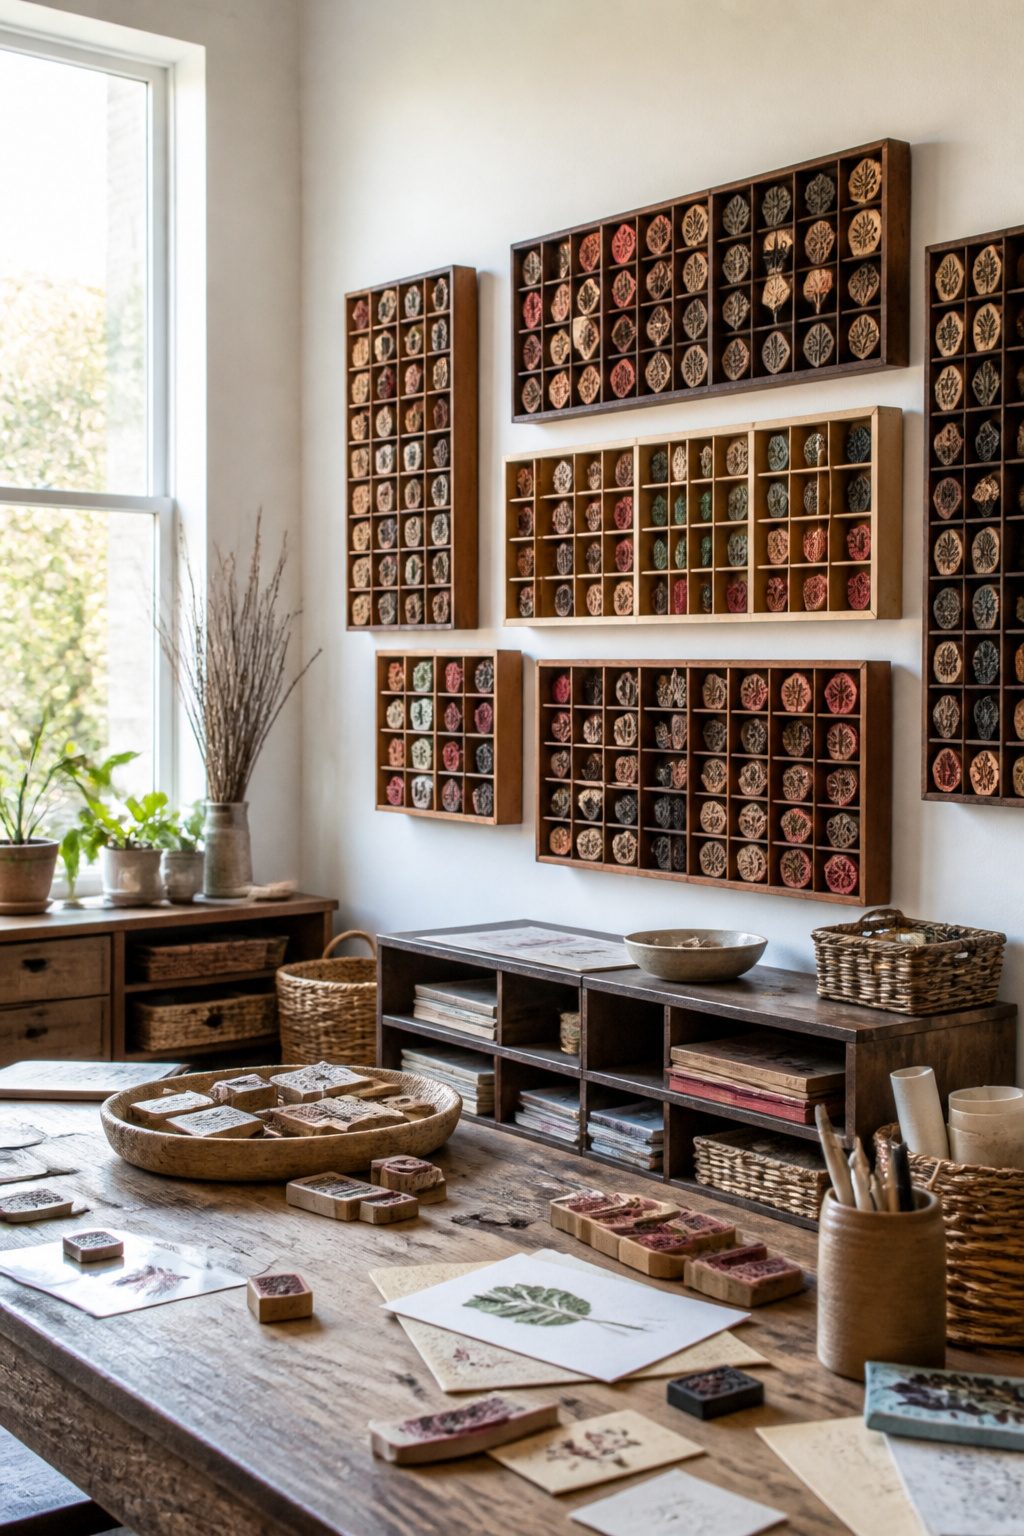
Old printer’s trays solve the visibility problem that kills most stamp collections. The small compartments keep each stamp upright and facing forward, so you see what you own instead of forgetting it exists in a drawer. Water damage and loose backs are common on thrifted trays, but a few nails and a light sanding turn that into character rather than flaw. Wall mounting is what makes this work in a cramped craft room; vertical space costs nothing and keeps the stamps at eye level. The worn wood and built-in grid read as decor, not storage, which matters when every surface already holds something. A single tray holds dozens of stamps, and grouping by season or project keeps the right ones within reach. The tradeoff is dust, so this suits stamps you reach for weekly, not the holiday set used once a year.
Laminated Storage Pockets
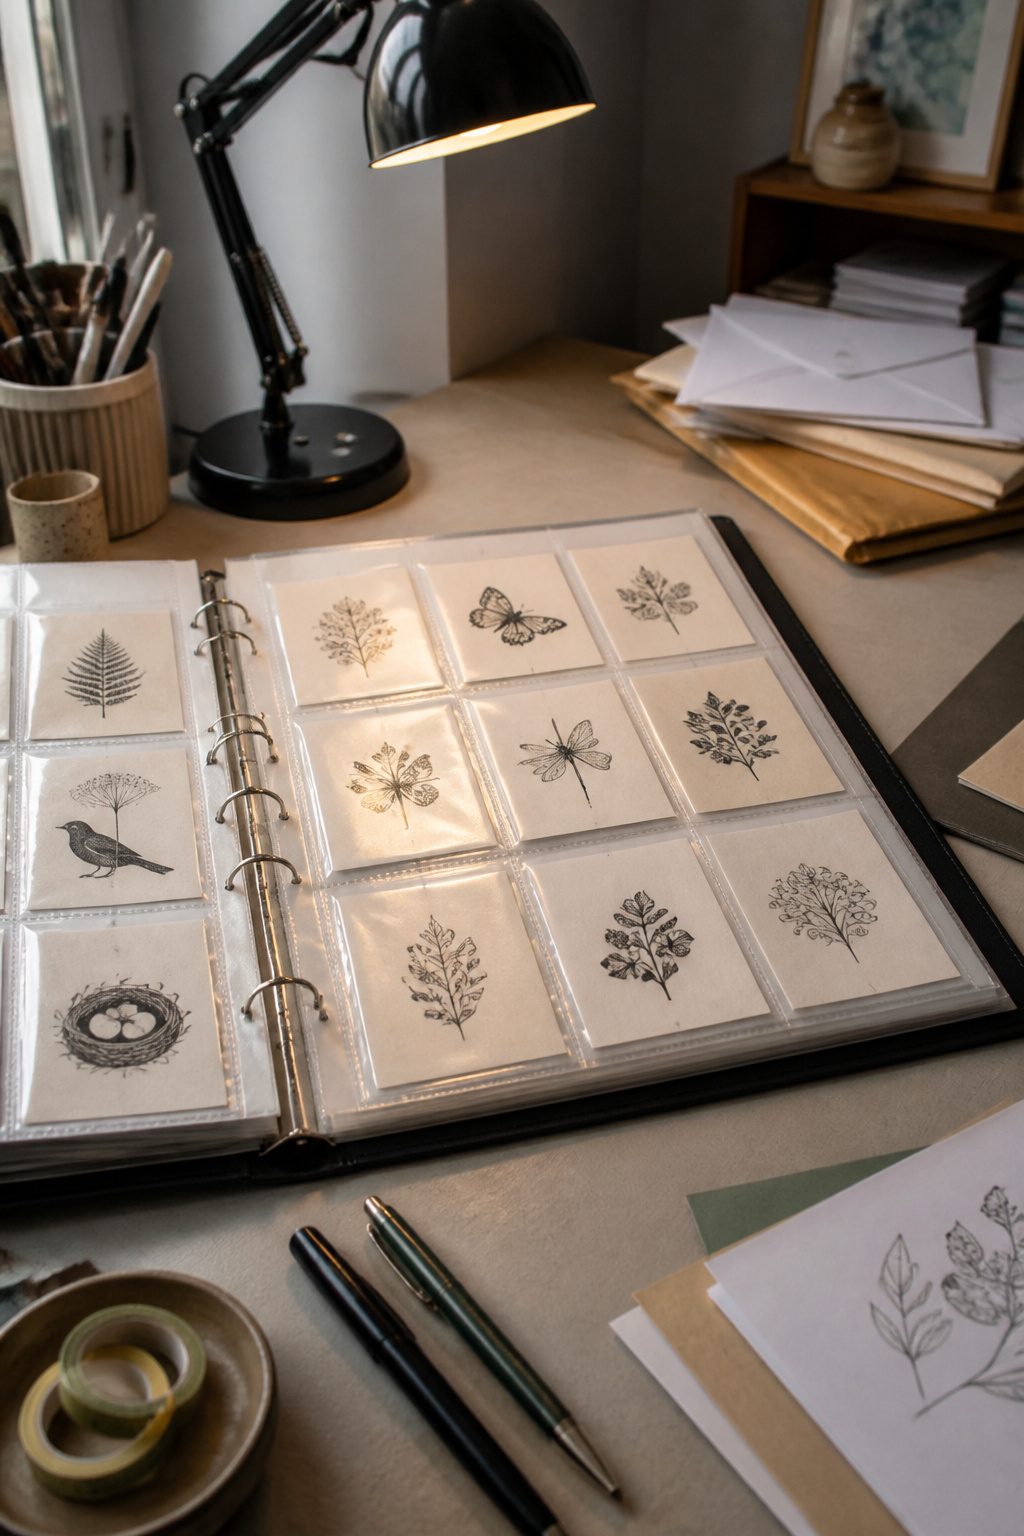
Laminated storage pockets solve the problem of unmounted rubber stamps that cling to nothing but themselves. Megan Bush’s method, which I came across while sorting through different approaches, starts with stamping the reverse side of card stock so you can see the image, then running that sheet through a laminator. The glossy surface grips the cling stamps well enough for normal handling, though slipping the finished sheet into a standard page protector adds security if your binder gets jostled.
The budget route I ended up preferring skips the card stock backing entirely. A single laminating pouch, trimmed and flipped so the glossy sides face each other, then sealed inside a second pouch, creates a double-walled pocket that opens at the top. Four pockets from three pouches is the math, which matters when a 40-count pack runs about $2.50 and the laminator itself can be had for under $15. The trimmed edge sits roughly 3 mm from the pocket seam, enough to keep stamps from sliding out without fighting to get them back in.
Visibility is the real win here. Stamps pressed against clear laminate read at a glance, no labels needed, and the slim profile stacks flat in a drawer or binder. The tradeoff is durability: the pocket seam can separate if you overstuff or yank stamps out carelessly. For a weekend project and a few hundred stamps, though, the cost-to-clarity ratio is hard to beat.
Three-Ring Binders With Vinyl Sleeves
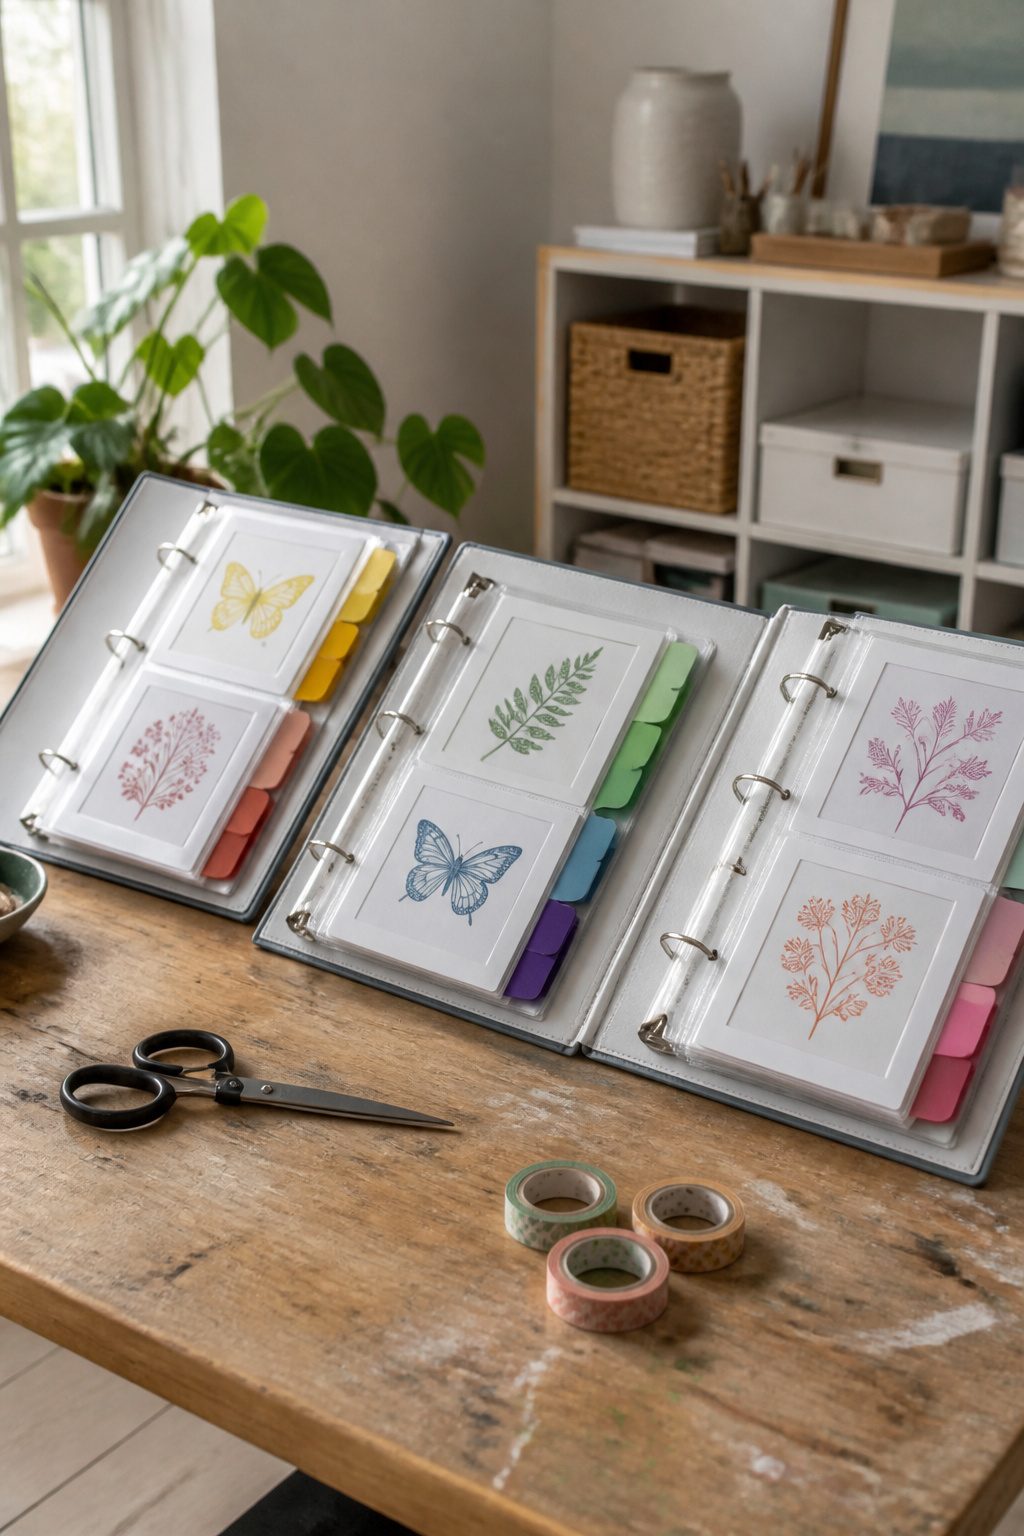
A three-ring binder with vinyl sleeves can handle unmounted rubber cling stamps if you respect the weight. Rubber clings are thicker and heavier than acrylic stamps, so the same binder fills up faster and the pages sag without help. The fix is a 10-page limit per binder, backed with stiff card stock or an overhead transparency sheet so the vinyl sleeves don’t buckle under the load.
Full-sized 8-1/2 x 11-inch vinyl page protectors work better than CD pockets or trading card sleeves here. The extra slack lets the rubber slide in and out without fighting the fit. Since the stamps aren’t see-through and the image faces you reversed, I stamp the impression on white card stock behind each page. That gives me the positive image to read, and a map for putting the stamp back where it belongs.
D-ring binders hold up better than O-ring for this job. Two-inch adhesive tabs divide mine into categories: Animal Kingdom, Borders & Embellishments, Backgrounds, Botanical, Christmas, Journaling, Miscellaneous, Sentiments. The system is modular, cheap, and survives a Saturday afternoon of sorting.
Clear Plastic Drawer Organizers
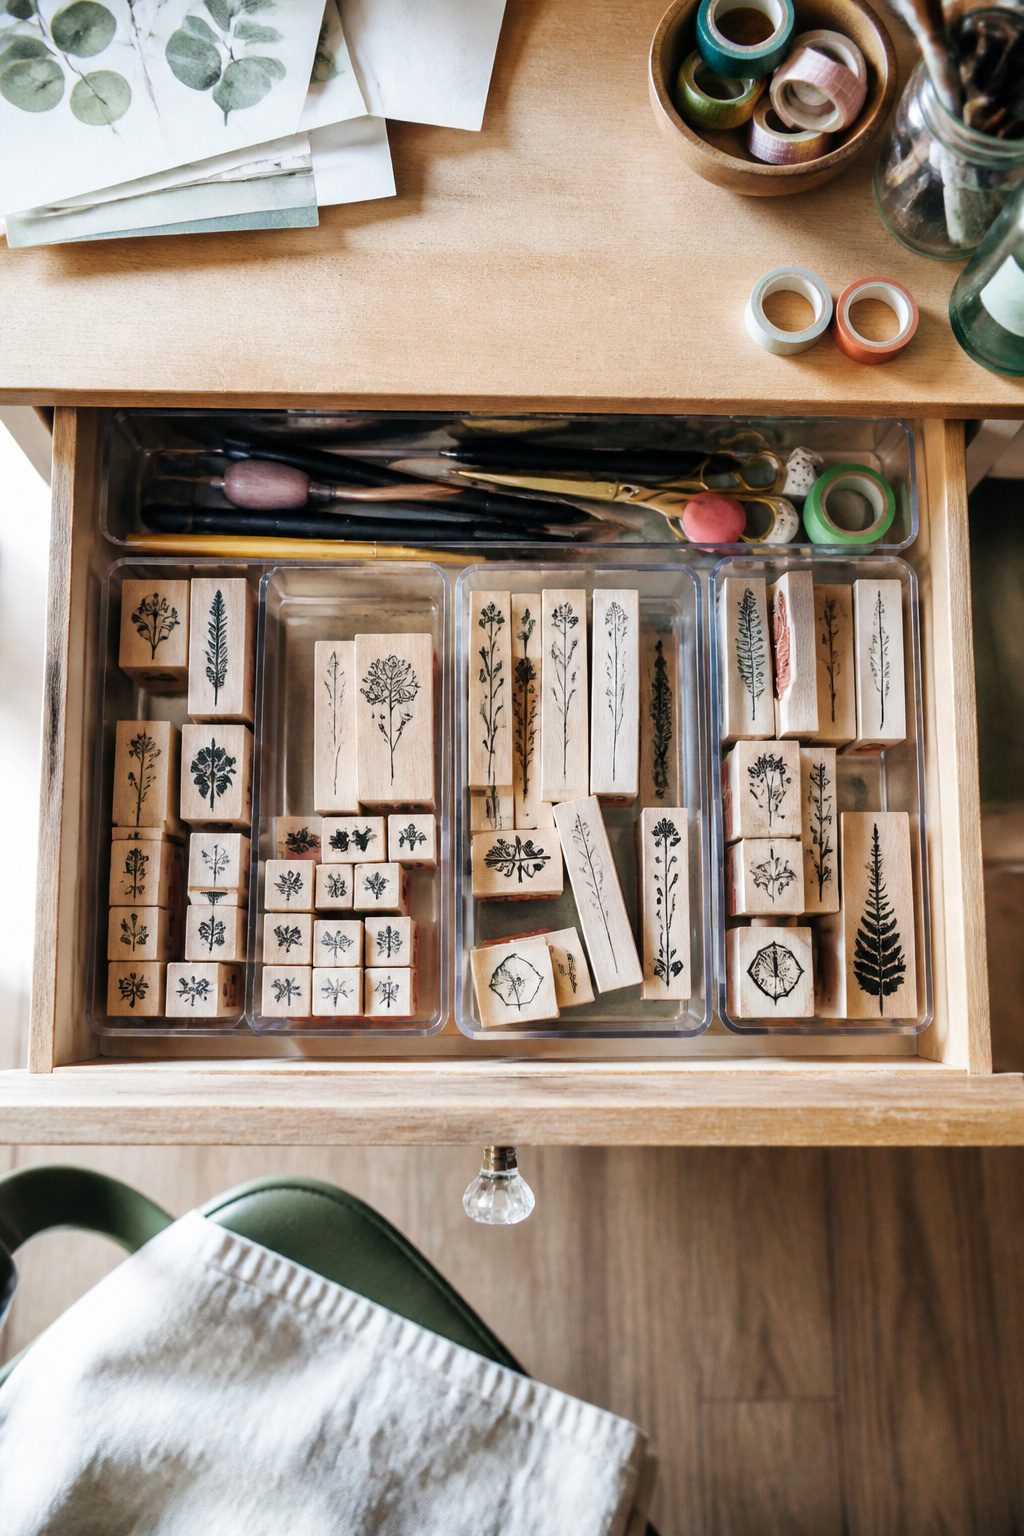
Clear plastic drawer organizers slide into the furniture you already own without asking for a single new shelf or cabinet. I bought a set of shallow trays for my desk drawer after realizing my stamps had turned the space into a dig-through mess. The trays sit flat, edge to edge, and the stamps stand upright in their own small compartments so I can see every design at a glance.
The real advantage is that the drawer still holds everything else it held before. My pens and tape refills stayed in the back half; the organizers just claimed the front third where the stamps had been sliding around loose. For renters who cannot install wall-mounted racks or who move often, this matters. The organizers lift out intact when the lease ends, and the drawer underneath is unchanged.
Sizes vary enough that measuring your drawer first saves a return trip. My first set was half an inch too tall, which meant the drawer would not close flush. A lower profile tray fixed that, and the cost was under fifteen dollars. The plastic itself is nothing special to look at, but it keeps stamps sorted by theme and protected from the dust that settles on open trays.
Stamp Storage Bags
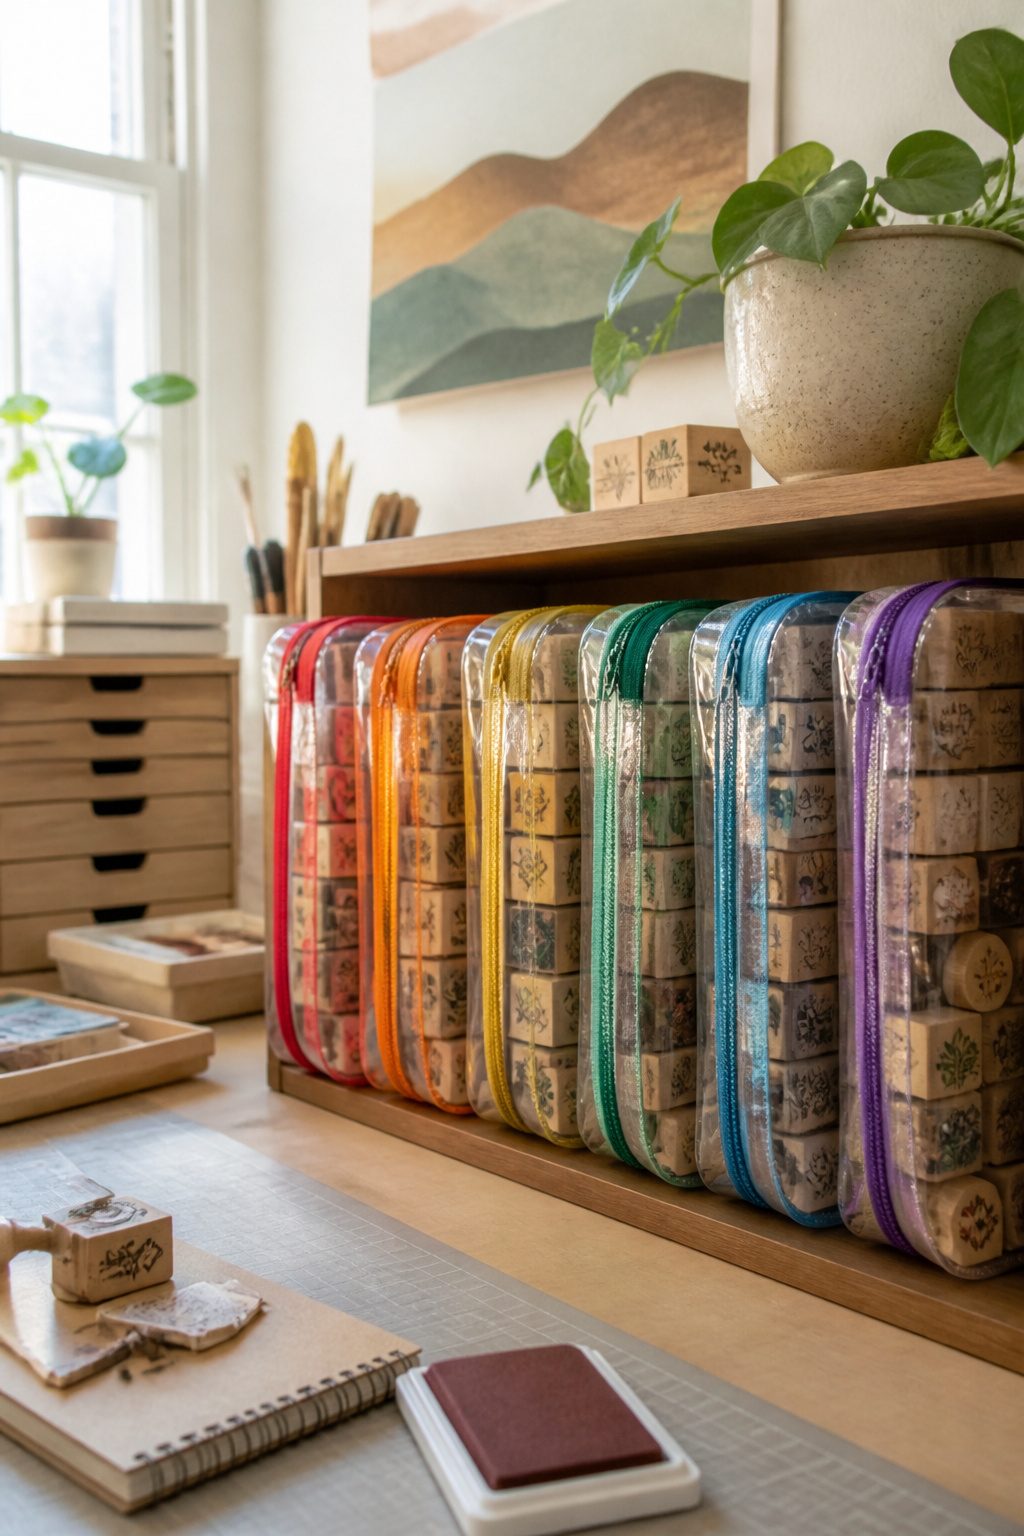
Stamp storage bags turned out to be the option I almost missed. The slim cases I bought first still work fine, but bags would have saved me the trouble of stacking and restacking every time I wanted a stamp from the bottom of the pile.
Vertical storage changes everything. A bag lets you stand stamps on edge the way Marie Kondo stands books, so you can flip through and see the whole collection at once without unloading a case. That single move turns a shelf or a shallow drawer into usable space; no more front-row-only access with a hidden second row behind it.
The 4×6 photo cases that pair with some bag systems measure 1.23 inches tall, which matters because a single layer of stamps fits flush. No lifted edges catching when you slide the bag out, no foam filler to keep things from shifting. For a few hundred dollars’ worth of stamps and a Saturday afternoon of sorting, that kind of fit is worth planning for.
Visibility and Accessibility
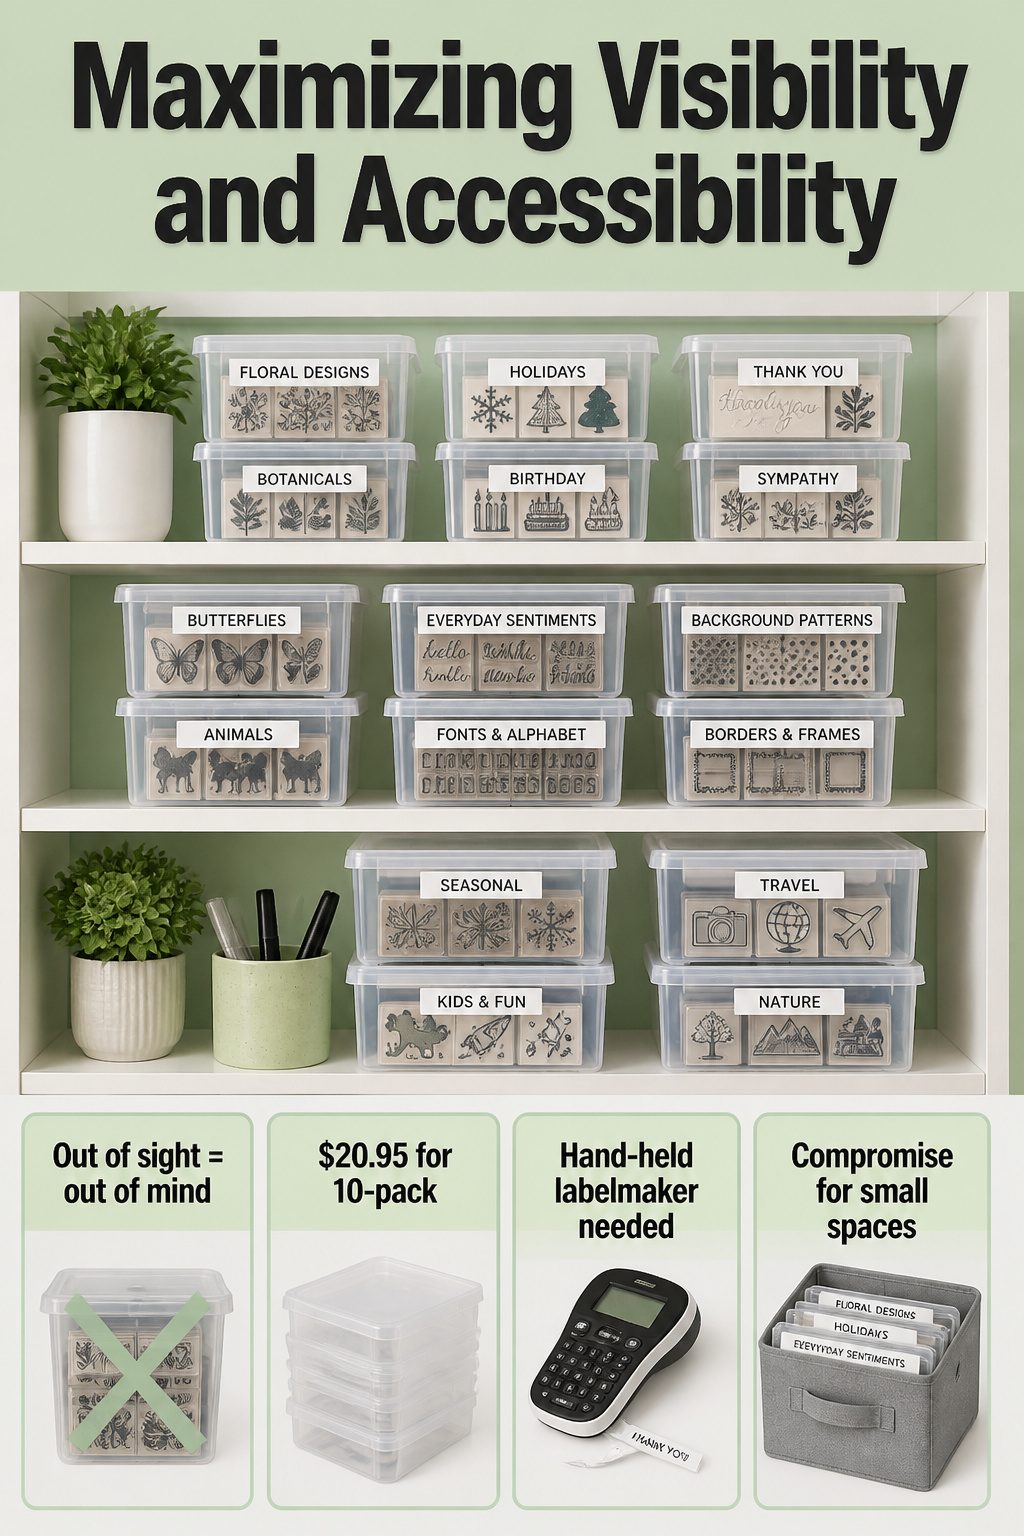
Clear containers and open shelving tend to win the argument for rubber stamp storage because out of sight really does mean out of mind with a hobby you only touch on weekends. The $20.95 ten-pack of clear cases I keep seeing mentioned works for cling and photopolymer stamps precisely because you can scan a shelf in seconds and spot the set you need without unstacking anything. That visibility costs almost nothing extra compared to opaque boxes.
Labels matter just as much as transparency. A hand-held labelmaker turns a row of identical cases into something you can actually use during a short crafting session. Without the label, you are still opening lids to confirm contents, which defeats the purpose of the clear case.
The tradeoff arrives when you do not have a dedicated craft room. One closet-friendly box, properly divided and labeled, keeps stamps accessible but not on display. For renters working out of a hall closet or shared space, that compromise is usually the practical ceiling.
Space Optimization
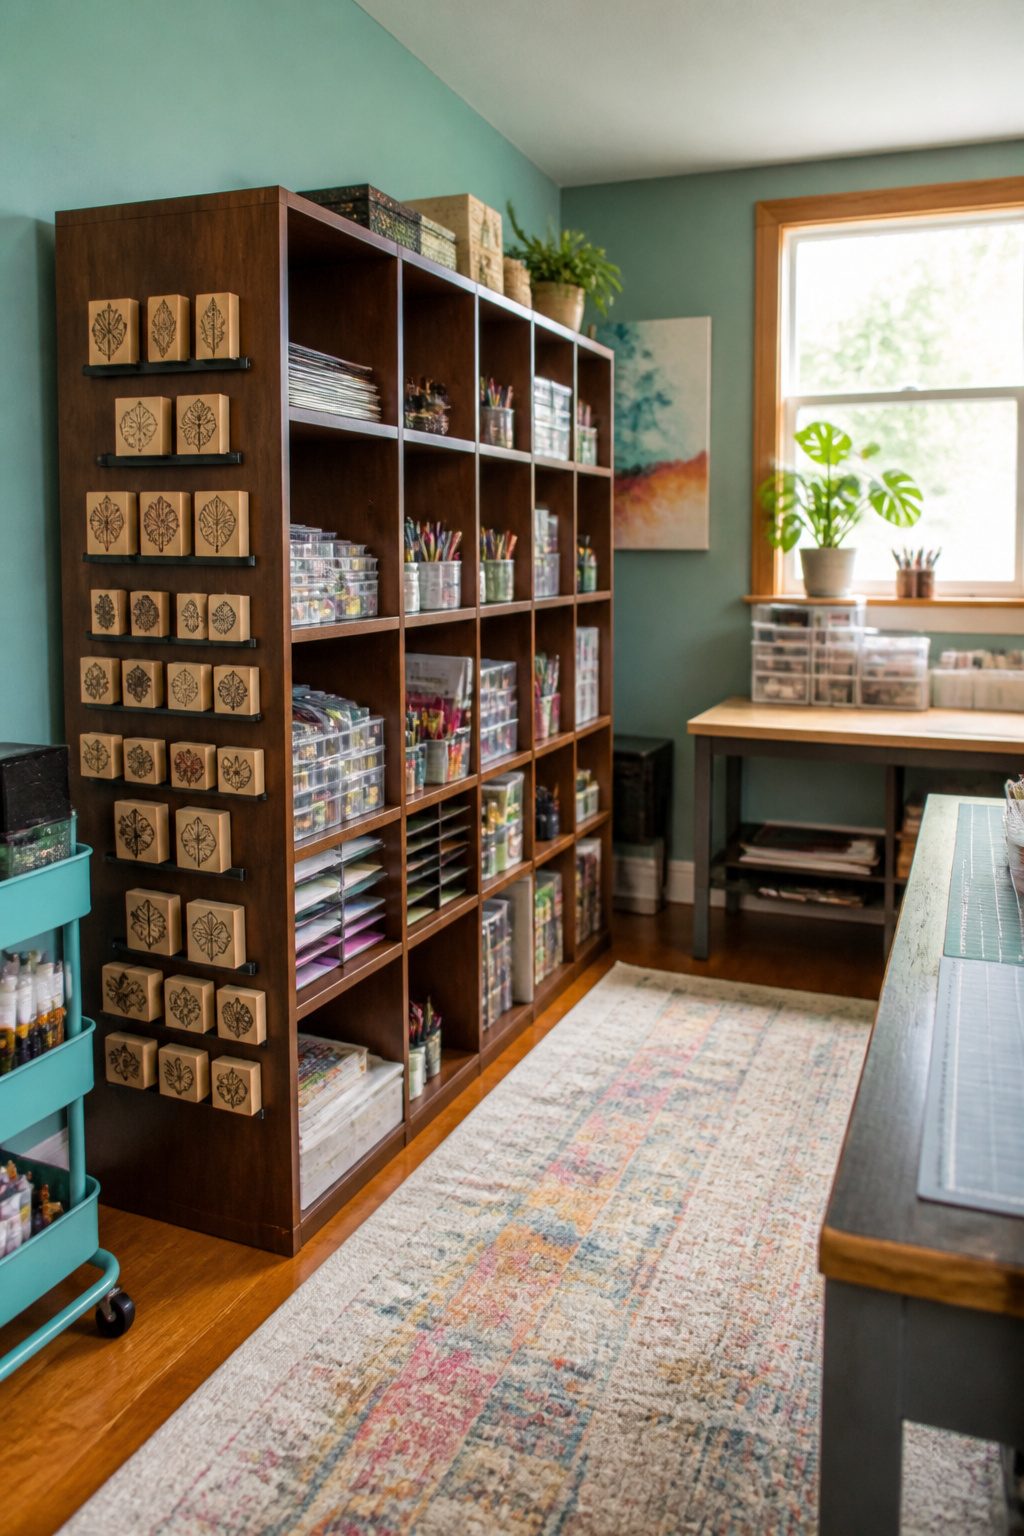
The first thing I learned about rubber stamp storage is that vertical space matters more than floor space, especially when you are working inside an IKEA Kallax or any cube-style shelving you already own. Those units are popular for a reason, but the openings are a fixed width, and not every plastic scrapbook box slides in cleanly. I have seen people buy a full set of containers only to find they sit half an inch proud of the shelf edge, wasting the whole point of a flush fit.
Magnetic sheets sized to your space can turn the side of a bookshelf or cabinet into usable real estate for wafer dies, which keeps the interior cubes free for bulkier items. For foam stamps, stacking in two layers inside a container that fits the cube works well; they are shorter than wood-mounted stamps, so the dead air above a single layer is space you are paying rent on without using. The trick is measuring your furniture first, then buying containers to match, not the other way around.
Organization by Type
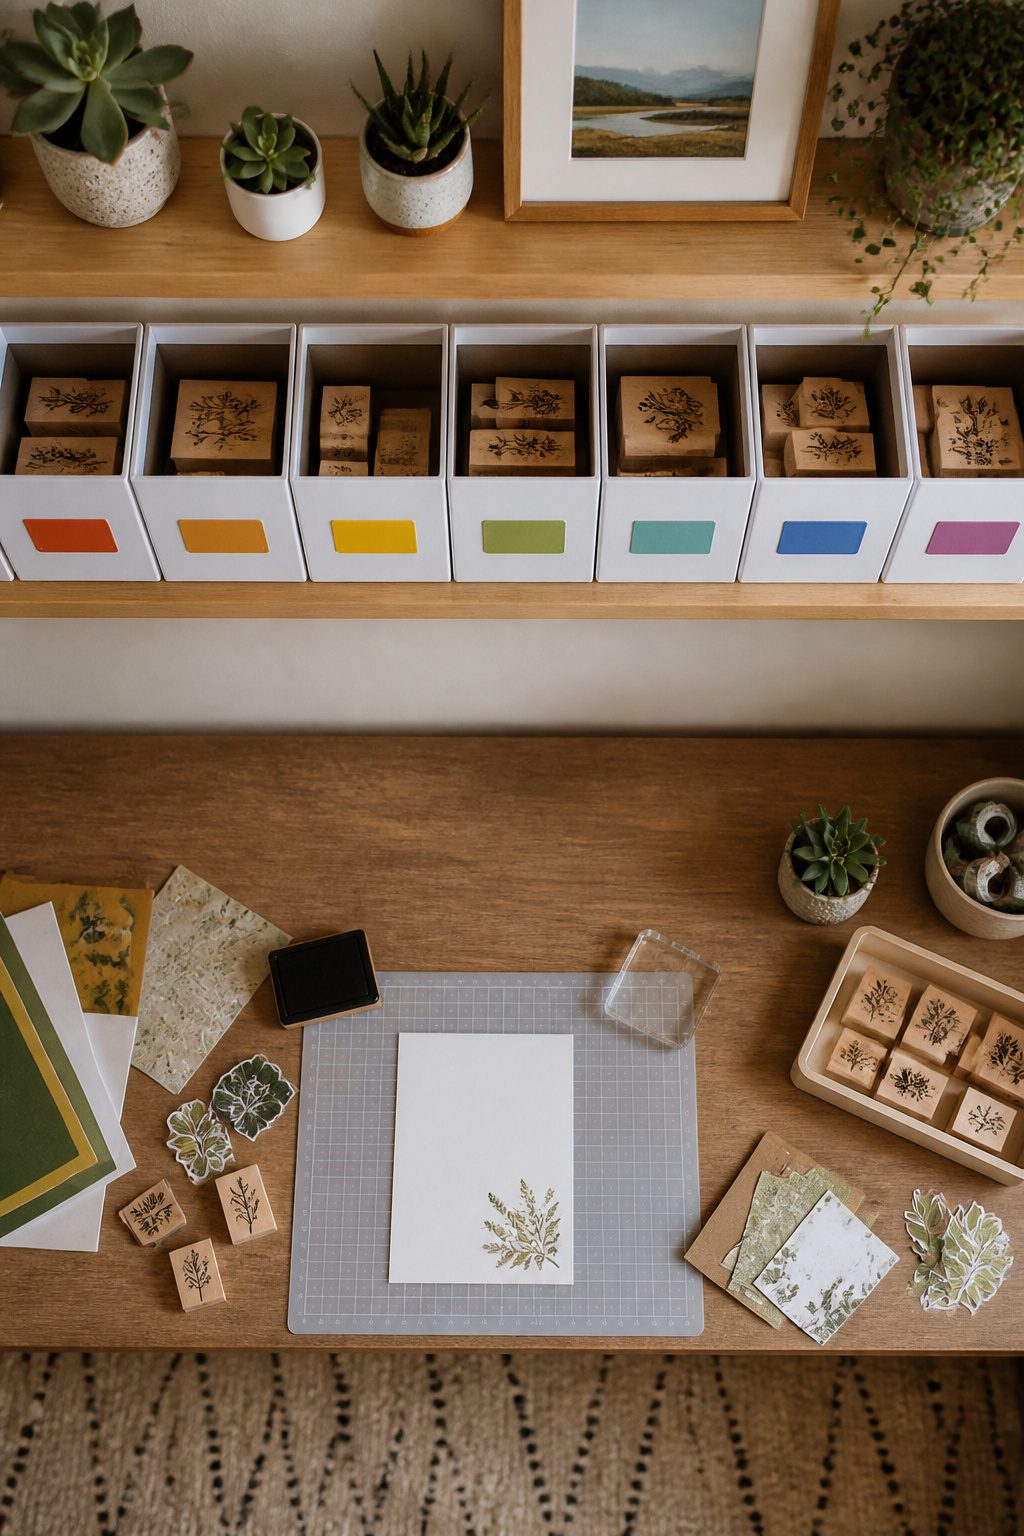
Sorting stamps by type turned out to be the move that actually made me reach for them again. For years my collection sat in one big bin, Halloween bats pressed against floral sprigs, birthday candles warping the rubber on a snowman I forgot I owned. The hunt alone killed any urge to start a project.
The fix took about an hour and a single afternoon’s worth of photo storage boxes. I pulled everything out, checked each stamp for cracked rubber or dried glue, then started piles: outdoors, candy, Halloween, and a few more that matched how my brain actually searches when I am standing at the table. One box per category, labeled on the side and again on the lid. Now when I want to make a fall card, I grab the autumn box and everything in it plays together.
The real win is keeping categories visible enough to stay in rotation. Out of sight really does mean out of mind with stamps. I keep the three boxes I use most on a shelf above my work surface; the rest slide into a cabinet. The holiday stamps get prime real estate from September through December, then swap places with the nature set for spring journaling. No fancy system, just a rotation that matches the calendar I actually live in.
Maintenance for Longevity
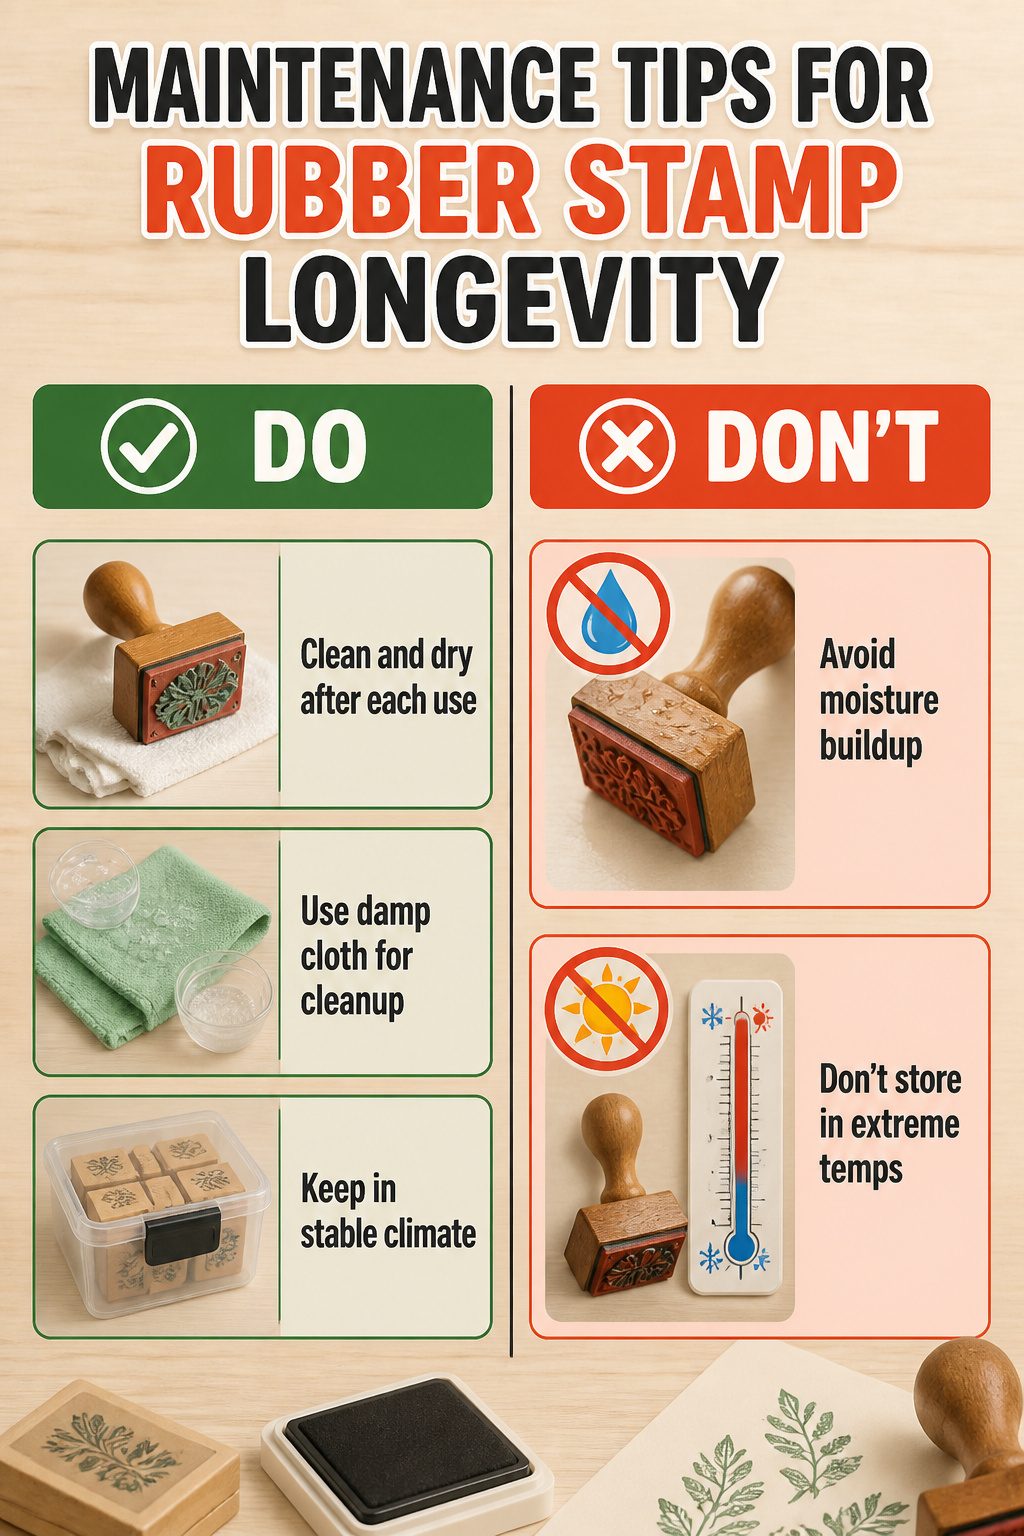
Rubber stamp storage only works if the stamps stay clean and dry. Ink residue left on the surface hardens over time and pulls at the rubber, so a quick wipe after each session matters more than any fancy system. A damp cloth with a drop of mild dish soap handles water-based inks; solvent inks need their own cleaner, but the principle stays the same. Dry the stamp completely before it goes back in its case, because trapped moisture breeds the kind of mold that ruins both rubber and wood mounts.
Temperature swings are the other slow killer. A garage in Phoenix or a humid basement in July will warp wood blocks and soften rubber until the details lose their crisp edge. Keep stamps in the same climate you live in, not in an attic or an unheated closet where seasons hit harder. The photo storage boxes that work so well for sorting also help here; their tight lids slow down humidity shifts better than open bins or drawers.
Frequently Asked Questions
How do I organize my rubber stamps?
Sort them by category or theme, then store each group in its own container. Photo storage boxes work well for this, with one box per category like florals, Halloween, or birthdays. Label both the lid and the spine so you can grab the right box without pulling several to check.
What is the best way to store unmounted rubber stamps?
Use laminated storage pockets or a three-ring binder with vinyl sleeves. For binders, limit yourself to 10 pages per binder and back each page with stiff card stock so the weight does not sag the sleeves. Stamp the positive image on white card stock behind each page so you can read what you have without squinting at reversed rubber.
How can I maximize space when storing rubber stamps?
Think vertical before you think wide. Wall-mounted printer’s trays, slim cases that sit flush on shelves, and bags that let stamps stand on edge all use height rather than footprint. Inside cube shelving, stack shorter foam stamps in two layers and measure your containers against the opening before buying so nothing sits proud and wastes the fit.