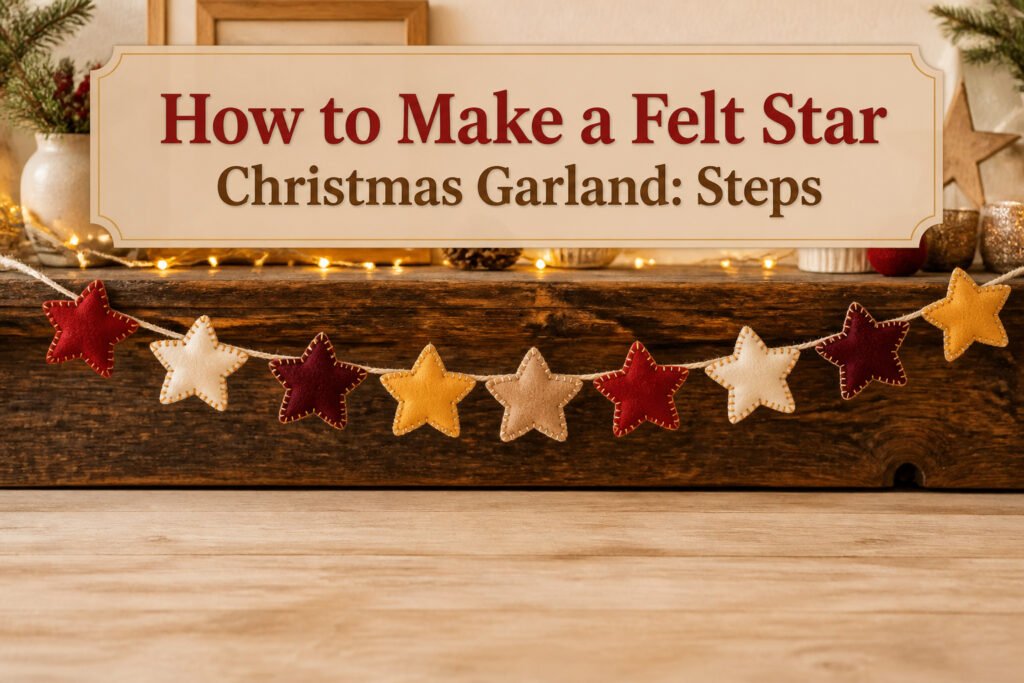
A felt star christmas garland is a strand of small wool stars, either sewn or tied, meant to hang across a mantel or tree. The difference between one that lasts three years and one that frays by January comes down to whether you blanket-stitch the edges or hot-glue them. Plan on fifteen stars per yard, each about 1.5 inches point to point, cut from a single 36-inch sheet of felt that runs roughly $0.25 to $0.50.
Materials
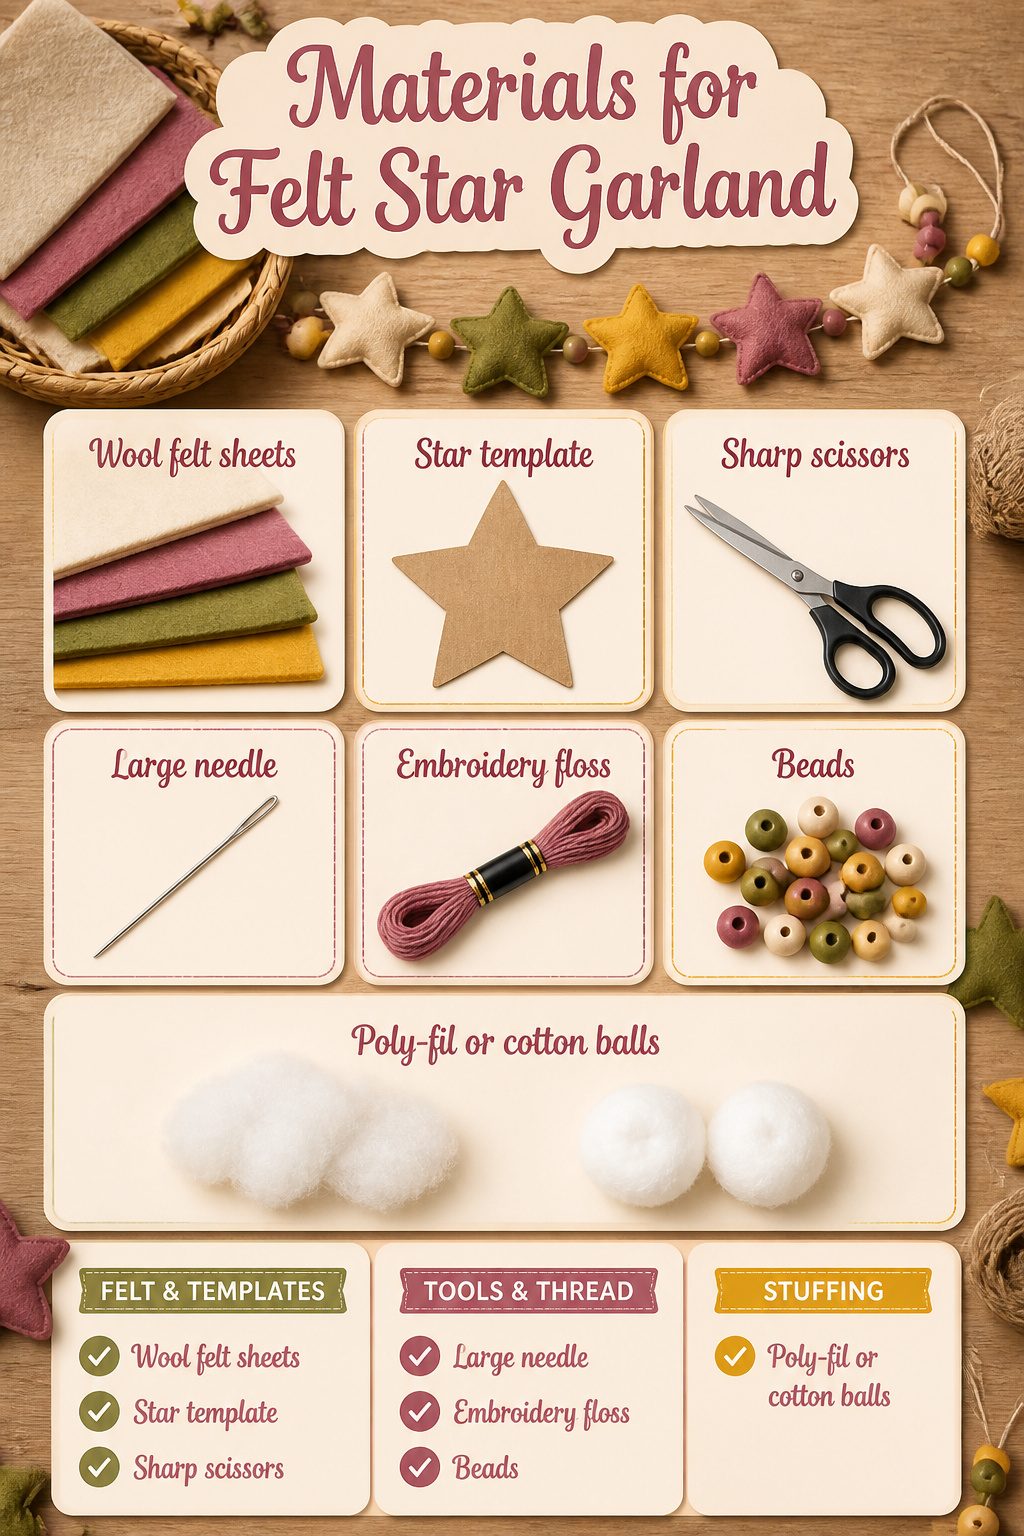
Wool felt comes in 36 by 36 inch pieces, usually between $0.25 and $0.50 apiece, and one sheet in Linen is plenty for a small batch of stars. I keep a star template cut from sturdy cardboard; tracing around it beats wrestling with paper that shifts under the scissors. Sharp scissors matter, and a large needle gets the embroidery floss through the felt cleanly.
For a garland about a yard long, plan on roughly 15 small stars, each around 1.5 inches point to point. String them on 170 centimeters of thread if you want the finished piece to land near a meter; the extra length goes to knots, beads, and the hanging loops at each end. I use embroidery floss or a strong cotton yarn, and I thread beads between the stars to keep them from sliding together. Poly-fil or a couple of cotton balls stuff the stars if you want them puffed rather than flat.
The felt itself has options. Fresh wool felt from the craft store works, but old sweaters felted down in the wash cut just as well and cost nothing. The beads can come from broken jewelry or a craft bin; what matters is that your needle slips through them.
1. Star Templates and Cutting
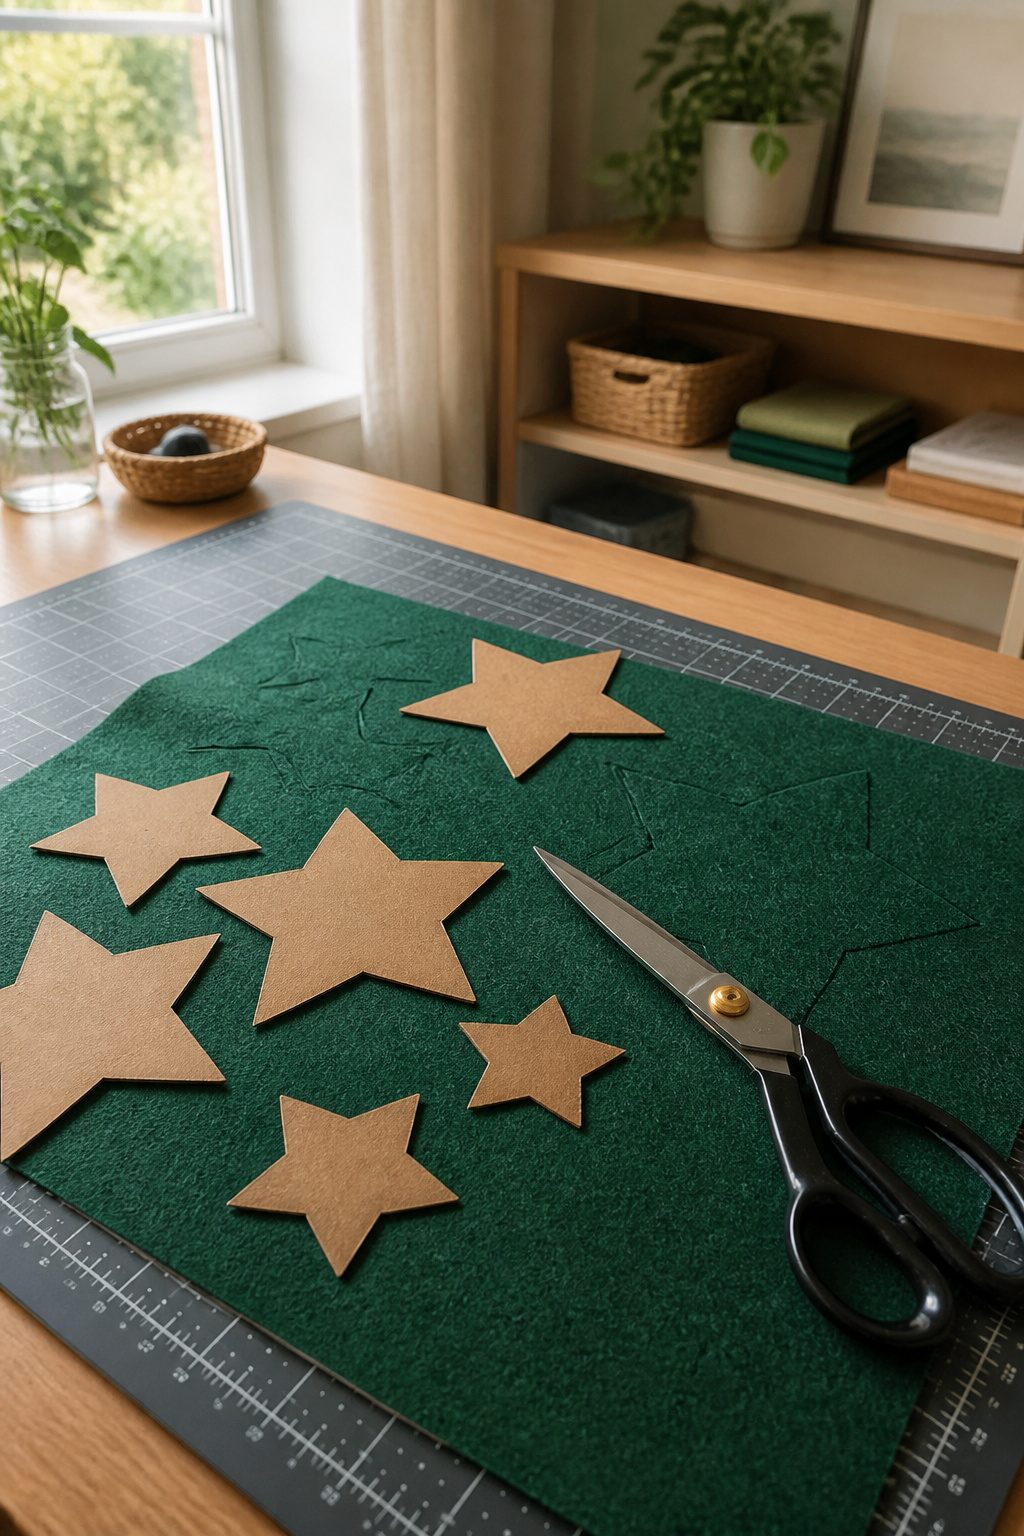
A printable star template saves the guesswork, though tracing around a sturdy cardboard cutout is the method I keep coming back to. Paper shifts under the pen; cardboard stays put against felt.
For scale, the finished stars in most garlands measure about 1.5 inches point to point. One 36 x 36 inch felt sheet yields roughly a 5-foot garland at that size, so buy your yardage accordingly rather than hoping the remnant bin has enough.
Cut just inside your trace line so the ink or pencil mark disappears into the seam allowance. A sharp pair of fabric shears beats pinking blades here; felt frays only at the cut edge, and a clean perimeter keeps the star points crisp. If you are doubling stars to sew them later, cut pairs at once and keep them stacked so left and right halves stay matched.
2. Assembly by Sewing
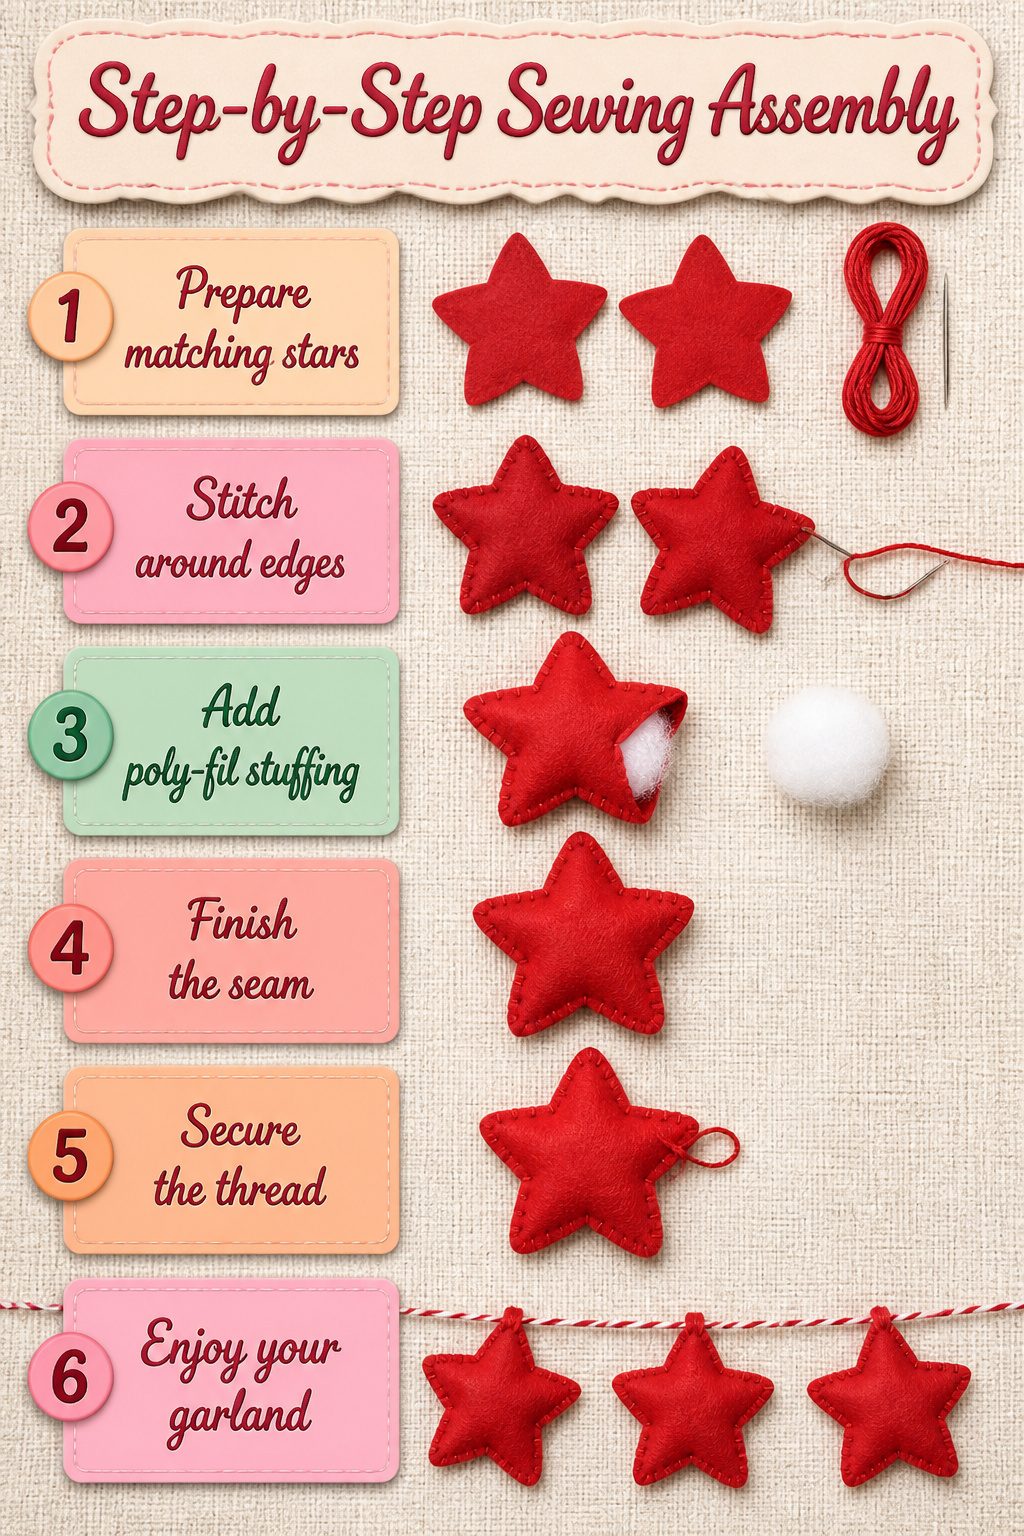
The blanket stitch is slower than hot glue, but the edge it leaves on a felt star christmas garland is the reason people stop to look closer. Two matching stars, wrong sides pressed together, get worked around with three strands of embroidery floss. I leave the last point open, tuck in a tiny bit of poly-fil or two cotton balls, then finish the seam. The stuffing is optional, though an unstuffed star lies flat and reads more like bunting than ornament.
A straight machine stitch works if hand-sewing drags on you, but the visible thread becomes part of the design with blanket stitch, and wool felt tolerates the slight gather where the points meet. The real cost is time: sixteen doubled stars took me the better part of a Sunday afternoon, where a glue gun would have finished in an hour. The sewn stars survive being stuffed, re-hung, and packed away; the glued ones I tried in year two started separating at the tips by January. For a garland you plan to remake annually, no-sew wins. For the one that stays in the box labeled mantel, the needle and floss earn their keep.
3. No-Sew Assembly
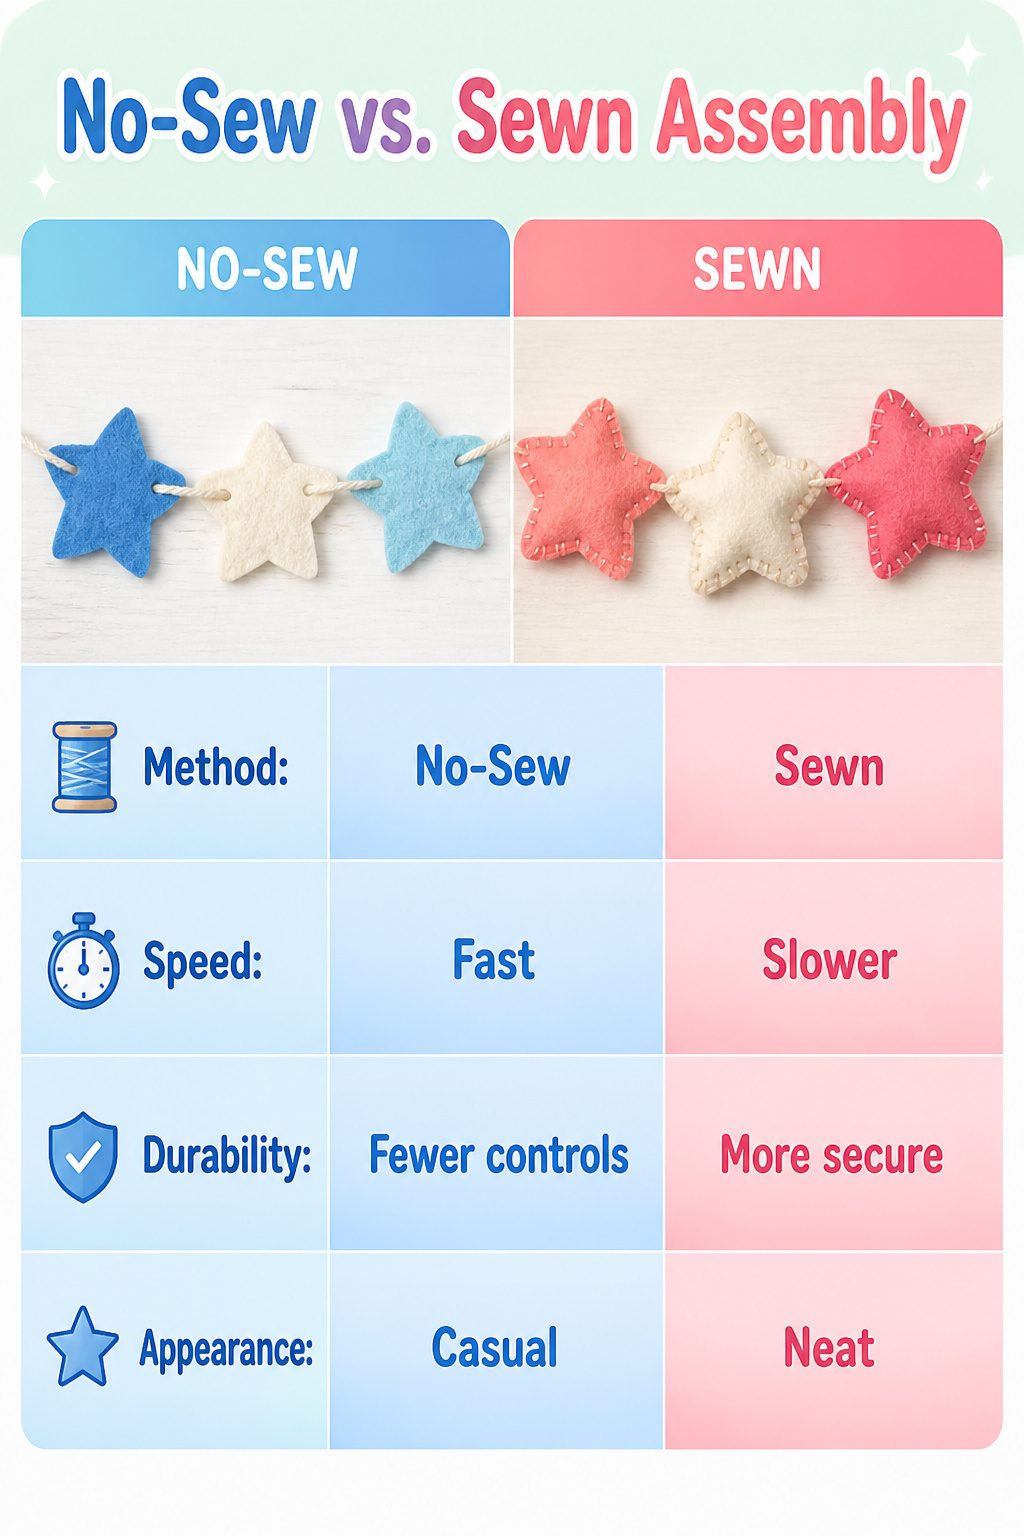
Wrapping a bit of tape around the end of your yarn keeps it from fraying while you work, and from there you just poke it through the holes in each felt star and string them in order. The whole thing moves fast; one source notes this is the moment to hand the pile of shapes to a kid if you have one nearby. Space the stars evenly along the yarn, then tie off the ends onto the first and last shapes so nothing slides.
Tying wins for speed, but the stars stay flatter and the joins looser than with a blanket stitch. Sewing two layers of felt together with embroidery floss, stuffing lightly at the last point, gives the stars dimension and keeps them from twisting on the string. For a garland that gets packed away and pulled out every December, that extra hold matters. The no-sew route suits a single season or a mantel piece that stays put; sewn stars hold up better on a tree where hands brush past.
4. Stringing the Garland
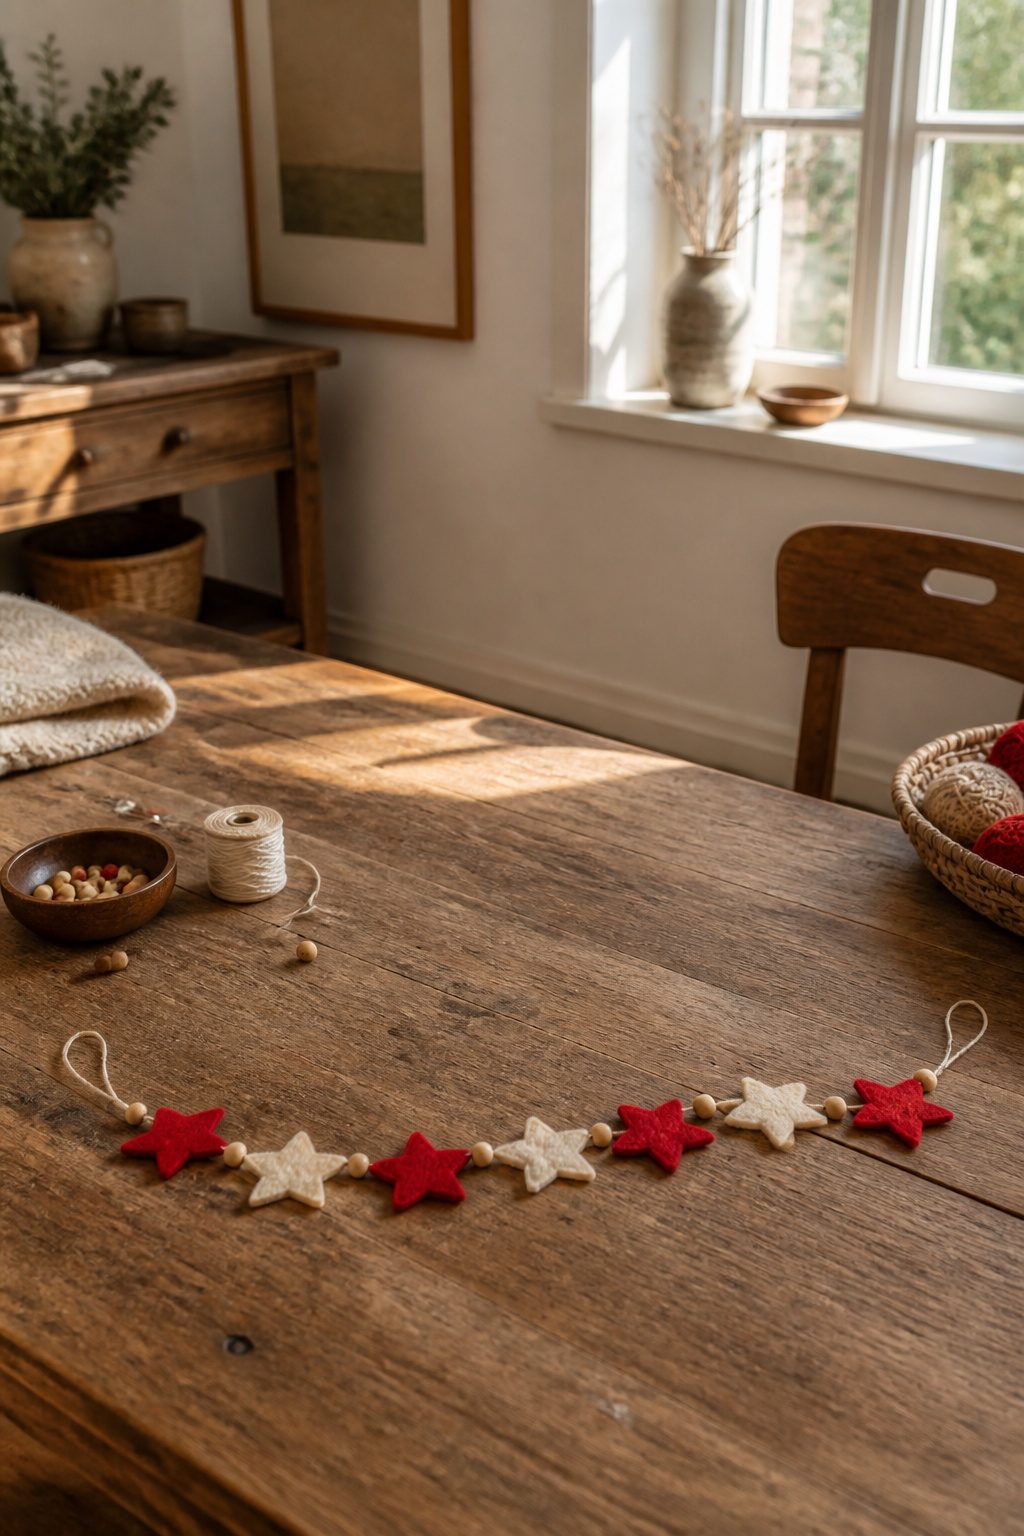
A 170 cm thread length leaves enough tail to tie hanging loops at both ends and still land near 6 feet of finished garland. The extra takes up the knots and the slight shortening from the stars sitting on the thread rather than floating free.
I started with a fine crochet cotton because it was already in my sewing box. Quilter’s thread works; regular sewing thread does not unless you double it, and even then it feels risky with any weight on the garland.
Tie one loop first. Then the question becomes how to keep the stars from sliding into a clump every time someone bumps the mantel. A running stitch through the center is the quick way. I went slower and worked a couple of stitches at the tip of one point, ran straight through the body, and locked again at the opposite inner angle. The stars stayed put. Whether that fuss is worth it depends on your felt; thick recycled sweater felt grips thread on its own, and a simple running stitch would probably have been fine.
Space fifteen stars across the length, adding beads between if you want them. Tie the second loop, and the garland is ready to hang.
5. Beads and Embellishments
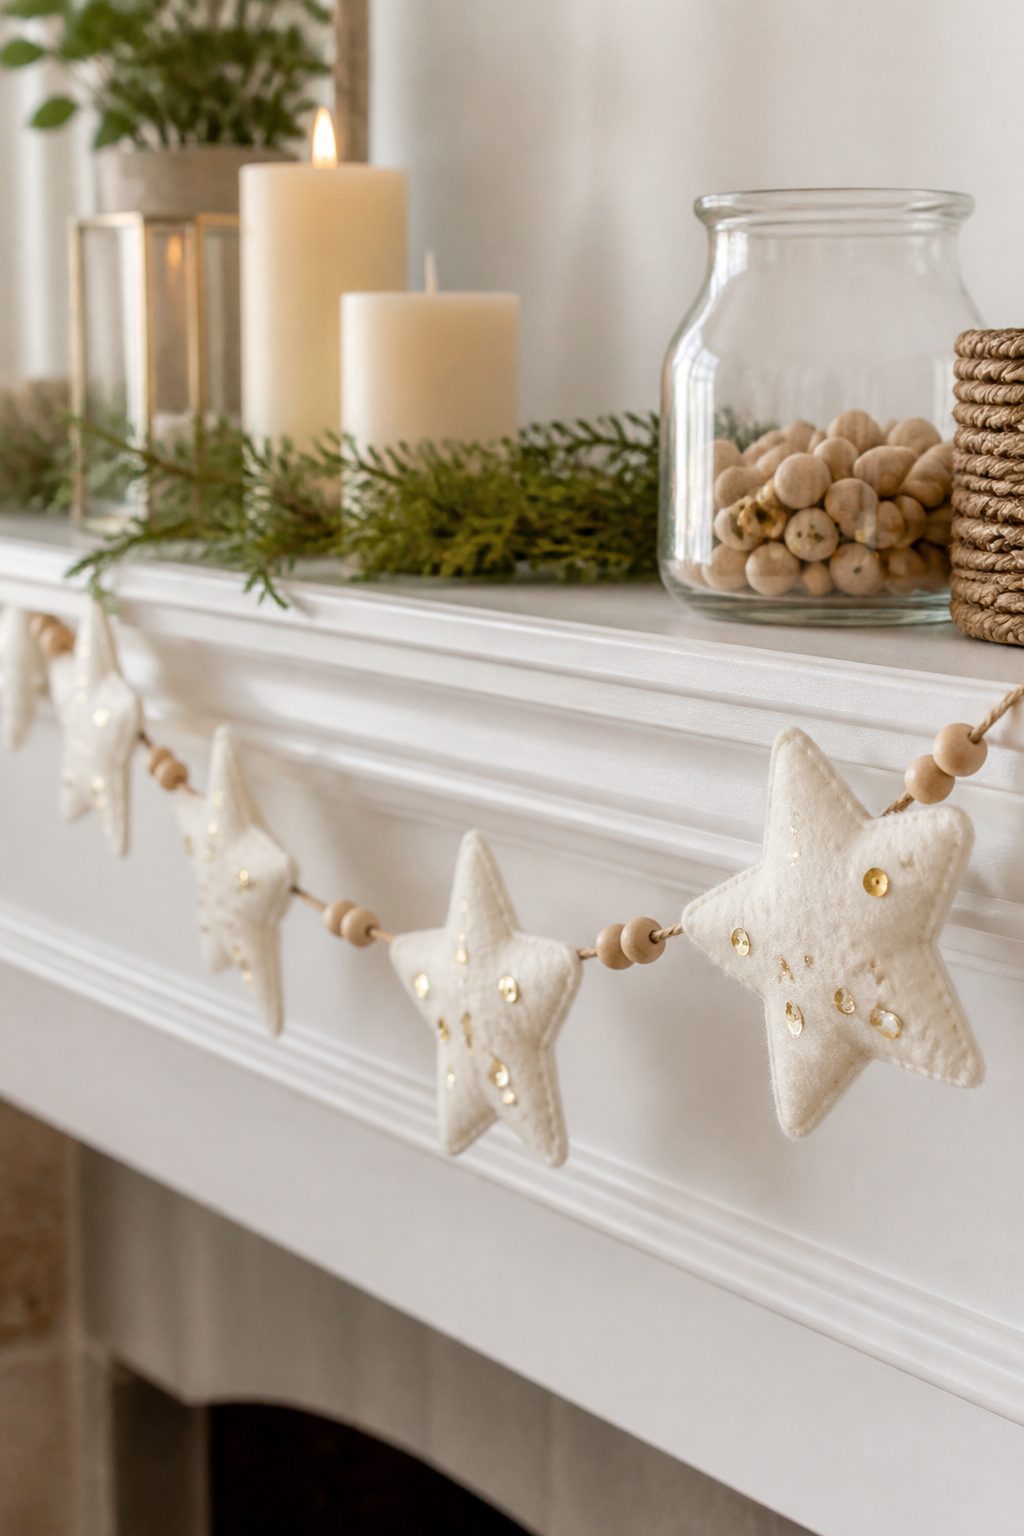
A plain felt star garland already reads as Christmas, but beads and sequins turn it into something you made rather than something you bought. I like the look of small wooden beads between stars on a natural-fiber string; they add weight so the garland hangs straighter and give the eye a place to rest between shapes. Sequins catch light well on darker felt colors, though on white or cream they can look like afterthoughts.
Felt balls are another option, about 2.5 cm across, and they read as playful without going full craft-fair. I would not cover every star; three or four decorated ones scattered through a string of fifteen keeps the effect intentional rather than frantic. The sources I trust on this use beads from broken jewelry, which costs nothing if you already have the jar, or a small bag of mixed wooden beads runs a few dollars.
This is entirely optional. A garland of solid-color stars with clean edges is its own finished thing, and adding embellishments because you think you should is how half-finished sequin projects end up in the donation bin by New Year’s. Start plain, hang it, and add decoration only where the wall tells you something is missing.
6. Hanging and Storage
A garland made from wool felt needs the same off-season care as the ornaments cut from the same material. Slip the strand into a resealable bag with a dryer sheet tucked inside before you seal it. The bag keeps dust off the surface, and the sheet absorbs the mustiness that stored fabric tends to pick up over eleven months in a closet.
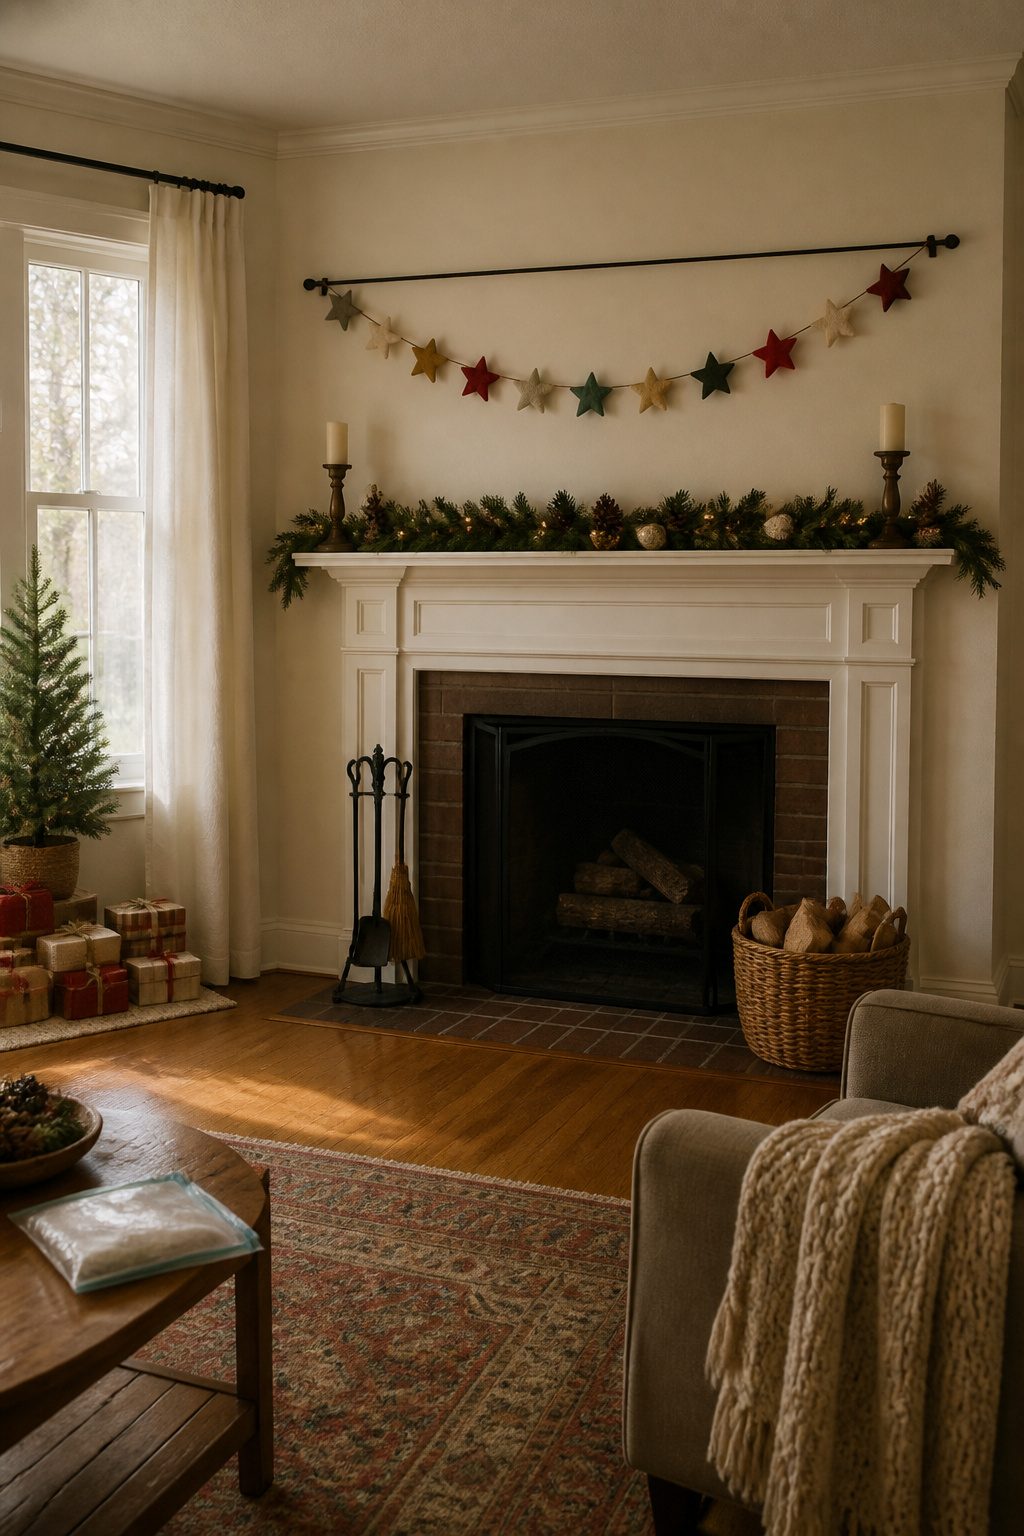
I hang mine first on a tension rod looped with clear thread, which puts no holes in the rental wall and takes about two minutes to set up. When January comes, the stars go straight from the rod into the bag, still threaded. I have reused the same strand for three years now, and the felt shows no pilling where the thread rubs, probably because wool felt holds its shape better than the acrylic sheets I tried once and stopped using.
Sewing Versus Tying
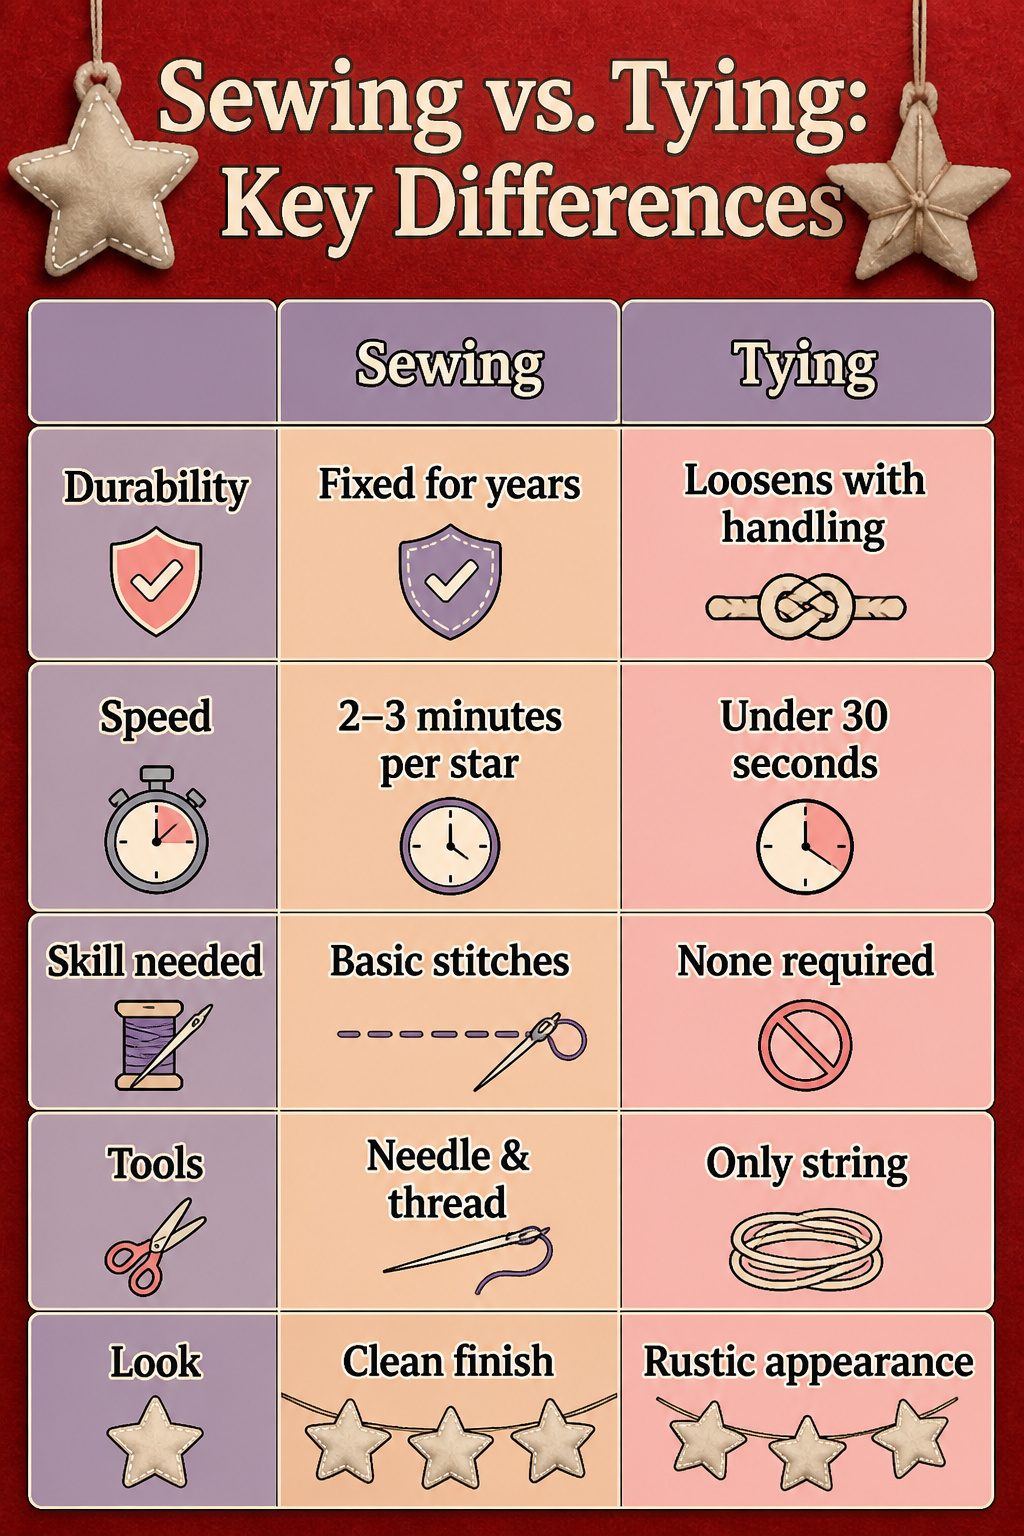
The first garland I made was sewn, and the second was tied, so the differences between the two methods are still fresh in my mind. Sewing takes longer and needs a needle and thread, but the stars stay put even if a toddler grabs the strand. Tying is faster and needs nothing but the string itself, though the knots can loosen over a season of handling and the stars slide more easily.
| Sewing | Tying | |
|---|---|---|
| Durability | Stars fixed in place for years | Knots may loosen with handling |
| Speed | 2–3 minutes per star | Under 30 seconds per star |
| Skill needed | Basic running stitch | None |
| Tools required | Needle, thread, scissors | None extra |
| Finished look | Clean, stars evenly spaced | Slightly rustic, spacing shifts |
For a garland that will hang high and still, either method works. If kids or pets will reach it, sewing is the safer bet.
New Felt Versus Recycled
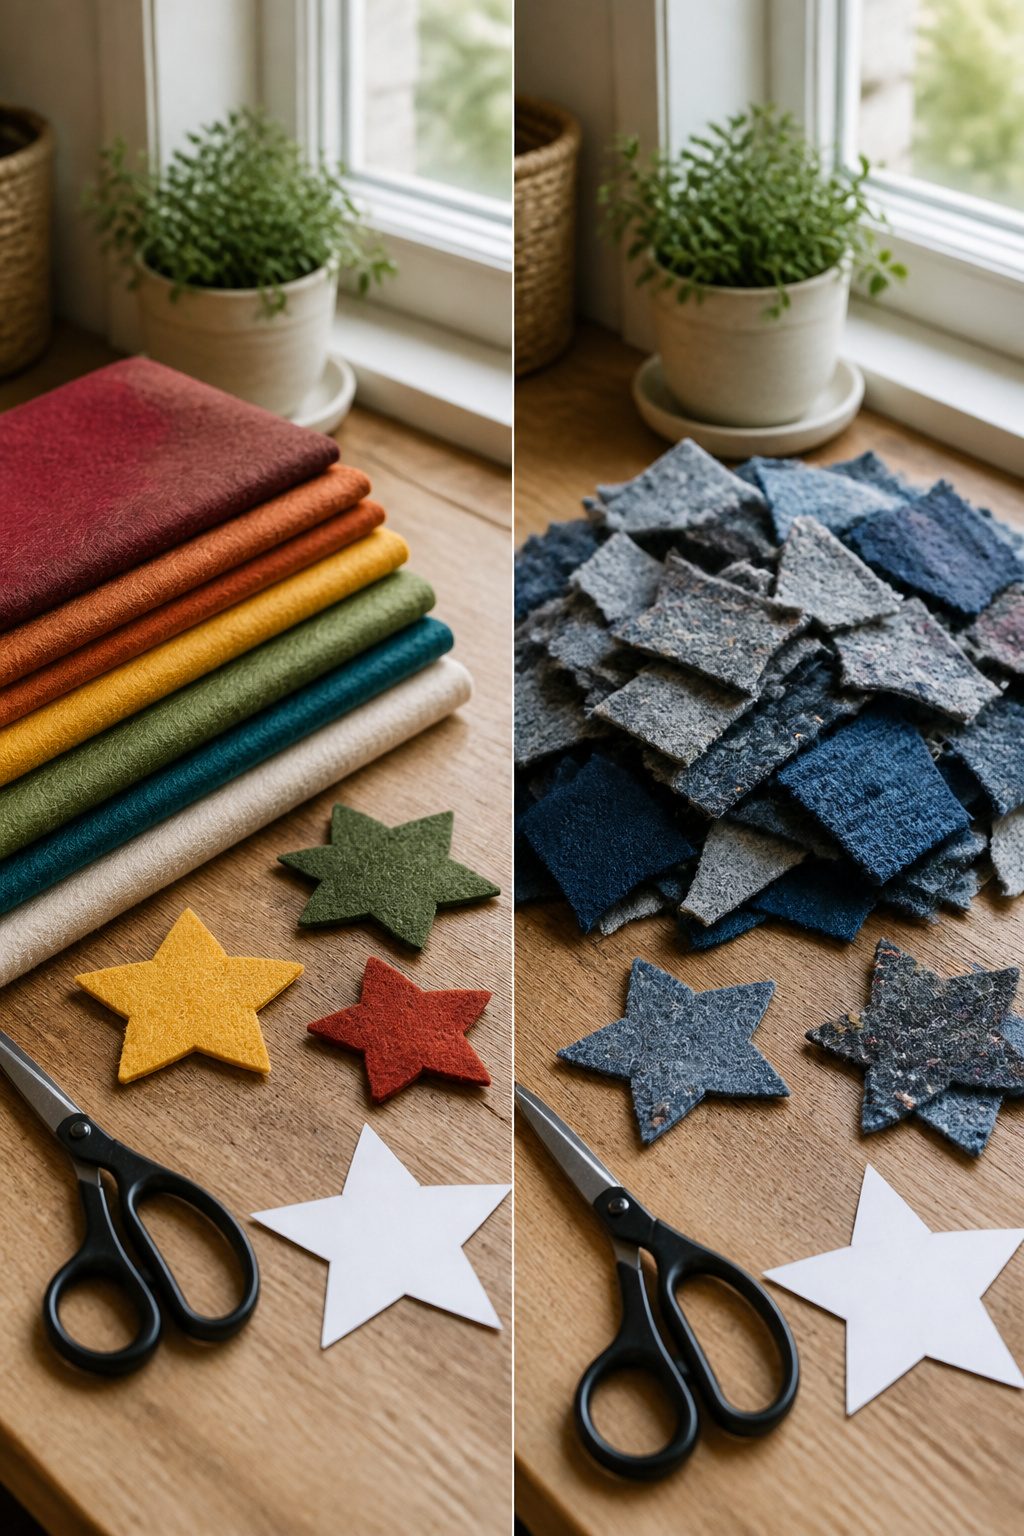
Wool felt from the craft store holds its shape through years of hanging and packing away, which matters for a garland you want to use again. The surface is even, the colors stay true, and a sharp needle punches through without dragging. That consistency costs more, usually three to four times what the acrylic sheets run, but the stars keep their points crisp after a season in storage.
Recycled wool, pulled from old sweaters or blankets that have already felted in the wash, carries a different texture. The fibers are more compact, sometimes uneven, and the color range depends on what you find at the thrift store or in your own closet. The sustainability appeal is real: no new dye, no new shipping, and the material was headed for discard. The trade is predictability. One sweater might yield enough for six stars, another for twenty, and the thickness varies enough that your template will need adjusting star to star.
For a weekend project on a tight budget, recycled wins. For a gift or a piece you plan to hang in a window where light catches the edges, new wool felt gives you control over the result. My own garland mixes both: store-bought red for the front stars where the light hits, and a gray from an old cardigan for the ones that sit back against the wall. The difference is visible if you look for it, but not from across the room.
Decorated Versus Plain Stars
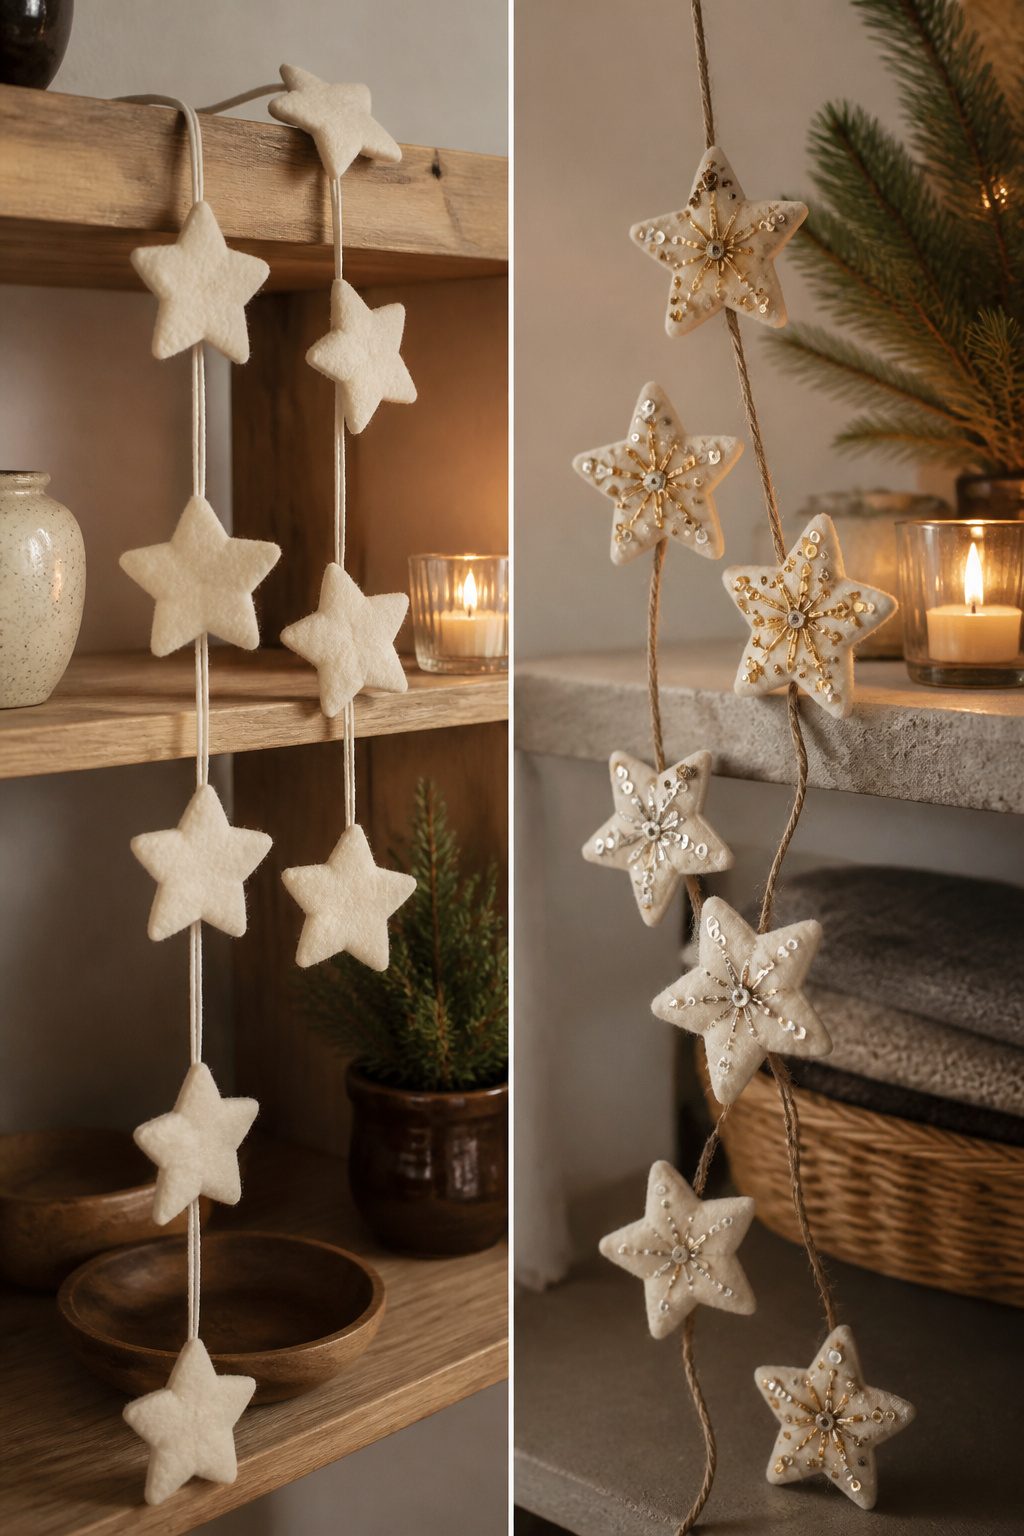
Plain felt stars carry a quiet, Scandinavian look that reads as intentional rather than unfinished. The matte surface catches candlelight softly, and the uniform color lets the star shape itself do the visual work. For a garland running across a mantel or above a window, that restraint often matters more than sparkle.
Adding beads or sequins changes the equation in three ways. Each star takes roughly three times as long to finish, the extra materials push cost toward double, and the result competes with tree lights rather than complementing them. A garland with every star dressed up can read as cluttered against an already decorated tree.
The middle path wins more often than either extreme. I like to alternate: one plain star, one with a single sequin at the center point, repeat. The rhythm keeps the eye moving without demanding it. If your timeline is one evening, plain felt is the honest choice. If you have a second evening and the garland will hang against a dark wall where it needs to catch light, selective embellishment pays for itself.
Frequently Asked Questions
How do you make a felt star christmas garland?
Trace star shapes from a cardboard template onto felt, cut them out, then either sew pairs together with blanket stitch and light stuffing or simply string them onto yarn. Space the stars along the thread, add beads between them if you want, and tie hanging loops at each end.
What materials do I need for a felt star christmas garland?
Wool felt, sharp scissors, a sturdy cardboard star template, embroidery floss or strong cotton yarn, and a large needle. Optional extras include poly-fil or cotton balls for stuffing, beads for spacing, and a dryer sheet for storage.
Can I use recycled materials for my garland?
Yes. Old sweaters or blankets that have already felted in the wash cut just as well as store-bought felt and cost nothing. The texture will be more uneven and the yardage unpredictable, but the sustainability trade is real.