
A white silver gold Christmas tree is a flocked evergreen decorated entirely in neutral metallics and snowy tones, with no green needles competing for attention. The scheme only works if you control temperature: cool silver and warm gold pull against each other until the whole thing feels like two trees mashed together. I solved it by using cream-white flocking as the bridge, not stark bright white, and keeping silver slightly ahead of gold at roughly a 60/40 split.
Choosing the Tree Style
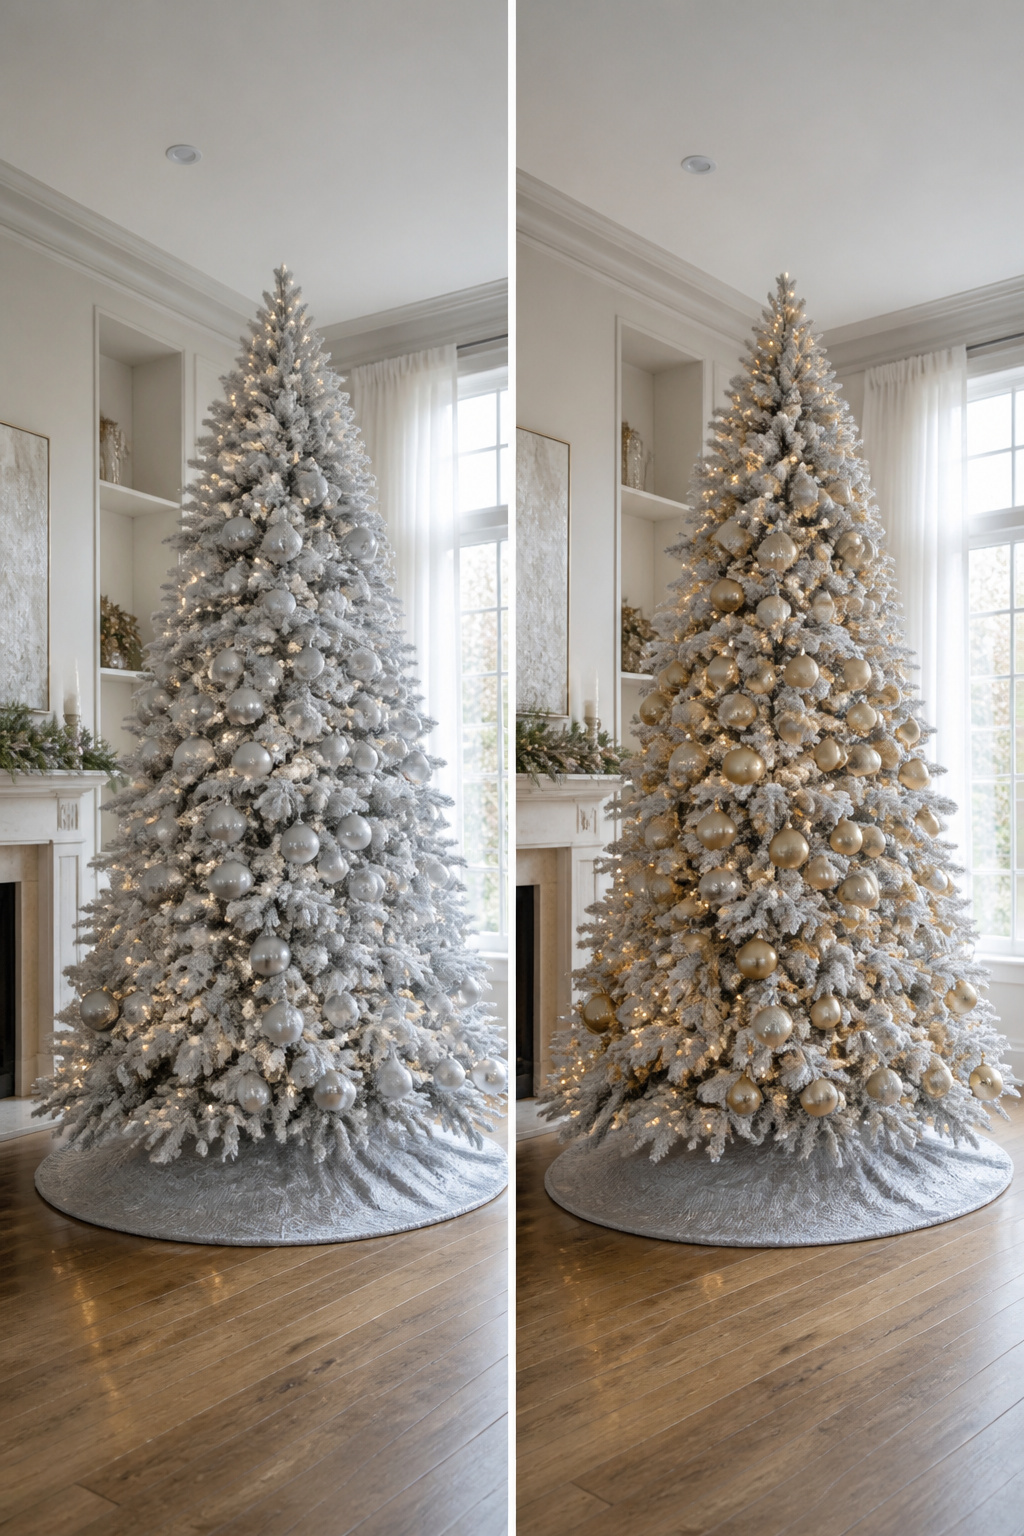
A flocked tree dominates this color scheme because the snowy base already reads as white, so your ornaments do not compete against green needles for attention. The flocking acts as a built-in backdrop that lets silver and gold read as metallic accents rather than scattered shiny objects.
Seven-foot trees suit most living rooms and still carry enough visual weight for the palette to read as intentional. A 12-foot tree, if your ceiling allows it, turns the entryway into the moment sources describe: guests see it from multiple angles, and the extra height gives white, silver, and gold room to layer without crowding.
Non-flocked trees can work, but the green introduces a fourth color that fights the restraint this scheme needs. Flocked branches also forgive thin spots; sources mention tucking extra flocked stems into gaps to build density without breaking the snowy surface. The texture matters more than perfect fullness.
Setting the Color Palette

White, silver, and gold share a quiet logic: all three read as neutrals, so they let the tree’s shape and light do the talking instead of fighting for attention. The risk is that cool silver and warm gold can pull against each other until the whole thing feels like two trees mashed together. What solved it for me was treating white as the actual bridge. A cream-white or ivory base, not stark bright white, sits right in the middle of the temperature scale and gives both metallals somewhere to land.
The flatness problem hits when the values get too similar. Silver and white, left alone, can disappear into each other; gold piled on gold starts to look like brassy clutter. I aim for roughly half the tree in white or clear, then split the remaining half between silver and gold at about a 60/40 ratio, silver slightly ahead. That keeps the cool tone dominant enough that the gold reads as warmth rather than yellow.
Too busy is the opposite trap. Every ornament does not need all three colors. A silver ball next to a gold ball next to a white ball, repeated, starts to twitch. Grouping matters more than mixing: a cluster of silver in one vertical band, gold catching light lower down, white floating through as the connective tissue. The eye reads it as layers, not noise.
Adding the Lights

Warm white and cool white lights read as two completely different trees once the metallic ornaments go on. Warm white pulls gold forward, giving it that honeyed glow you see in hotel lobbies, while cool white acts like a winter sun on silver, sharpening every edge and facet. I tested both on the same tree one evening, swapping strands between photos. The warm set made my silver balls look flat and slightly gray, as if the polish had dulled. The cool set did worse damage to the gold: suddenly cheap, almost brassy, like a coin machine prize. I kept the warm white and never looked back. The gold reads richer, the silver still catches enough reflection from the white flocking to hold its own, and the overall room feels like candlelight rather than a parking garage. If your silver ornaments are heavily mirrored or iridescent, cool white might win for you. Mine were brushed and matte, so warm white was the only choice that didn’t fight the palette.
Layering the Ornaments
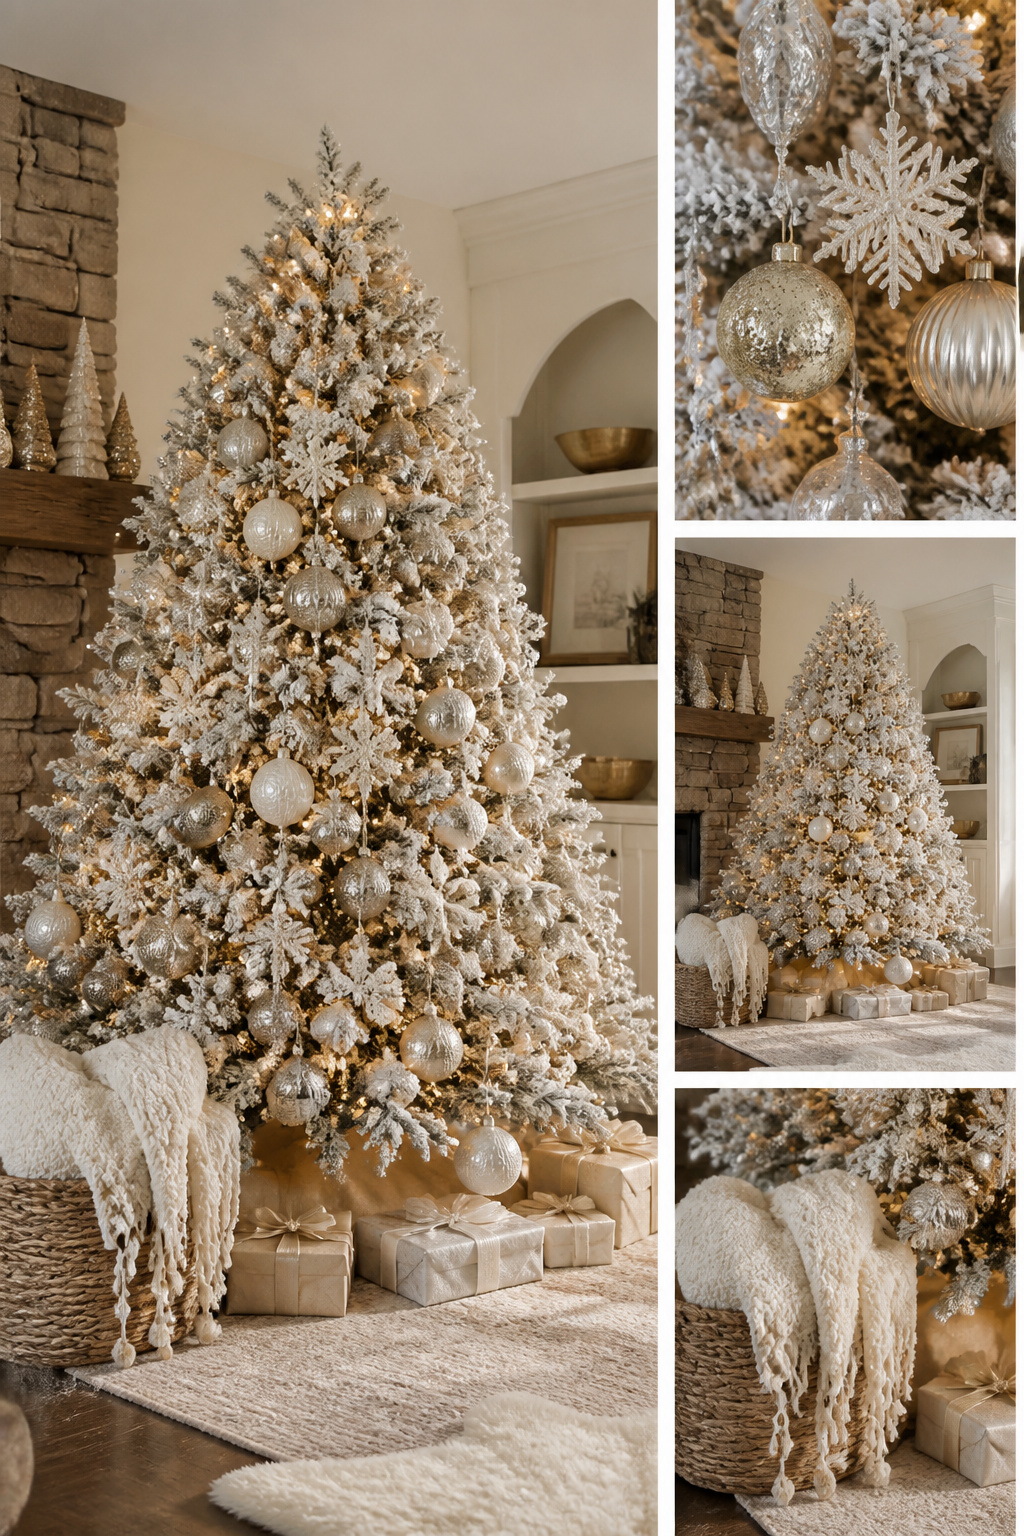
The ornaments that read best on a white silver gold christmas tree mix shapes the way you mix metals. Crystal snowflakes with a rose gold outline catch light differently than mercury glass balls or a mirrored geometric piece, and that contrast is what keeps the palette from going flat. I look for matte finishes alongside shiny ones, woven glitter textures next to mirror-smooth surfaces, so the eye travels instead of landing on one uniform wall of sparkle.
Placement matters more than individual ornament price. The six-inch balls go deep into the branches to mask gaps and push the tree’s volume outward, while smaller two-and-a-half-inch silver balls and the delicate crystal pieces sit forward where they catch light. Larger ornaments anchor the interior; the statement pieces finish the silhouette.
A crystal star topper can work on a seven-and-a-half-foot tree, though on anything taller it may need help. Eight large gold picks spaced evenly around the crown add the height and texture that a single under-scaled star cannot manage alone. The picks bridge the gap between topper and the ornament layer below, so the transition does not look like an afterthought.
I keep one rule from year to year: at least a few ornaments should be shapes rather than spheres. Stars, bells, even a modern snowman or a geometric glass form break the rhythm of round ornaments and give the tree the layered, collected-over-time look that a pre-packaged kit alone rarely achieves.
Working in Ribbons and Floral Picks

Gold 4-inch dupioni ribbon has become the workhorse of my white silver gold Christmas tree, mostly because it cooperates with almost any theme and drapes without fighting the branches. The width matters: anything narrower disappears against a 7-foot tree, and anything wider starts to look like upholstery. I run it in loose vertical sweeps from the top third down, which pulls the eye upward and keeps the silhouette from going round and heavy. For accents, a 2.5-inch glittered white ribbon and a 1.5-inch ivory-and-gold velvet ribbon fill in the gaps, though my camera sometimes reads that velvet as nearly black under warm lights.
The floral picks are where the tree stops looking decorated and starts looking grown. I used about 40 total on a 7-foot tree, but only across the front two-thirds that face the room; a fully visible tree would need more. The method is the same zigzag I use for ornaments, spiraling from top to bottom so no zone gets crowded. Doubling up smaller picks is the move that saves money without thinning the look: two copper berry sprays or white glittered pom pom stems twisted together read as one substantial piece from a few feet back. Iced gold berry branches and gold-dipped branches fill the mid-depth, the space between the trunk and the outer shell where flat ornaments just vanish.
Hobby Lobby is where I watch for these, both the copper berries and the tree-top clusters. They repeat similar versions every year, so timing the seasonal markdowns is the difference between $4.99 and $1.99 per stem.
Finishing the Base and Surroundings

The base of a white silver gold Christmas tree does more than catch needles. It anchors the whole palette, and a weak skirt will undo every choice you made above it.
I learned this after three tries. The first was a red plaid hand-me-down that fought the ornaments. The second, a cheap white polyester circle, looked like a coffee stain under the lights. The third came from HomeGoods: a simple silver-tinged skirt with enough texture to read as intentional, not leftover. That one stayed.
Layering a tree collar over the skirt adds structure without extra cost. The collar defines the trunk as a vertical line; the skirt softens the floor meeting. Together they frame the presents instead of letting them slide into the corner.
For the space beneath the branches, matching wrapping paper turns the gift pile into part of the design. I tuck in a box of blankets, candles, and a birch log magazine rack that normally lives by the fireplace. Nothing is bought for the season; everything goes back to its real job in January. The wrapping paper is the only temporary piece, and even that gets used on actual gifts.
The rule is simple: the base should look like you planned it, not like the tree landed there and you threw fabric at it.
DIY Touches That Keep It Personal
Store-bought sets of white, silver, and gold ornaments tend to land in the same three shapes, and by year two the tree starts looking like a catalog page. Printable banners cost nothing but ink and a half hour with scissors, and they break that sameness without fighting the palette. I print mine on heavy cardstock, punch holes with a standard hole punch, and string them with thin gold ribbon so they hang almost flat against the branches.
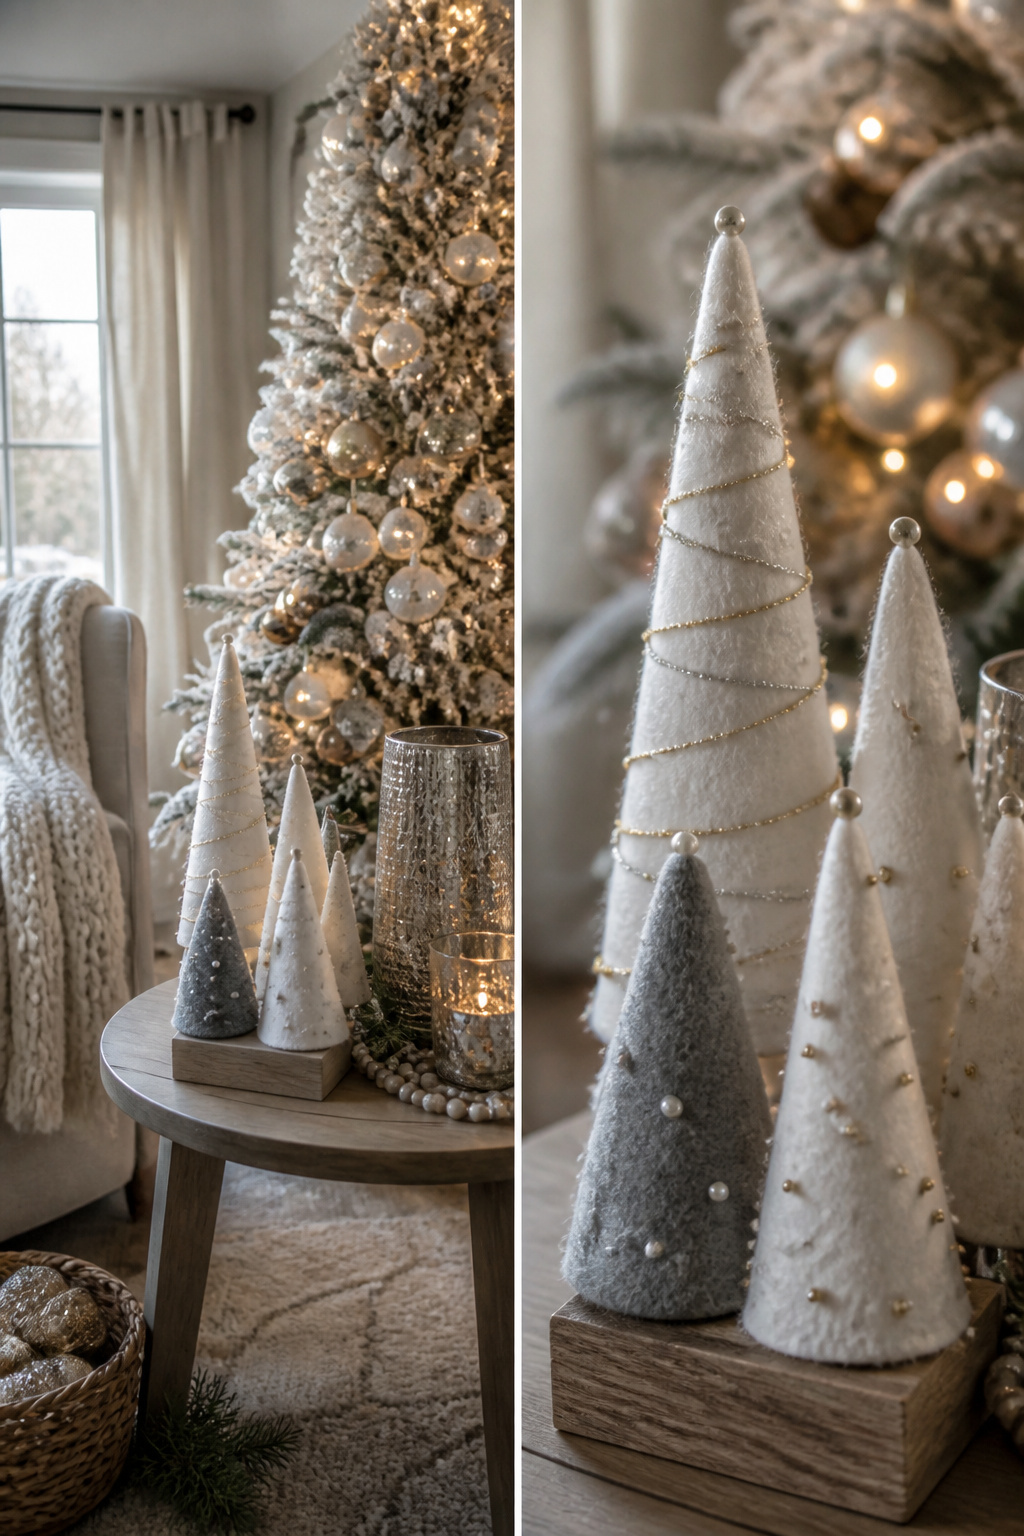
Felt cone trees fill the same role on side tables or the mantel. The construction is simple: poster board triangles, white felt leaves cut to size, and a twig for the trunk. A little glitter on random leaf edges catches the light without reading as craft-project shiny. I made my first set years ago and they have held up through enough rearranging that the small ones now sit on wooden blocks to keep them visible beside a larger center cone.
The gilded pinecone phase was shorter. I tried the spray adhesive and gold glitter route, and the result was stiff, oversaturated, and somehow both too yellow and too dull. What worked instead was buying plain frosted pinecones in bulk and adding just a touch of silver or gold acrylic with a dry brush. The natural texture stays readable, the metallics read as accents rather than coatings, and a failed batch can be rinsed off before the paint cures.
What I Bought and What I Already Owned
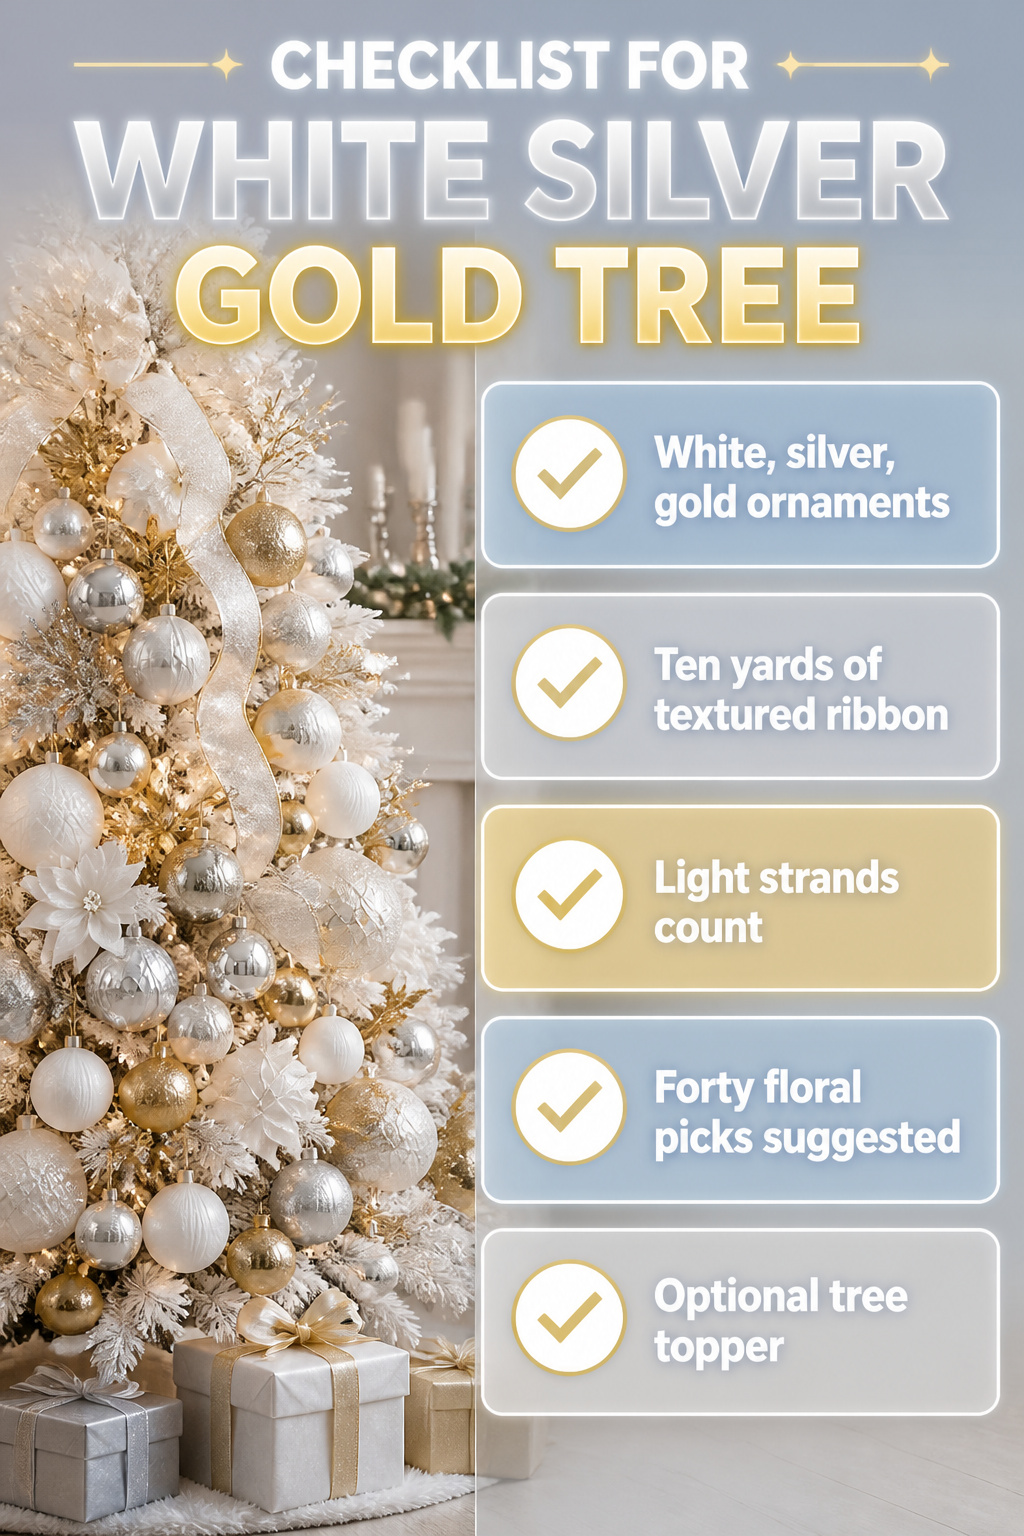
The supplies for a white silver gold Christmas tree break down into five categories, and most of them probably already live in your closet.
- Ornaments. A neutral base of white, silver, and gold bulbs lets you rotate accent colors year to year without starting from scratch. I keep every metallic and matte finish I have collected; the mix of surfaces matters more than matching sets.
- Ribbon. About ten yards of a wide, textured ribbon does the heavy lifting. I used a white crystal-lined velvet ribbon one year, and the weight of it alone filled gaps that ornaments would not have covered.
- Light strands. Warm or cool is a separate decision, but count what you own before buying more. A 7-foot tree needs roughly the same number of strands as a 12-foot tree has zones; the difference is how densely you wrap.
- Floral picks. This is where I double up. Two thin picks read as one substantial branch, and the trick saves money without looking spare. I used about 40 picks on a 7-foot tree, but only on the two-thirds you actually see. A fully visible tree needs more.
- Tree topper. Whatever you have, try it first. A star, a spray of picks wired together, or nothing at all; the ribbon and picks do enough vertical work that the topper becomes optional.
Flocked Tree Care

Flocked trees shed white particles the moment the box opens, and that shedding never really stops. The first year I stored mine upright in the garage, the lower branches pressed against the cardboard until spring, and the flocking wore off in pale stripes where the cardboard touched. Store the tree horizontally, never standing, so nothing bears weight on the branches through the off-season.
Humidity is the second enemy. Damp garage air turns flocking tacky; then dust sticks and the white dulls to gray. Dry winter air inside the house cracks it. I moved my storage spot to an interior closet with stable conditions, and the difference after one year was obvious.
Spot cleaning means working without water, since water dissolves the adhesive and leaves bare green patches. A soft dry brush lifts dust from the surface; a lint roller picks up pet hair and glitter that migrates from ornaments. For anything stuck, a kneaded eraser dabbed gently works better than any liquid.
The vacuum-seal bag was the last change. Not the roll-your-own kind with ridges, but the flat pouches that pull down tight around the whole tree. It keeps the flocking from shifting, keeps humidity out, and compresses the bulk enough that horizontal storage actually fits in a closet. The bag cost more than a standard tree bag, but replacing flocking costs more still, and the tree looks the same in year four as it did new.
Warm Lights or Cool: A Side by Side
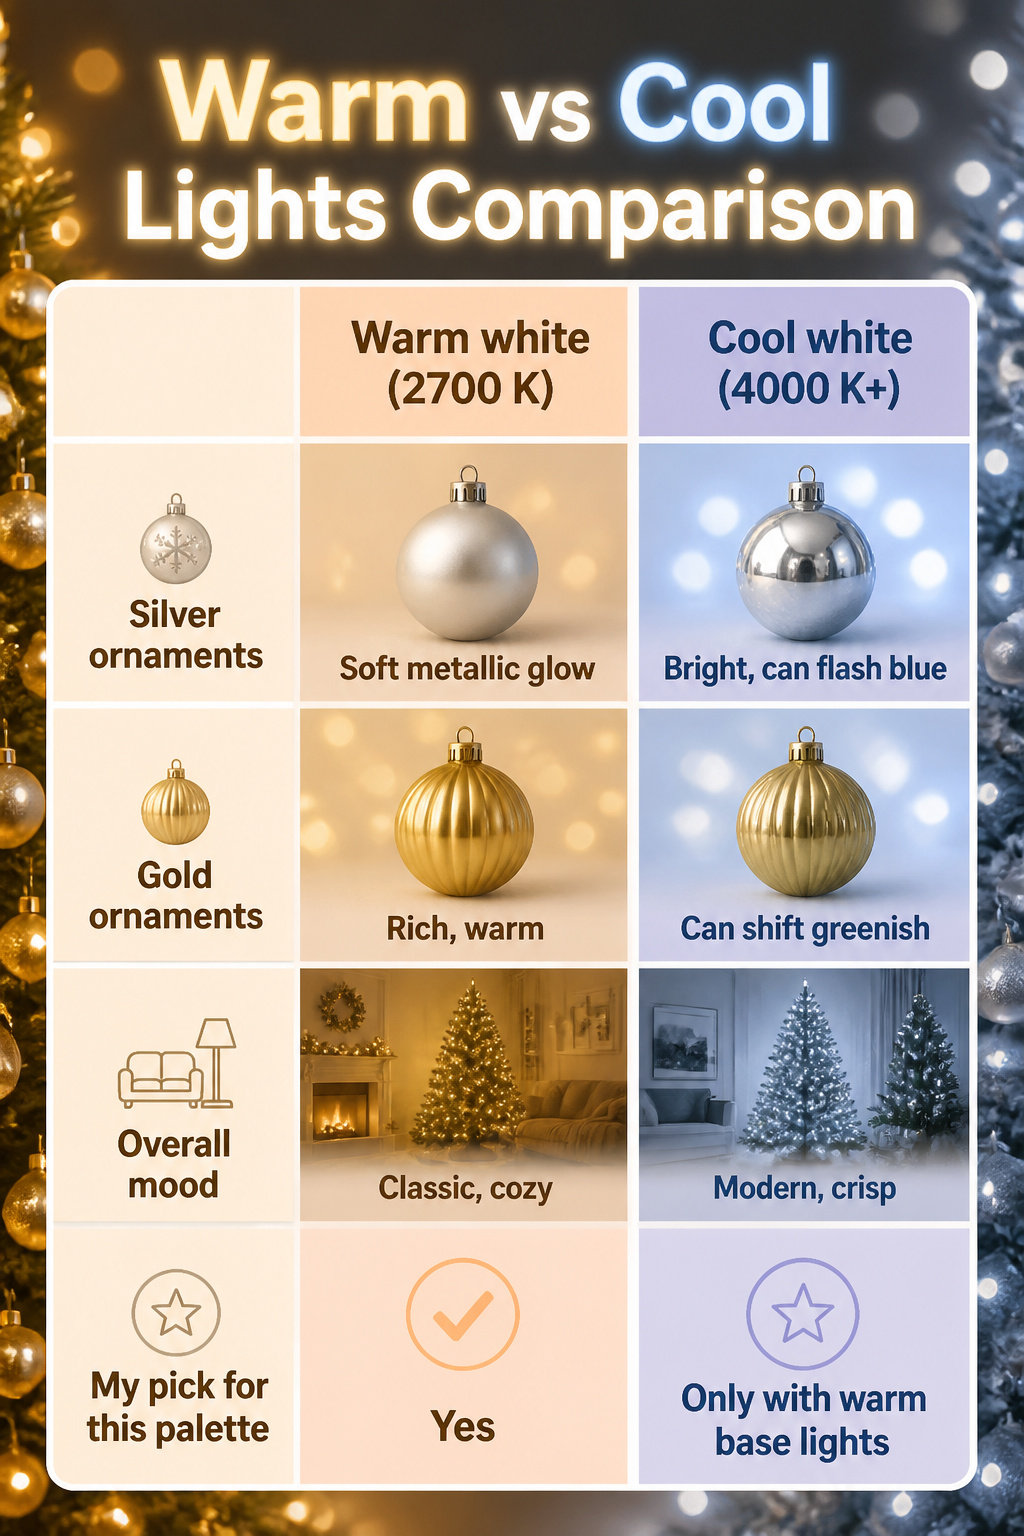
The color temperature of your lights decides whether silver reads as mirror-bright or drifts toward ice blue. I learned this the hard way after photographing a tree under mixed lighting and watching every silver ornament flip cool-toned in the frame. Warm white bulbs, around 2700 K, push gold forward and let silver settle into a soft metallic glow. Cool white, 4000 K and up, sharpens silver to a near-chrome flash but can tint gold greenish and, in some conditions, make the whole tree read as blue and gold instead of silver and gold.
| Warm white (2700 K) | Cool white (4000 K+) | |
|---|---|---|
| Silver ornaments | Soft metallic glow | Bright, can flash blue |
| Gold ornaments | Rich, warm | Can shift greenish |
| Overall mood | Classic, cozy | Modern, crisp |
| My pick for this palette | Yes | Only with warm base lights |
I keep warm white as the base for a white silver gold Christmas tree. The Disney Springs trees that inspired this palette use warm white steady bulbs with cool white twinklers layered in, not cool white alone. That mixed approach works because the warm foundation anchors the gold; the cool twinkle just adds sparkle without stealing the color story. If you already own cool white strands, run them on a dimmer or reserve them for late-night hours when the blue shift matters less.
Mistakes That Flatten the Look
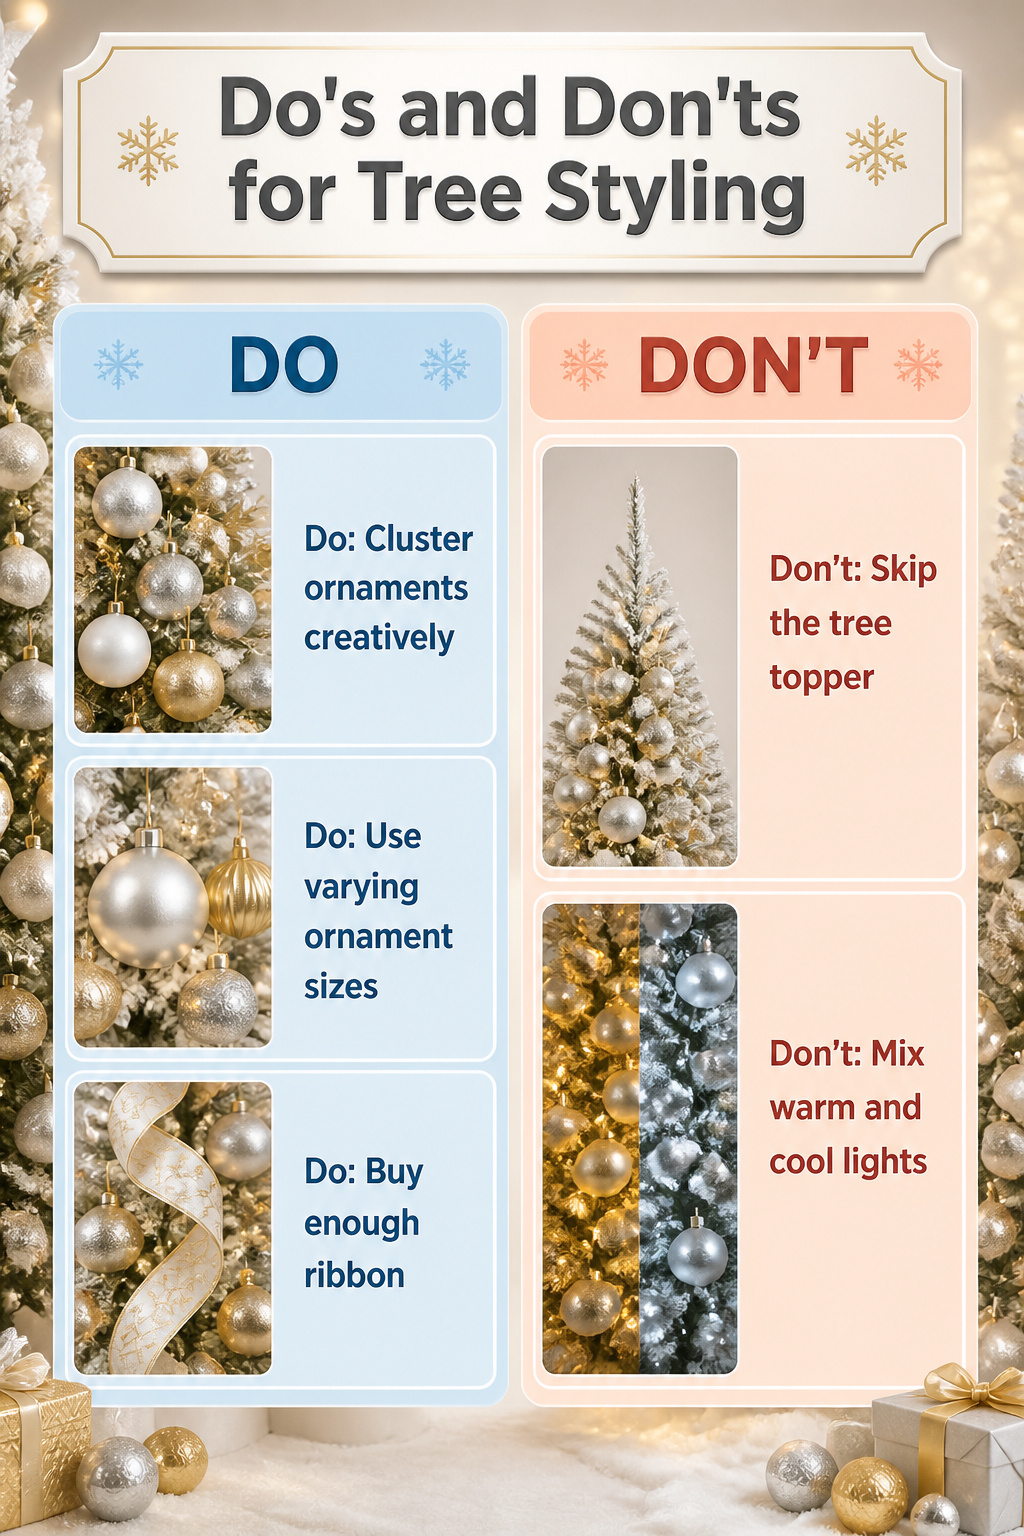
The first white silver gold tree I put up looked like a department store display that had been shaken flat. Too much symmetry was the culprit. I had hung matching ornaments at matching heights, and the eye read it as a pattern instead of a tree. Now I cluster three to five pieces in one zone, leave the next branch almost bare, and let the weight shift around as it does in nature.
- Ornaments all one size kill depth fast. My early tree read as a single flat plane because every ball was the 80 mm size from one discount set. I buy in three sizes now, roughly 60–100 mm, and nestle the smallest ones deepest where they catch light without demanding attention.
- Ribbon cut too short looks like trim instead of movement. I used to buy two spools and run out by the second tier. Three spools of wired ribbon, cut to about eight-foot lengths, let me weave full vertical sweeps that tuck behind branches and reappear lower down.
- Skipping the tree topper leaves the eye nowhere to rest. For a year I thought the color palette spoke for itself; the tree just looked unfinished. A simple star or spray of glittered branches at the crown anchors the whole vertical line.
- Mixing warm and cool lights unintentionally reads as dirty. I once ran a strand of cool white LEDs into a tree that was otherwise warm white incandescent, and the silver ornaments picked up the clash like mirrors. Pick one temperature and check every strand before you wrap.
Frequently Asked Questions
How do I decorate a white and gold Christmas tree?
Use a mix of gold and white ornaments in varied textures, such as woven glitter and matte finishes, and add crystal ornaments in different shapes. Layer ivory and silver sprays to pull the eye into the tree, and weave ribbon throughout the branches for cohesion. Floral picks and platinum white flowers with sparkle-lined leaves add high-impact focal points.
What type of tree is best for a silver and gold theme?
A flocked tree works best because the snowy base acts as a built-in white backdrop that lets silver and gold read as intentional metallic accents rather than scattered shiny objects. The flocking also forgives thin spots and eliminates green as a competing fourth color.
How can I make my Christmas tree look elegant?
Stick to a neutral palette of white, silver, and gold, use varied textures and finishes, and add statement pieces like large ornaments or wide velvet ribbon. Group ornaments in vertical bands rather than mixing colors on every branch, and choose warm white lights to give gold a rich, honeyed glow.